Rental Outdoor LED Screen Complete Guide for Events and Gatherings
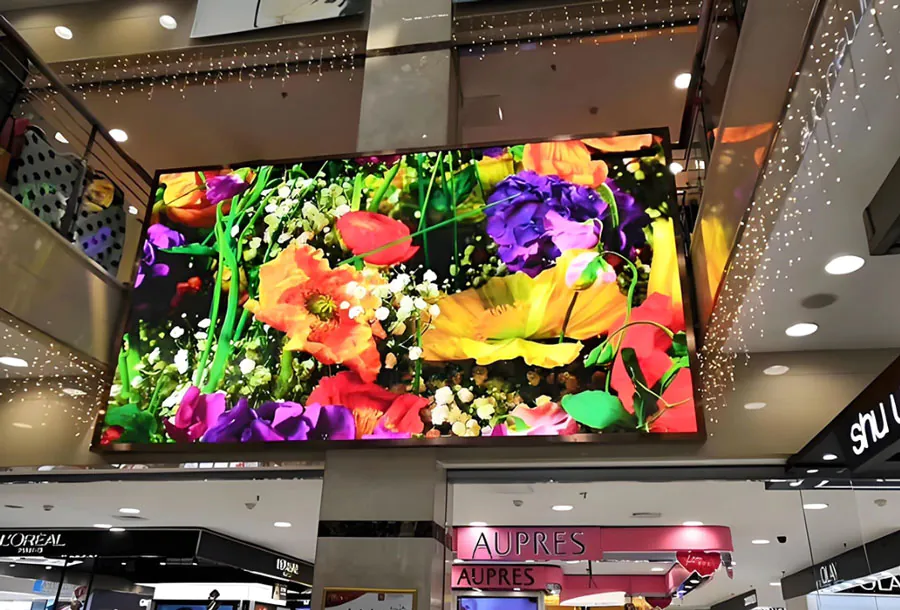
Outdoor LED screens have become a staple for live events, festivals, sports gatherings, drive-in cinemas, political rallies, and corporate activations. Renting an outdoor LED screen gives event planners the visual impact of a large-format display without the capital expense or long-term storage and maintenance commitments. This guide walks through everything you need to know—technical specs, site planning, logistics, content and control, safety, budgeting, and troubleshooting—so you can choose the right rental solution and run a smooth event.
Understanding Outdoor LED Screen Basics
LED modules, pixel pitch, and resolution
Outdoor LED screens are built from modules that contain an array of LED pixels. Pixel pitch (measured in mm, e.g., P4 means 4 mm) is the center-to-center distance between adjacent pixels and directly affects image clarity and optimal viewing distance. Smaller pixel pitch = higher pixel density = closer viewing distance. When specifying resolution, multiply the physical width in millimeters by 1/pixel pitch to get horizontal pixel count (e.g., 8,000 mm / 4 mm = 2,000 pixels).
Brightness and color performance
Brightness (measured in nits or cd/m2) is critical outdoors. Typical rental outdoor screens range from 5,000 to 8,000 nits for daytime events; some high-end displays reach 10,000 nits for direct sun. For evening events, screens can be dialed down to 800–3,000 nits to avoid glare. Color calibration and HDR support are additional features to ask about when rental content demands accurate color.
Durability and weather rating
Outdoor LED screens should be weatherproof and commonly carry IP65 or higher ratings for both front and rear protection. IP65 indicates protection from dust and low-pressure water jets—sufficient for many outdoor events—but confirm that connectors, power supplies, and control gear meet the same standard. Panels should also have proper temperature ranges for operation and storage.
Sizing, Viewing Distance and Sightlines
Choosing the right size
Determine the screen size by balancing viewing distance, sightlines, and event format. For general guidance, use this rule of thumb: minimum comfortable viewing distance in meters ≈ pixel pitch (mm). So a P6 screen suggests a minimum viewing distance of ~6 meters. This is a rough guideline; audience density, venue layout, and content type (text vs. video) all influence final decisions.
Consider aspect ratio and resolution
Common aspect ratios are 16:9 and 4:3. For live camera feeds and broadcast-style content, 16:9 is typical. For stage backdrops or artistic installations you may choose custom ratios. Remember pixel resolution is driven by physical size and pitch; always test content on a mock resolution when possible.
Technical Logistics: Power, Connectivity, and Control
Power requirements and generator sizing
Power consumption varies by screen size, pixel pitch, and content brightness. A useful industry approximation:
– Average running power: 400–800 W/m2
– Peak power: up to 1,000–1,200 W/m2
Always request the supplier’s maximum and average power draws and plan generators with a 20–25% safety margin. Don’t forget power for audio, lighting, broadcast trucks, and crew needs (catering, backstage), and local restrictions that may limit generator noise.
Signal pathways and redundancy
Common signal inputs: HDMI, SDI, and fiber. For large outdoor walls or long runs, fiber or SDI are preferred for reliability. Control systems (e.g., NovaStar, Linsn) manage synchronization and color correction. Ask vendors about redundancy options: dual processors, backup signal paths, and failover playback servers for pre-recorded content.
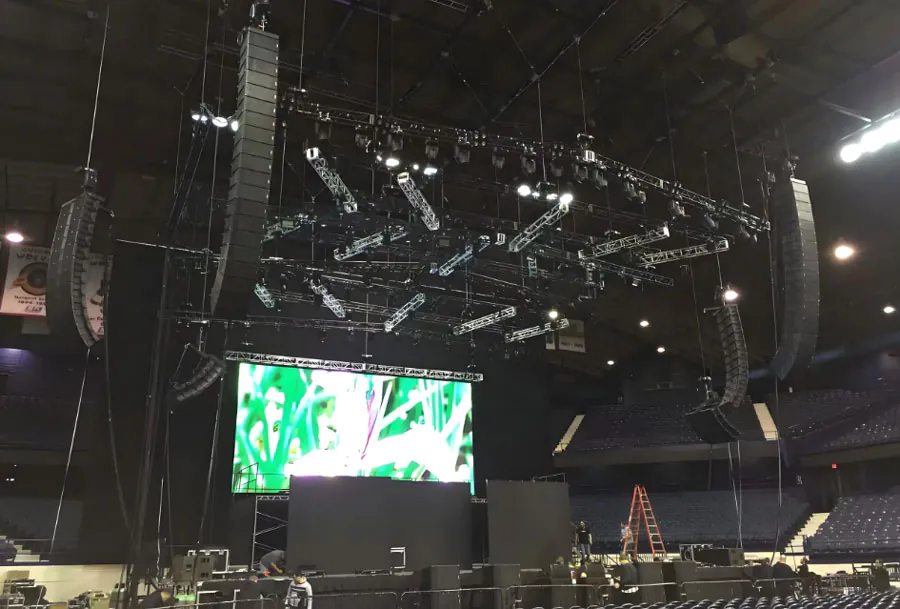
Rigging, trussing, and wind loads
Outdoor screens typically mount on trusses, mobile trailers, scaffolding towers, or flown from structures. Ensure the rigging plan includes:
– Rated truss and motors
– Certified riggers
– Wind loading calculations and ballast plans
– Local code compliance for anchoring and heights
Wind can create dangerous loads; when in doubt, consult a structural engineer or insist on vendor-provided wind limits and operational thresholds.
Site Survey and Permitting
Conduct a detailed site survey
A site survey should document access routes, vehicle turning radii, placement for cranes or forklifts, nearby obstructions, sun angles, sound system positions, and power availability. Take photographs and measurements and confirm where the screen will be viewed from and where the control rack and power distro will be located.

Obtain permits and liaise with authorities
Many outdoor events need permits for temporary structures, electrical hookups, road closures, and amplified sound. Start permit applications early—some municipalities require weeks or months. Provide local authorities with detailed rigging drawings, public safety plans, and proof of public liability insurance.
Content Preparation and Playback
Formatting and native resolution
Prepare content at the screen’s native pixel resolution for best quality. If exact native resolution isn’t feasible, render at a multiple that scales cleanly. Account for safe margins—especially when the screen is used as a stage backdrop and might be partially obscured by set pieces or performers.
Live switching and latency
For live events use professional vision mixers/ switchers (e.g., Blackmagic, Ross Video) and low-latency encoders for remote feeds. Keep an eye on total latency between camera and screen—audience reaction and lip-sync for presenters matter. Discuss acceptable latency with your vendor.
Audio, Staging and Audience Experience
Audio integration
An LED screen is only as effective as the audio system behind it. Plan speaker placements to ensure even coverage and to avoid audio lag. For stadiums or large outdoor gatherings, line arrays matched to the audience size are common. Time-align audio to the screen to avoid echo between near and distant speaker clusters.
Lighting and sightline coordination
Ensure event lighting won’t wash out the screen during dusk and dawn. Coordinate stage lighting with the screen content, and verify that podiums, set elements, and camera positions don’t obstruct sightlines.
Safety, Staffing and Run-of-Show
Crew roles and responsibilities
Typical crew includes a site manager, LED technicians, video engineers, riggers, electricians, and a safety officer. Define responsibilities clearly in advance: who handles content playback, who is the emergency contact for faults, and who directs emergency shutdown.
Emergency procedures and weather plans
Have a written plan for adverse weather and emergencies. This should include criteria for powering down or lowering screens in high winds, secure storage for modules, and procedures for rapid de-rig if needed. Keep an emergency kit of spare modules, cables, and common replacement parts on site.
Budgeting: What to Expect
Rental cost drivers
Major cost drivers:
– Screen size and pixel pitch
– Brightness and IP rating
– Shipping and trucking distances
– Rigging complexity and labor hours
– Power and generator needs
– Duration (daily vs. multi-day rates)
Negotiate what’s included: delivery, installation, on-site techs, insurance, and spare parts.
Sample price ranges (approximate)
Rental pricing is highly variable. As a broad guide:
– Small portable displays (up to 6–10 sqm): $500–$1,500/day
– Medium walls (20–60 sqm): $1,500–$6,000/day
– Large festival or stadium screens (60–300+ sqm): $5,000–$30,000+/day
Always request a full quote with line items for labor, trucking, power, and insurance.
Analysis Table: Quick Selection Guide
| Event Type | Recommended Screen Size | Typical Pixel Pitch (mm) | Recommended Brightness (nits) | Approx. Rental Cost (per day) |
|---|---|---|---|---|
| Small outdoor meeting / backyard screening | 3–6 m2 (portable) | P6–P10 | 3,000–6,000 | $500–$1,500 |
| Corporate activation / street festival | 20–60 m2 | P4–P6 | 5,000–8,000 | $1,500–$6,000 |
| Concerts / mid-size public events | 60–150 m2 | P3–P6 | 6,000–10,000 | $5,000–$15,000 |
| Stadiums / large festivals | 150–400+ m2 | P2.5–P5 | 7,000–12,000+ | $10,000–$30,000+ |
| Drive-in cinemas / large outdoor screenings | 40–120 m2 | P6–P10 | 5,000–9,000 | $2,000–$10,000 |
Common Pitfalls and How to Avoid Them
Underestimating power and logistics
One of the most frequent problems is inadequate planning for power distribution. Always verify vendor power specs and plan for both average and peak loads with redundancies.

Skipping a site survey
Not conducting a proper site survey results in delays, missing permits, and unsafe rigging. Invest time in a thorough survey—digital photos and 3D venue models are helpful.
Poor content aspect and resolution mismatch
Delivering content at the wrong aspect ratio or resolution leads to stretched or letterboxed images. Pre-test content on the vendor’s configuration or request a content rehearsal.
Maintenance, Returns and Post-Event
On-site spares and diagnostics
Ensure your vendor provides spare modules, spare power supplies, and a basic diagnostics toolkit. Many rentals include on-site technicians for the event duration; confirm their availability during rehearsals and main show.
Post-event checks and claims
Inspect the screen and rigging immediately after de-rig and note any issues on the vendor’s checkout form. Taking time-stamped photos can speed up any claims process for damage disputes.
Checklist Before You Book
– Confirm expected audience size and viewing distances.
– Specify pixel pitch and native resolution needs.
– Request vendor power specs and generator recommendations.
– Require IP rating and wind-load certification for screens.
– Get a full quote with delivery, labor, rigging, insurance, and contingencies.
– Schedule a technical rehearsal and content test.
– Confirm on-site technician hours and emergency contact.
– Secure necessary permits and insurances well in advance.
Renting an outdoor LED screen can transform an event, achieving high visual impact and improved audience engagement. Success depends on aligning technical specs to audience needs, planning logistics and power carefully, coordinating content and audio, and preparing for safety and weather contingencies. By asking the right questions, conducting a detailed site survey, and using the checklists and rules of thumb in this guide, you can reduce risk and deliver a compelling outdoor experience.