Custom Sizing Options Available for TW VISION Flexible LED Panel Projects
Flexible LED panels have reshaped how designers and integrators approach curved surfaces, irregular facades, and immersive interiors. TW VISION’s flexible LED offerings are particularly well suited for projects that demand nonstandard dimensions — from organically curved retail marquees to cropped, artful ceiling installations. This article explains the custom sizing options available for TW VISION flexible LED panel projects, outlines the technical constraints and trade-offs, and offers a practical checklist for specifying and delivering bespoke displays that meet aesthetic and performance goals.
Custom Sizing Options Available for TW VISION Flexible LED Panel Projects
Design Principles and Modularity
The core advantage of flexible LED panels is modularity: discrete flexible modules can be combined, trimmed, or shaped to approximate nearly any surface. When planning a custom-size TW VISION installation, the starting point is the panel module dimensions and how they tile. Designers must balance three interdependent variables: visible resolution (pixel pitch), final assembled dimensions, and curvature or cut contours.
– Pixel pitch dictates the smallest practical viewing distance and indirectly affects module size. Smaller pitches (higher density) usually come in smaller module footprints.
– Module framing and seam design determine how tight the seams can be and whether tiles can be overlapped, butt-joined, or magnetically connected.
– Flexibility class — mild bend versus high-strain rollable panels — determines minimum bend radius and potential for free-form shaping.
Early collaboration between creative teams, engineers, and TW VISION production specialists ensures the project’s sizing choices align with manufacturing limits, electrical routing, and mechanical mounting.
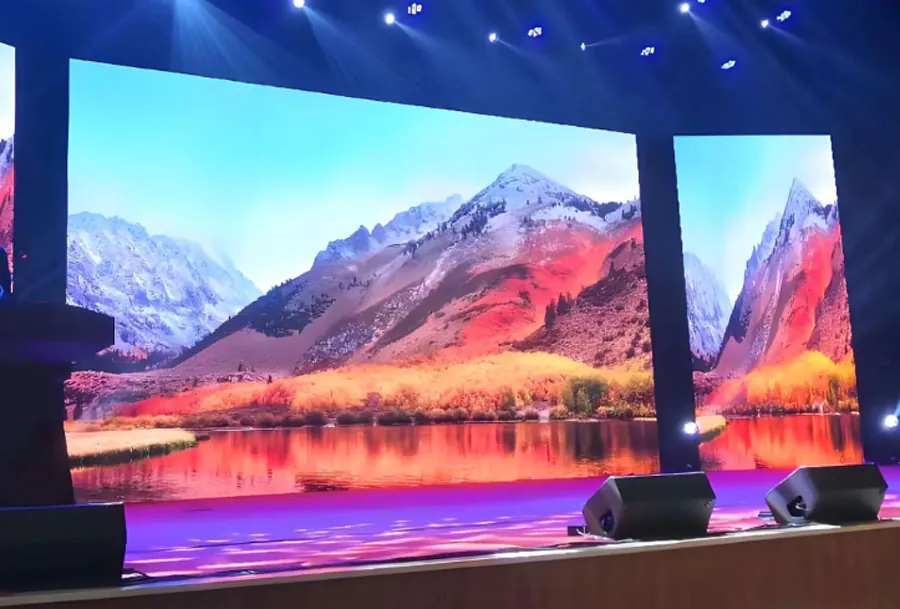
Sizing Categories — Typical Options and Trade-offs
Custom sizing for TW VISION flexible LED projects generally falls into a few practical categories. These categories reflect how modules are used or modified to reach the final size and shape:
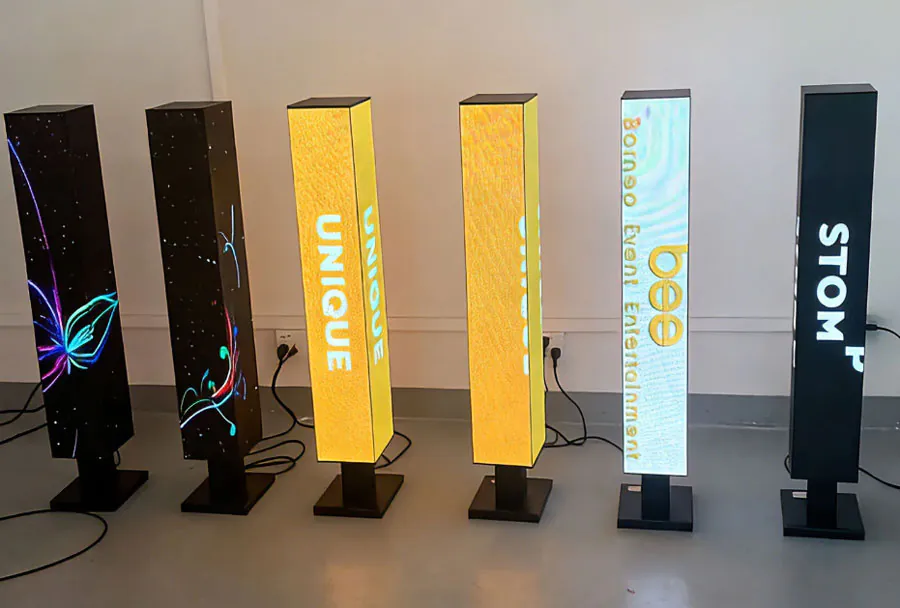
– Standard tiled assemblies: using full modules in rectangular arrays for large planar surfaces.
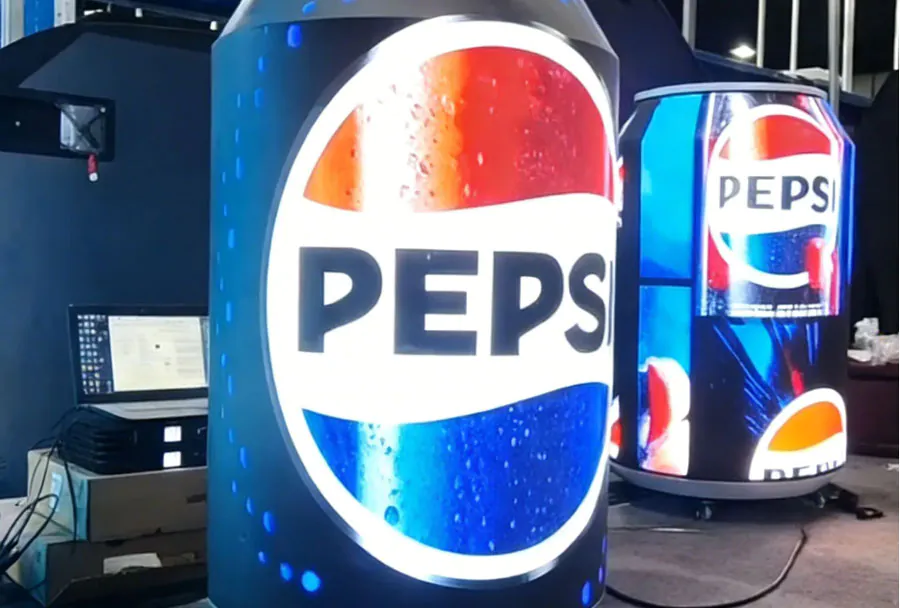
– Custom-cut panels: trimming flexible PCBs to create nonrectangular edges or contours.
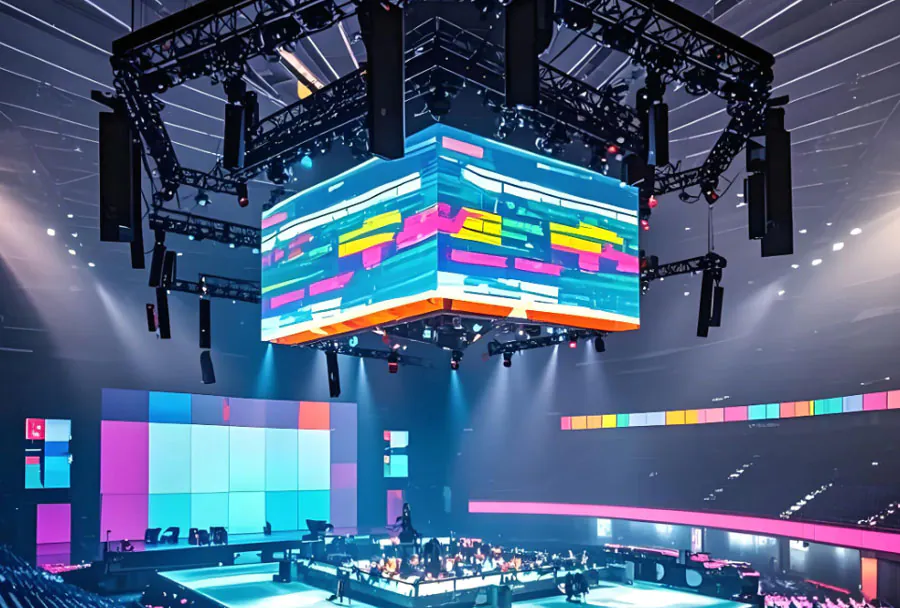
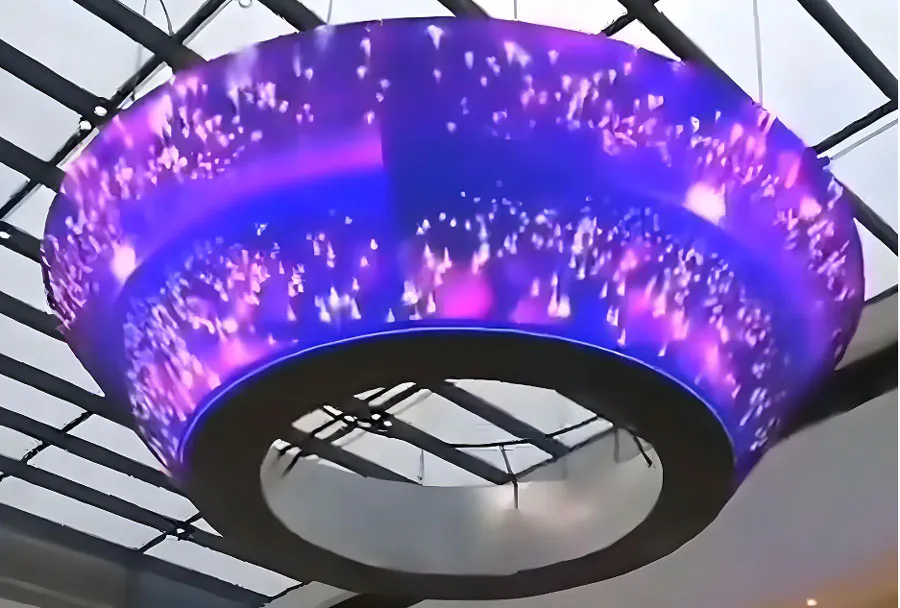
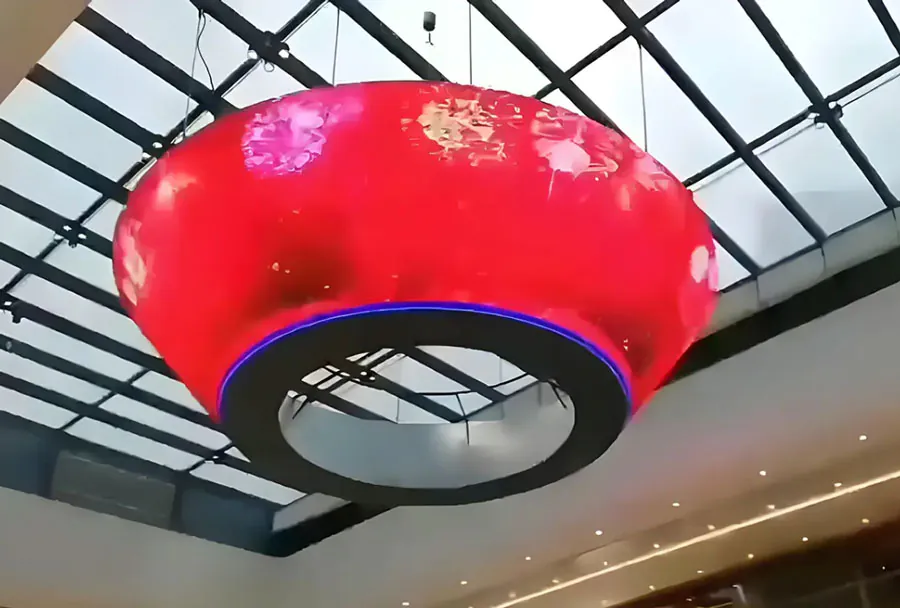
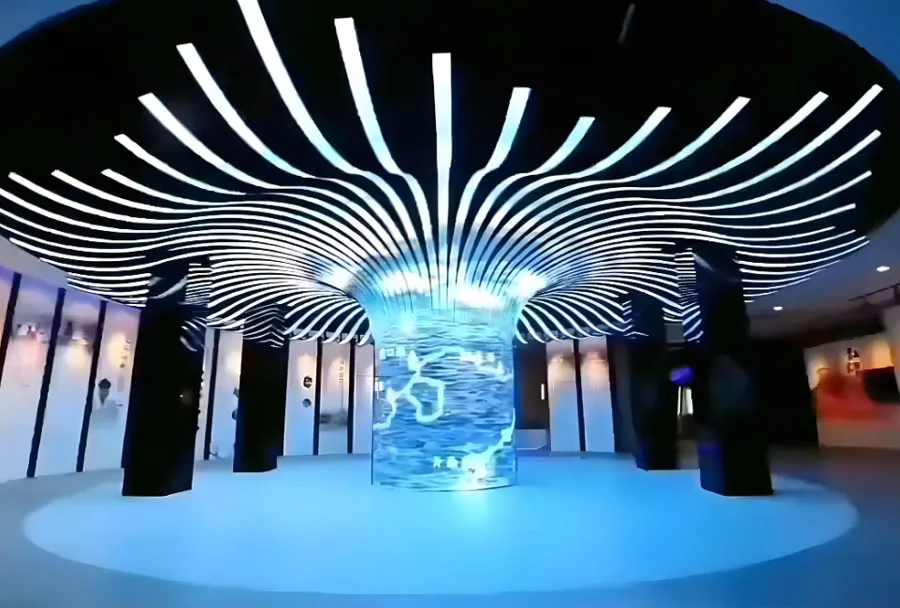
– Curved modules: forming panels along a single or compound curve while maintaining uniform pixel mapping.
– Seamless mosaics: tightly jointed modules engineered to minimize seam visibility, enabling large continuous canvases.
– Fine-pitch custom modules: specially manufactured module sizes for very high-resolution applications where native module size might otherwise limit aspect ratio.
Below is a concise comparison table to help evaluate these options at a glance.
| Sizing Option | Typical Dimensions | Advantages | Limitations | Estimated Cost Impact |
|---|---|---|---|---|
| Standard tiled assemblies | Multiples of 250×250 mm, 320×160 mm (examples) | Fast production, predictable seams, simplified cabling | May require visible seams/step layout for nonstandard aspect ratios | Low to moderate |
| Custom-cut panels | Any outline within module area; trimmed to fit | Precise fit to complex shapes; reduced material waste on odd outlines | Loss of pixels along cut edges; additional QC and edge-seal required | Moderate |
| Curved modules | Continuous curves with min bend radius (e.g., 250–600 mm) | Seamless curved surfaces; high visual continuity | Bend radius limits; requires mechanical formers and support | Moderate to high |
| Seamless mosaics | Large arrays (several meters to tens of meters) | Large, virtually continuous displays with minimal seams | High installation precision and weight/support considerations | High |
| Fine-pitch custom modules | Small module footprints (custom dimensions to match aspect) | Very high resolution for close viewing; flexible aspect ratios | Costlier, longer lead times, more complex power/driving | High to premium |
Technical Considerations for Custom Sizes
When planning a custom-sized TW VISION flexible LED installation, several technical aspects must be vetted early in the design:
– Electrical distribution: Larger arrays and custom shapes require careful routing of power and signal lines to avoid voltage drop and to maintain uniform brightness. Identify power injection points and specify cable runs that maintain acceptable voltage tolerance.
– Driving electronics and mapping: Custom sizes may need special mapping files and control server configurations. Verify controller compatibility with pixel counts and nonrectangular tiling to prevent overscan or blank regions.
– Thermal management: Flexible panels dissipate heat differently than rigid panels. When panels are densely tiled or enclosed, ensure ventilation or heat-spreading backplanes are present.
– Minimum bend radius and forming jigs: Rolling or curving a panel has a defined minimum radius; exceeding strain limits can damage LEDs or PCB traces. TW VISION typically publishes a safe bending spec — use it to design formwork.
– Environmental sealing and edge protection: Custom trims create exposed LED edges that require encapsulation or bezel treatments to protect against moisture and impact.
– Maintenance access: Panels integrated into ceilings, columns, or facades need serviceability. Designing removable segments with standardized connectors simplifies future repairs.
Installation, Mounting, and Achieving Visual Continuity
Physical mounting strategies impact both the achievable size and the perceived seamlessness of the display.
– Common mounting systems include magnetic tile mounts, hook-and-loop with reinforcement, threaded fasteners into a subframe, or adhesive-backed frames. The choice depends on permanence, ease of replacement, and load distribution.
– For curved installations, a custom substructure (often CNC-cut MDF or aluminum ribs) provides the profile that the panels are formed against. This substructure must maintain consistent curvature and provide attachment points for cable routing.
– Alignment tools — laser guides, precision jigs, and camera-alignment software — reduce seam offsets during installation. TW VISION modules with indexed connectors help align pixels across seams, improving visual continuity.
– Edge treatments, including slim metal bezels or custom-printed trim, conceal cut edges while preserving the visual flush between panels.
Cost, Lead Time, and Production Workflow
Custom dimensions affect price and schedule in predictable ways. Understanding where time and cost are consumed helps owners make informed choices.
– Engineering and design time: Custom shapes require drawings, 3D models, and sometimes mockups. This upfront engineering is billable time but reduces on-site surprises.
– Manufacturing tolerances: Custom cuts or special module sizes may enter a bespoke production run, increasing per-unit cost due to tooling or programing of CNC cutters.
– Testing and calibration: Bespoke assemblies need additional QA — pixel-by-pixel testing, power rail verification, and burn-in testing — to ensure uniformity across the custom array.
– Shipping and packaging: Irregular sizes often require tailored packaging and may reduce pallet efficiency. Protective packaging for delicate cut edges increases cost.
– Installation labor: More complex shapes and curved surfaces need experienced installers and sometimes longer installation windows, which ramps up field labor costs.
Typical lead-time tiers:
– Off-the-shelf standard modules: short lead times (weeks).
– Custom-cut panels and curve forming: moderate lead times (several weeks to a couple months).
– Full bespoke module manufacturing (fine-pitch custom modules): longer lead times (multiple months).
Best Practices and Specification Checklist
To achieve a successful TW VISION flexible LED project with custom sizing, follow a clear specification and verification workflow:
1. Establish viewing distance and desired pixel density — select pixel pitch first.
2. Produce detailed drawings and 3D models of the target surface, including mounting plane tolerances.
3. Confirm TW VISION module footprints, seam profiles, and minimum bend radius for the chosen product line.
4. Define power injection locations, controller requirements, and cabling paths. Specify redundancy for mission-critical displays.
5. Decide whether panels will be trimmed — if so, identify edge-sealing methods and expected pixel loss along the cut lines.
6. Request mockups: small physical samples or a rendered prototype to validate color uniformity, seam visibility, and curvature.
7. Plan for service access: ensure panels can be removed or swapped without dismantling the entire structure.
8. Factor environmental protection: ingress rating, UV stability, and temperature ranges for outdoor or semi-exposed applications.
9. Include QA steps: pixel testing, electrical load verification, and calibration before shipping.
10. Agree on lead times and staging: staggered deliveries for phased installations reduce on-site storage requirements.
Custom sizing options make TW VISION flexible LED panels powerful tools for architects and visual designers. The key to success lies in marrying creative ambition with engineering realities. Start with the viewing requirements (pixel pitch and resolution), then let module dimensions and bending limitations inform the layout. Use the table and checklist above as a practical guide during the design and procurement process.
For projects where budget or timeline is constrained, favor standard tiled assemblies with intelligent placement of seams to minimize visual impact. For high-profile or closely viewed installations, invest in custom modules or tight-seam mosaics to achieve the required fidelity. Finally, engage TW VISION’s technical team early — their input on module capabilities, edge-cut procedures, and recommended mounting systems will reduce rework and deliver a display that performs reliably over its intended lifecycle.