The Ultimate Guide to Ordering TW VISION Bespoke LED Video Walls
Starting a bespoke LED Video Wall project with TW VISION demands focused planning, clear specifications, and a strong understanding of how design choices affect performance, cost, and maintenance. This guide walks you through the practical steps of ordering a TW VISION Bespoke LED Video Wall—covering technical specifications, site evaluation, content and control systems, procurement best practices, and long-term support considerations—so your final installation meets expectations from day one.
Understanding TW VISION Bespoke LED Video Walls
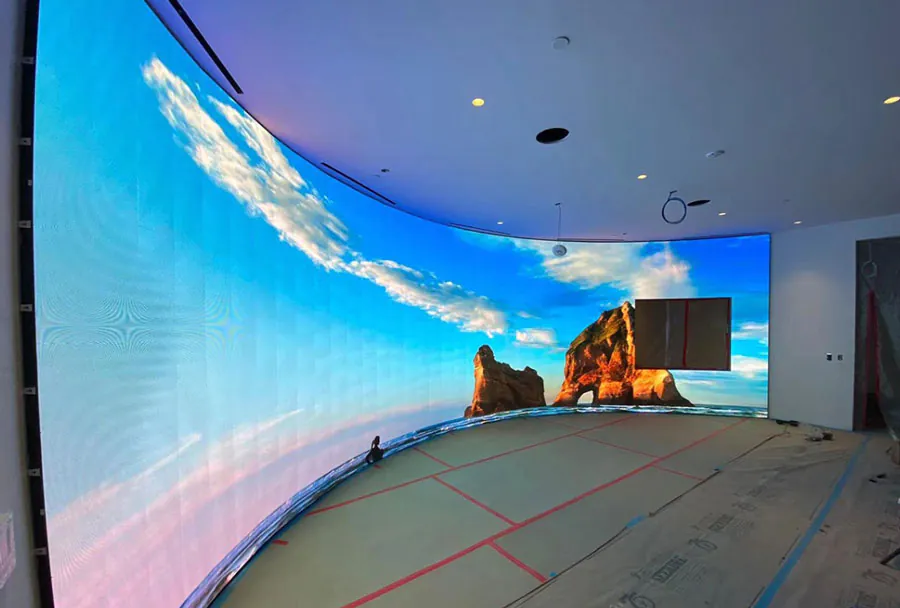
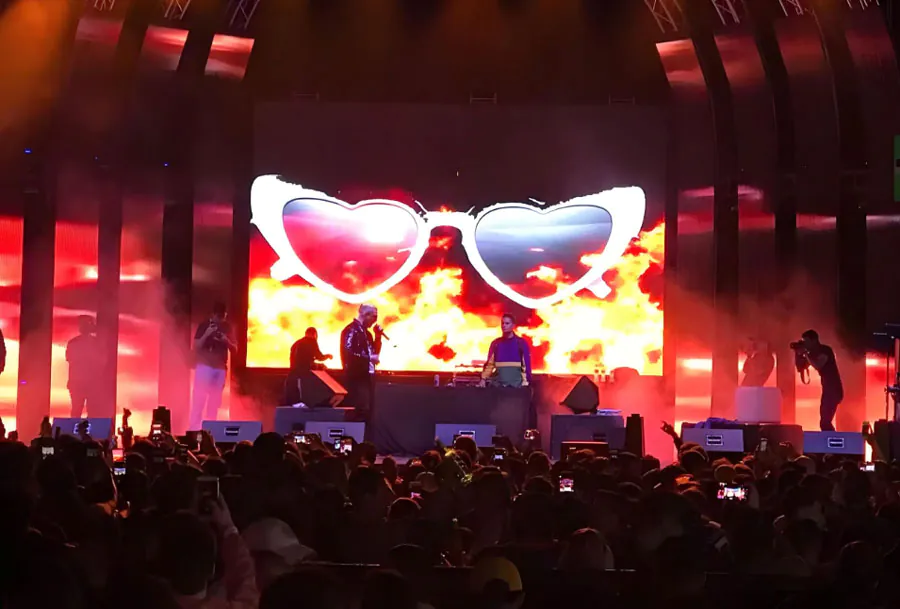
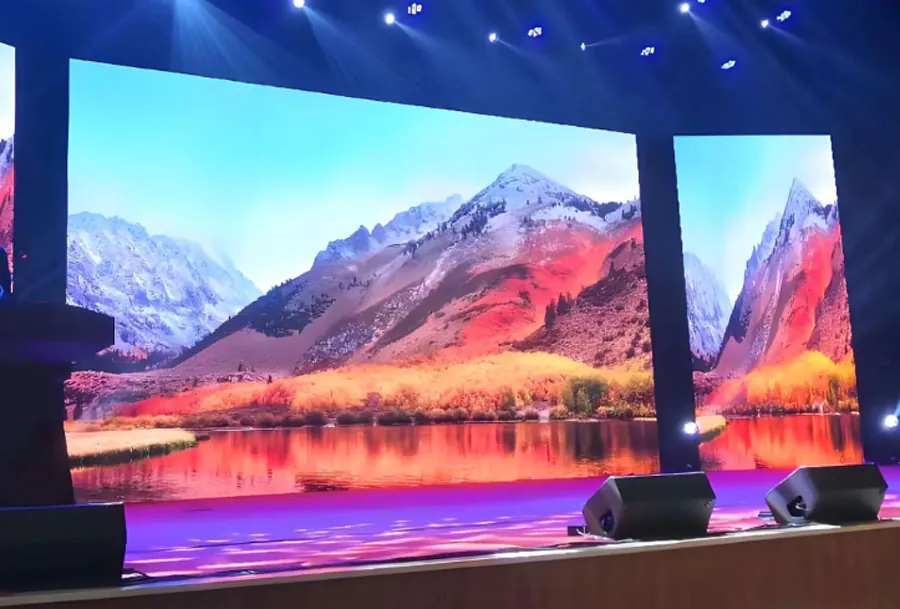
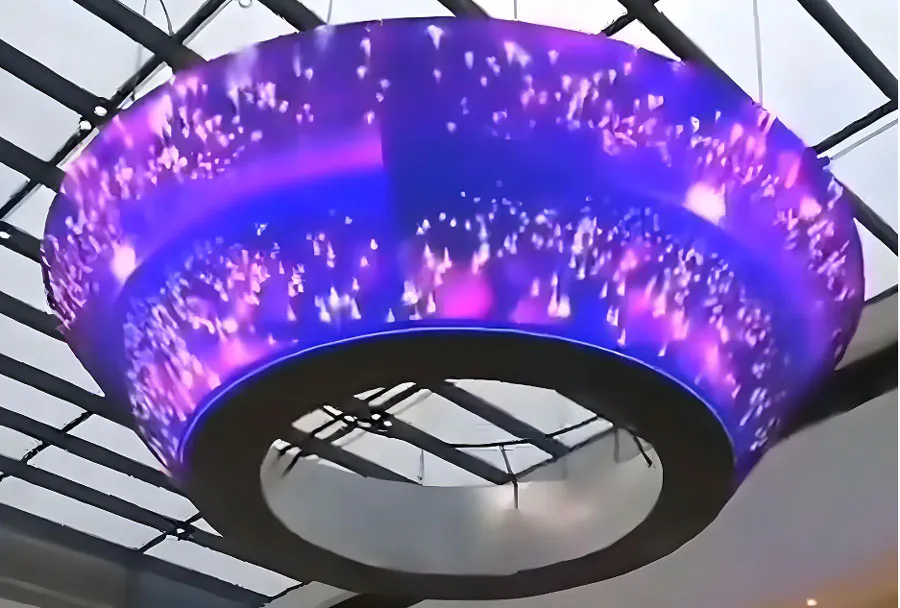
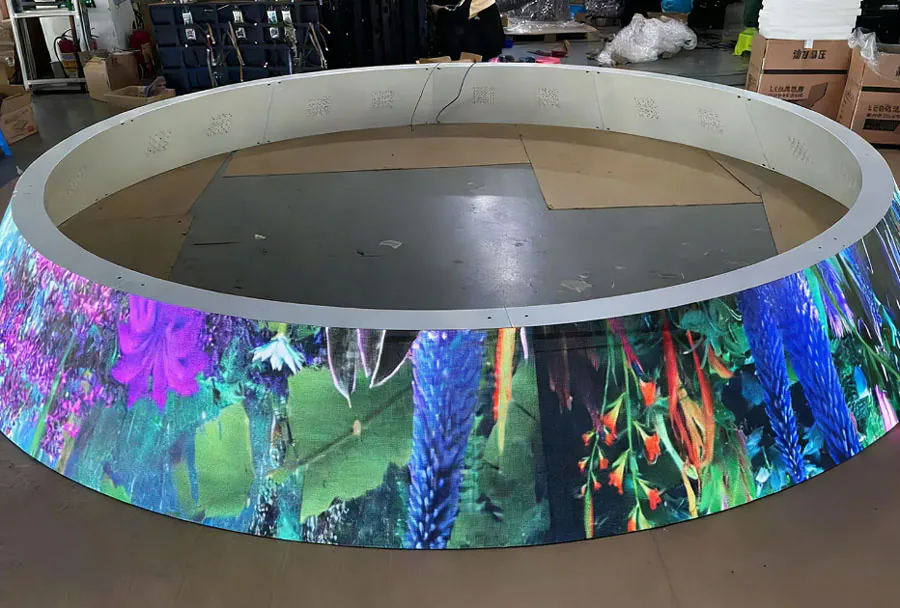
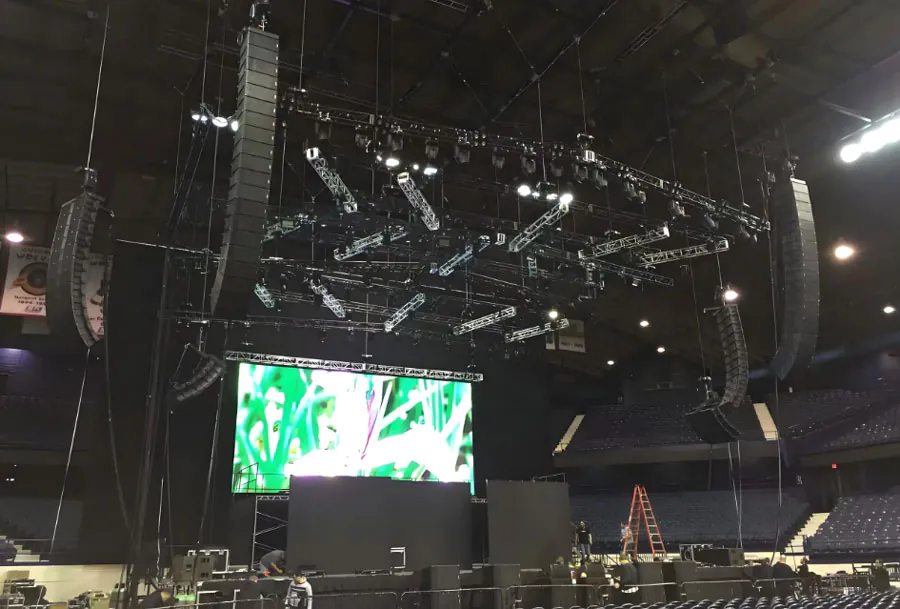
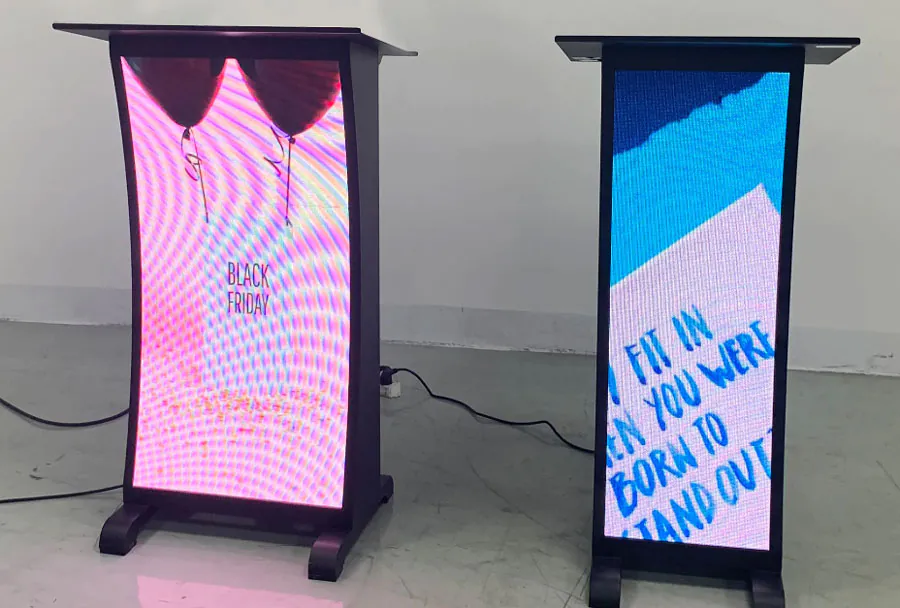
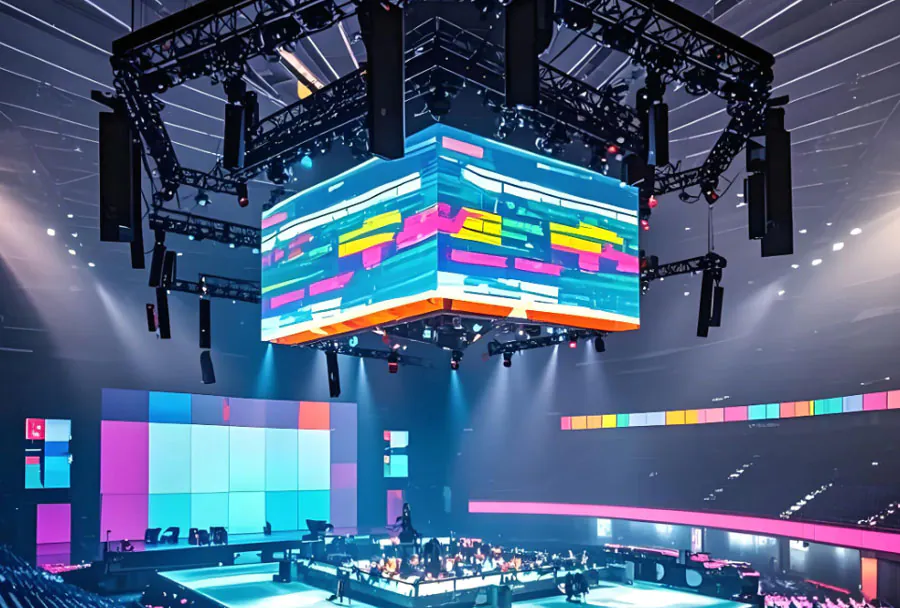
TW VISION is known for customizable LED video wall solutions that accommodate a wide range of environments—from retail storefronts and corporate lobbies to control rooms, broadcast studios, and immersive experiences. A bespoke LED solution means the manufacturer tailors modules, cabinets, frames, pixel pitch, brightness, and control systems to your project specifications. This customization gives you flexibility in resolution, aspect ratio, curvature, and serviceability.
Why choose bespoke over off-the-shelf?
– Perfect fit: Bespoke systems are manufactured to specified dimensions, avoiding awkward gaps, trim panels or awkward aspect ratios.
– Optimized performance: You can select pixel pitches, brightness levels, and refresh rates tuned for your viewing distance and ambient light.
– Long-term value: Tailored service access (front or rear) and spare part planning reduce downtime and maintenance costs.
– Branding and aesthetics: Custom facings, bezels, and mounting systems allow the wall to match architectural requirements.
Key Specifications and Customization Options
Before placing an order, define the technical baseline. The main specifications that influence cost and capability include pixel pitch, cabinet size, brightness (nits), refresh rate, color calibration, and ingress protection (IP) rating for outdoor installations.
Primary technical choices
– Pixel pitch: Ranges usually from 0.9mm (fine-pitch indoor) up to 10mm+ for large outdoor walls. This determines native resolution and optimal viewing distance.
– Cabinet size & resolution: Standard cabinet sizes speed production, but bespoke sizes are possible—ensure cabinet seams align with content grid.
– Brightness and HDR capability: Outdoor installations often require >5,000 nits; indoor walls may target 600–1,200 nits depending on ambient light.
– Refresh rate & grayscale: Higher refresh rates and improved grayscale reduce flicker and motion artifacts—important for broadcast or camera-facing applications.
– Service access: Front service, rear service, or mixed—choose based on wall location and building access constraints.
– Environmental protection: IP65+ for outdoor faces, additional thermal management for hot climates.
– Control and redundancy: Select sending/receiving cards, backup video paths, and power redundancy for mission-critical use.
Site Survey and Installation Planning
A detailed site survey is essential. Engage TW VISION or your systems integrator early to map mounting structures, power availability, ventilation, and content cabling.
Critical survey elements
– Structural support: Confirm wall and floor loading, vibration characteristics, and where reinforcement is needed.
– Power and cooling: Determine power draw per square meter, dedicated circuits, UPS requirements, and cooling or heat dissipation needs.
– Ambient light and sightlines: Measure lux levels and identify reflection sources; these influence brightness and anti-glare choices.
– Access for installation and maintenance: Door sizes, scaffold requirements, and service corridors affect whether front or rear service is feasible.
– Network infrastructure: Bandwidth, switch capacity, and cable routes for content distribution and remote management.
Content, Control Systems and Calibration
A high-quality LED wall is only as good as the content and control system driving it. Specify media servers, scaling, and calibration approach at the ordering stage.
Content workflow considerations
– Native resolution planning: Design content to the final wall’s pixel resolution to avoid scaling artifacts.
– Media server and scaler selection: For multi-input and multi-layer content, choose a robust media server with real-time scaling and mosaic support.
– Color calibration: Factory calibration should be complemented by on-site calibration (colorimeter or spectrometer) for uniformity. TW VISION typically provides factory profiling and optional on-site fine-tuning.
– Remote diagnostics and management: Ensure the control system supports SNMP or proprietary remote monitoring for predictive maintenance.
Budgeting and Pricing Factors
Understanding cost drivers helps you balance investment against performance. Bespoke solutions involve variable pricing based on materials, labor, and configuration.
Major cost components
– Pixel pitch and resolution: Smaller pitch increases module cost exponentially.
– Brightness and outdoor ruggedization: Higher nit ratings, IP grading, and weatherproofing add to unit price.
– Custom physical structures: Nonstandard cabinet sizes, curves, and custom frames increase fabrication cost.
– Control system and redundancy: Higher-end processors, backup systems, and integrated monitoring raise total system cost.
– Installation complexity: Structural work, rigging, and extended installation time add to labor costs.
– Warranty and service plans: Extended warranties and SLAs produce predictable ongoing costs but increase upfront pricing.
Ordering Process: Step-by-Step
Follow a structured process to reduce risk and accelerate delivery.
Recommended ordering workflow
1. Define project goals: Use cases, viewing distance, operating environment, and budget.
2. Conduct site survey: Document mounting points, power, and access.
3. Select core specs: Pixel pitch, brightness, cabinet design, service access.
4. Prototype or mock-up: Request a sample cabinet or small mock-up to verify visual expectations.
5. Finalize control and networking: Choose media servers, sending cards, and monitoring.
6. Sign-off on technical drawings and acceptance criteria: Include test criteria for brightness, color uniformity, and dead pixel tolerance.
7. Production and factory acceptance testing (FAT): Inspect factory-calibrated units and request test reports.
8. Shipping and site acceptance testing (SAT): Plan for on-site calibration and final verification before commissioning.
Maintenance, Warranty and Support
Long-term uptime is a key differentiator. TW VISION offers service options; ensure these terms are clear in contracts.
Maintenance planning
– Spare parts strategy: Maintain a small inventory of power supplies, driver cards, and modules.
– Preventive maintenance schedule: Regular cleaning, recalibration, and firmware updates.
– Remote monitoring: Use telemetry to detect failing modules or power issues before visible degradation.
– Response times and SLAs: Define mean-time-to-repair (MTTR) expectations and on-site technician availability.
Analysis Table: Typical Use Cases and Recommended Configurations
| Use Case | Recommended Pixel Pitch | Typical Viewing Distance | Approx. Size Range | Key Considerations |
|---|---|---|---|---|
| Retail / Window Display | P1.2–P2.5 | 3–8 ft | 2–10 m2 | High brightness, day/night modes, content resolution |
| Corporate Lobby | P1.5–P2.5 | 6–12 ft | 4–20 m2 | Design aesthetics, front service access, calibration |
| Broadcast Studio / Camera Facing | P0.9–P1.5 | 3–10 ft | 3–15 m2 | High refresh rate, low latency, camera calibration |
| Control Room | P1.2–P2.5 | 3–10 ft | 6–30 m2 | Redundancy, long uptime, uniformity |
| Outdoor Large-Scale Facade | P4–P10+ | 15–200+ ft | 20–1000 m2 | IP rating, high brightness, structural engineering |
Final Checklist and Ordering Tips
– Specify viewing distance and content resolution before committing to pixel pitch.
– Request factory calibration reports and grayscale curves.
– Insist on a small site mock-up or sample to verify color, brightness, and viewing angles in context.
– Define acceptance criteria and testing procedures in the purchase order.
– Plan for long-term spares and a maintenance contract that includes SLAs for critical installations.
– Clarify responsibilities for shipping, customs, and on-site installation, especially for international projects.
– Ask about lifecycle upgrades—modular systems make future pitch upgrades simpler and more cost-effective.
Completing a bespoke LED video wall with TW VISION requires attention to technical detail, practical planning, and a clear procurement process. By starting with precise requirements—viewing distance, environment, and content goals—and working through site surveys, specification sign-offs, and factory testing, you reduce risk and achieve an installation that performs reliably and impresses visually. If you’re ready to proceed, request a technical consultation and a factory mock-up quote to validate your design choices before full production.