Complete Guide to Installing Weatherproof Outdoor Digital Displays by TW VISION
Outdoor digital displays extend the reach of brands, deliver real-time information, and transform public spaces — but installing them correctly is a technical task that blends electrical work, structural mounting, environmental protection, and digital networking. This guide focuses on the Complete Guide to Installing Weatherproof Outdoor Digital Displays by TW VISION and walks you through planning, hardware selection, mounting options, weatherproofing best practices, connectivity and power considerations, commissioning, and ongoing maintenance so your display performs reliably for years.
Complete Guide to Installing Weatherproof Outdoor Digital Displays by TW VISION
1. Project planning and site assessment
Start with a thorough site survey. Take note of sightlines, pedestrian and vehicle traffic patterns, mounting surface materials, prevailing weather (wind, salt spray, humidity), ambient light levels, and available power and network access. Evaluate local regulations: permits, sign codes, and utility requirements are often overlooked but can delay deployment. TW VISION recommends documenting exact GPS coordinates, mounting heights, and a photo record of the proposed location. Early coordination with structural engineers and electrical contractors prevents scope creep and cost overruns.
Key planning items:
– Purpose: advertising, information, wayfinding, or transit schedules.
– Viewing distance and angle to determine screen size and pixel pitch.
– Ambient brightness to specify nits (cd/m2) for daytime readability.
– Access for service and cleaning.
– Security and vandalism risks.
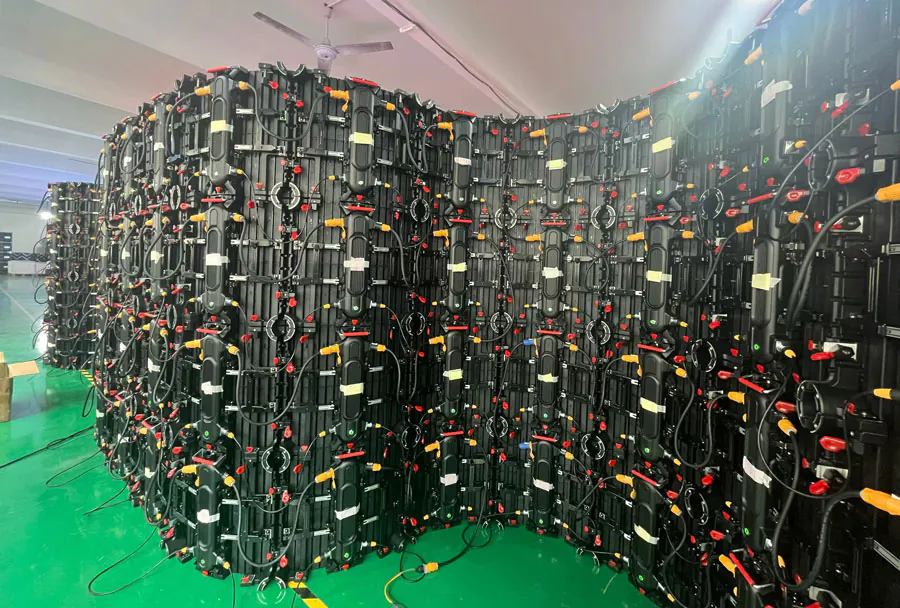
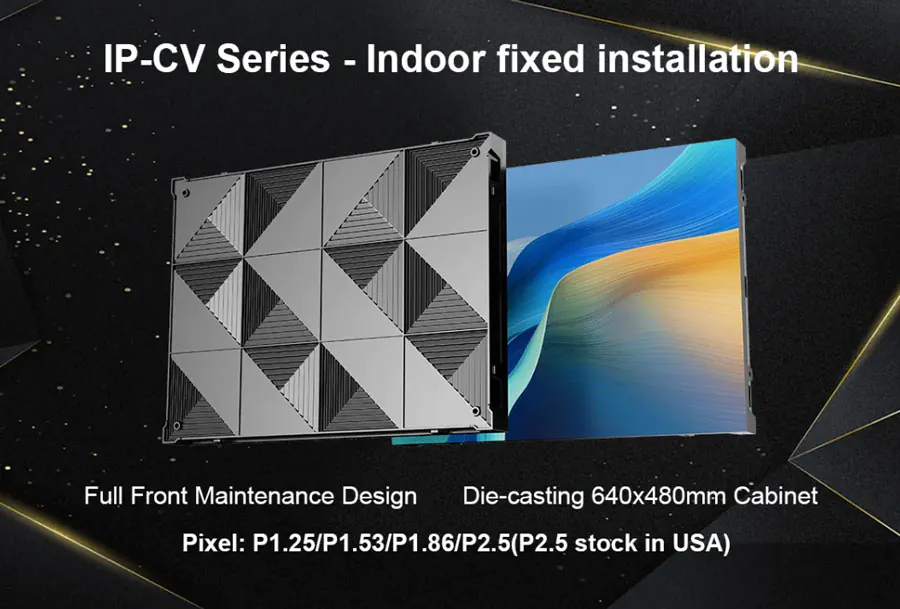
2. Choosing the right hardware
TW VISION offers weatherproof outdoor displays in various form factors (single-sided, double-sided, window-facing, and free-standing). Select the technology (LED vs. high-brightness LCD) based on viewing distance and content type. LED walls are ideal for long-range, large-format signage; high-brightness LCD is suitable for mid-range, high-resolution content.
Important hardware specs:
– Brightness: 2,500–6,500 nits for full daylight readability; choose higher for direct sun exposure.
– IP rating: IP65 or higher for protection against dust and rain; coastal installations may require IP66.
– Impact resistance: IK10 for vandal-prone areas.
– Temperature range: ensure built-in thermal management (heaters and fans or climate control) matches local extremes.
– Glare control: anti-reflective coatings or opal glass to maintain contrast in bright environments.
3. Mounting and structural requirements
Mounting options include wall mounts, pole mounts, roof mounts, and freestanding kiosks. The structural supports must account for the display weight, wind load, seismic considerations, and any enclosure hardware. TW VISION provides detailed mounting templates and recommends engineers verify load calculations per local codes.
Practical tips:
– Use stainless steel hardware in coastal areas.
– Anchor into structural elements rather than non-load bearing facades.
– Allow service clearance (typically 200–500 mm) depending on the model for rear access.
– Use vibration dampening when mounted near heavy machinery or transit hubs.
4. Weatherproofing and thermal management
Weatherproofing goes beyond a sealed enclosure. Thermal management ensures electronics operate within rated temperatures. TW VISION designs enclosures with integrated cooling and heating options — passive heat sinks, thermostatically controlled fans, or active HVAC for extreme climates.
Checklist:
– Verify IP/IK ratings and confirm gaskets and cable entry seals are installed correctly.
– Ensure drainage paths for condensation; avoid flat horizontal surfaces that pool water.
– Install sunshades or hoods where direct sunlight increases surface temperature.
– Ensure adequate ventilation without compromising waterproofing — use filtered vents or IP-rated louvers.
5. Power and electrical considerations
Power supply design is critical. Calculate inrush current and continuous load to size breakers and conductors. Include surge protection and UPS options for critical signage. TW VISION recommends local disconnects and labeled circuits for safe servicing.
Best practices:
– Use dedicated circuits and follow National Electrical Code (NEC) or local standards.
– Install surge protective devices at service entry and locally at the display.
– Include a ground fault circuit interrupter (GFCI) if required by application.
– For remote or off-grid sites, consider solar-plus-battery solutions with proper charge control.
6. Connectivity and content management
Decide between wired (Ethernet/PoE) or wireless (LTE/5G/Wi-Fi) connectivity based on reliability needs. TW VISION’s platforms often integrate with CMS systems for remote content scheduling, monitoring, and diagnostics. Plan for bandwidth needs, VPN access, and hardware firewalls to secure the display from unauthorized access.
Connectivity tips:
– Use secure VPNs and strong authentication for remote management.
– Segregate the signage network from corporate networks where possible.
– Pre-configure devices with monitoring agents to report uptime, temperature, and errors.
7. Installation workflow and safety
Follow a staged workflow: secure structural mount, install enclosure, make power and data connections, configure the display, and run commissioning tests. Safety is paramount: use fall protection, lockout/tagout procedures for electrical work, and properly rated lifting equipment.
Installation steps:
1. Confirm permits and utility locates.
2. Install mount and verify plumb and level.
3. Lift and secure display using manufacturer-recommended hardware.
4. Complete cable terminations in weatherproof junction boxes.
5. Test power delivery and network connectivity.
6. Load test content and calibrate brightness/color settings.
8. Commissioning and testing
Commissioning validates the installation under real-world conditions. TW VISION recommends a formal checklist: verify display brightness at different times of day, test automated brightness control (ambient light sensors), check ingress protection seals after initial rain, run network and CMS connectivity tests, and verify thermal cycling and fans/heaters function across the expected temperature range.
Key tests:
– Visual uniformity and color calibration.
– Ambient light sensor responsiveness.
– Surge and ground fault protection operation.
– Emergency shutoff and access control.
9. Maintenance, monitoring, and lifecycle care
Proactive maintenance reduces downtime. TW VISION supports remote monitoring that alerts for temperature excursions, fan failures, moisture ingress, or power issues. Schedule regular cleaning (approved cleaners and soft cloths), gasket inspections, and firmware updates. Keep a spare parts kit with fuses, fans, and commonly failed modules.
Maintenance plan:
– Weekly remote health checks.
– Quarterly physical inspections and cleaning.
– Annual firmware and CMS updates.
– Replace consumables (filters, gaskets) per manufacturer intervals.
10. Troubleshooting common issues
Common problems include dim or uneven brightness, flicker, network outages, and water ingress. Use methodical troubleshooting: isolate power, verify input signals, run diagnostics via the CMS, inspect seals, and check thermal components. TW VISION’s technical support can often diagnose remotely; have serial numbers and log files ready.
Troubleshooting flow:
– Verify power and breakers.
– Check network link lights and IP settings.
– Review system logs for thermal and voltage warnings.
– Physically inspect the enclosure for moisture or damage.
11. Compliance, warranty, and support
Ensure the display and installation comply with local electrical codes, signage ordinances, and accessibility requirements. Keep warranty registration and service terms from TW VISION; many warranties require professional installation to remain valid. Understand what is covered: typically component failure, ingress failure under rated conditions, and workmanship from the manufacturer.
Documentation to keep:
– Installation and commissioning reports.
– Electrical and structural sign-off certificates.
– Warranty and support contact details.
– Firmware and CMS configuration backups.
Analysis Table: Key Components and Recommendations
| Component | Recommended Spec | Why It Matters | Installation Tip | Common Pitfall |
|---|---|---|---|---|
| Brightness | 2,500–6,500 nits (site-dependent) | Ensures readability in daylight and direct sun | Measure ambient lux and choose nits with margin | Underestimating sunlight → unreadable content |
| Ingress Protection | IP65 or higher; IP66 for coastal | Protects electronics from dust and water | Verify seal compression and cable gland installation | Poor gasket seating or unsealed cable entries |
| Thermal Management | Active HVAC or thermostatic fans/heaters | Keeps electronics within operating temperature | Test fans/heaters across temperature range | No ventilation strategy → overheating or condensation |
| Power Protection | Surge protector + dedicated circuit + UPS | Prevents damage from surges and power loss | Install local SPD with proper grounding | Shared circuits and missing surge suppression |
| Network Security | VPN, firewall, strong auth | Prevents unauthorized access to content/control | Use separate VLAN or network segmentation | Open ports or default credentials |
Installing weatherproof outdoor digital displays is a multidisciplinary task: electrical, mechanical, thermal, and IT disciplines all intersect. TW VISION’s Complete Guide to Installing Weatherproof Outdoor Digital Displays emphasizes proper planning, selecting the right hardware, rigorous weatherproofing, robust power and network design, and a disciplined commissioning and maintenance routine. Investing in correct installation practices up front reduces lifecycle costs, improves uptime, and protects the brand experience. Use this guide as a checklist and adapt it to local conditions and code requirements — and coordinate with TW VISION’s technical resources when in doubt to ensure a safe, compliant, and long-lasting installation.