Strategic Placement Tips for TW VISION Outdoor Digital Display Installations
Outdoor digital displays are only as effective as the decisions made before they are turned on. From daily commuting corridors to retail plazas and stadium exteriors, TW VISION outdoor displays deliver high-impact messaging when placement is carefully planned. Strategic placement maximizes visibility, reduces operational issues, and ensures content resonates with intended audiences. This article lays out a practical, step-by-step framework to optimize site selection and installation for TW VISION outdoor digital displays, covering technical, environmental, human, and regulatory factors.
Strategic Placement Tips for TW VISION Outdoor Digital Display Installations
1. Begin with a comprehensive site assessment
A successful installation starts with detailed reconnaissance. Identify pedestrian and vehicular traffic patterns, peak hours, lines of sight, obstacles (trees, signage, utility poles), and the likely viewing distances. Use the following checklist during site assessment:
– Conduct a pedestrian and vehicle count at different times and days.
– Map sightlines from primary approaches and waiting points (bus stops, crosswalks, parking lots).
– Note reflective surfaces or nearby glass that could create glare.
– Capture photographs and videos at different times of day to assess sun angles and shadowing.
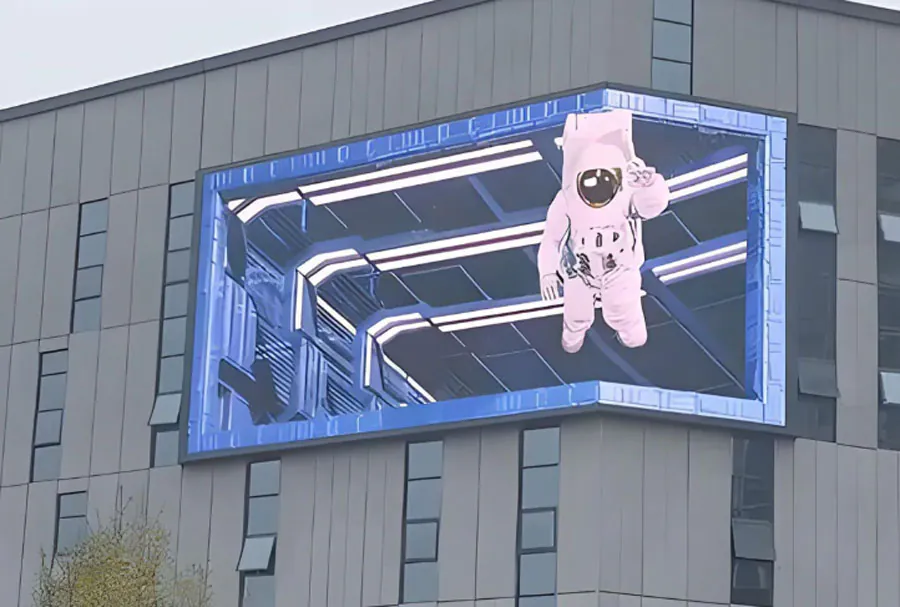
TW VISION displays are engineered for bright outdoor environments, but understanding micro-environment specifics ensures you specify the right model and mounting.
2. Match screen size and resolution to viewing distance
Choosing the correct screen size and pixel pitch is critical. Larger displays and coarser pixel pitch can work for highway-speed viewing, but close-quarter urban locations demand higher resolution. General rules:
– Short-range (up to 15 ft): Fine pixel pitch (P2–P4) for crisp text and images.
– Mid-range (15–75 ft): Medium pixel pitch (P4–P10) to balance cost and clarity.
– Long-range (75+ ft): Coarser pitch (P10+) with larger physical size to maintain legibility.
TW VISION models come in a range of pixel pitches and brightness levels. Calculate the required resolution by mapping the typical viewing distance to the intended content (text versus high-detail imagery).
3. Optimize mounting height and orientation
Mounting height and orientation affect visibility, safety, and legal compliance. Keep in mind:
– Eye-level for pedestrians is around 4–6 ft; for drivers it’s higher, so mount highway-facing displays proportionally.
– Avoid low mounts that obstruct sidewalks or create trip hazards.
– Tilt angle: Slight downward tilt improves readability for ground viewers; consider pan/tilt to avoid sun glare.
– Ensure the display doesn’t infringe on traffic signs or signals.
TW VISION’s modular units enable flexible mounting options — wall-mounted, pole-mounted, or billboard-style arrays. Always coordinate with structural engineers to confirm load capacities.
4. Account for ambient light and choose appropriate brightness
Outdoor environments present huge variability in ambient light. Display brightness, measured in nits, should be specified according to typical light levels:
– Shaded urban plazas: 1,500–3,000 nits.
– Open sunlight-exposed locations: 5,000–7,000+ nits.
– Highway-facing units often require maximum brightness and automatic dimming for night.
Install ambient light sensors and automatic brightness control to preserve component life and reduce power use at night. TW VISION displays support adaptive brightness for both visibility and energy efficiency.
5. Weatherproofing, cooling, and ventilation
Outdoor displays must withstand rain, snow, dust, and temperature extremes. Best practices:
– Choose IP-rated enclosures (IP65+ recommended for heavy-exposure sites).
– Provide sealed ventilation and filtered air intake to prevent dust ingress.
– Integrate temperature control systems—heating for cold climates and active cooling for hot ones.
– Use corrosion-resistant mounting hardware for coastal or industrial areas.
TW VISION’s outdoor cabinets are designed for harsh environments, but site-specific solutions—like additional sunshades or enclosures—may be necessary for extreme conditions.
6. Plan for power, data, and redundancy
Reliable power and data connectivity are essential for uptime:
– Ensure a dedicated power circuit with surge protection and UPS backup for graceful shutdowns.
– Provision for redundant network paths (fiber + cellular) if connectivity is mission-critical.
– Route cabling in protective conduits and mark all buried lines before excavation.
– Plan access panels and cable entries to facilitate maintenance without removing the entire display.
Consider remote monitoring systems to detect failures quickly; TW VISION supports SNMP and cloud-based health monitoring.
7. Security, vandalism mitigation, and public safety
Outdoor displays can be targets for vandalism or accidental damage. Mitigation steps:
– Mount displays out of easy reach where feasible; use elevated mounts or protective bollards.
– Apply anti-graffiti coatings and shatter-resistant front panels.
– Integrate cameras and alarm systems for high-risk locations.
– Ensure that displays do not distract drivers or block traffic signage.
Prioritize safety in placement—avoid locations that could cause sudden driver distraction or pedestrian congestion.
8. Regulatory compliance and permitting
Local ordinances often regulate the size, brightness, and placement of outdoor displays. Steps to compliance:
– Early engagement with municipal planning and traffic authorities.
– Check zoning laws, signage codes, and historical district restrictions.
– Prepare documentation: structural analysis, electrical plans, photometric studies, and visual impact assessments.
– Secure permits before construction to avoid costly retrofits.
TW VISION installations often require collaboration between architects, engineers, and local authorities to meet all regulatory requirements.
9. Maintenance access and lifecycle planning
Plan for efficient, safe ongoing maintenance:
– Design access routes for technicians, including ladders, platforms, or lift points.
– Keep spare modules and critical parts on-site for rapid swaps.
– Regular cleaning schedules for front panels and cooling systems will extend display life.
– Track warranty terms, RMA procedures, and support contacts.
Lifecycle planning should also include modular upgrade paths so displays can be refreshed without full replacement.
10. Align content with location and audience behavior
Placement and content must work together. Tailor content strategy based on dwell time and audience:
– Short dwell (drivers): Use bold, succinct messages, large typography, and high-contrast visuals.
– Medium dwell (shoppers): Combine promotional offers with local directions or live inventory cues.
– Long dwell (transit hubs): Provide more detailed information, wayfinding, and interactive elements.
Leverage dayparting — changing content by time of day — to increase relevance. TW VISION supports dynamic playlists and remote content management to adapt on the fly.
11. Plan for integration with site lighting and landscape
Integration with ambient lighting and landscape features improves aesthetics and safety:
– Coordinate with landscape architects to avoid occlusion from plant growth.
– Use integrated lighting to enhance the display’s visual presence during low light without causing glare.
– Ensure pathways and surrounding areas are lit for safety at night.
Consider display-backlighting or halo lighting to enhance readability without overpowering surrounding signage.
12. Measure performance and iterate
Post-installation measurement validates placement decisions:
– Use metrics: impressions, dwell time, response rates (QR scans, website visits), foot-traffic lift.
– Monitor environmental data—sun exposure and temperature—to refine brightness schedules and cooling settings.
– Collect stakeholder feedback (property managers, advertisers, local officials) to identify potential improvements.
Iterate on both hardware and content after 3–6 months to optimize ROI.
Placement Analysis Matrix (five columns)
| Location Type | Recommended Mounting Position | Suggested Height (ft) | Recommended Brightness (nits) | Primary Considerations |
|---|---|---|---|---|
| High-traffic Urban Intersection | Corner-facing, elevated wall or pole | 12–25 | 5,000–7,000 | Multi-angle sightlines, pedestrian/vehicle balance, permits |
| Suburban Shopping Center | Facade-mounted near entrances or freestanding pylon | 8–15 | 3,000–5,000 | Visibility from parking, store alignment, wayfinding |
| Highway/Freeway | Backlit billboard-style, long-range orientation | 20–50+ | 7,000+ | Viewing speeds, legibility, structural load, glare controls |
| Transit Hub / Station | Platform-facing, multiple smaller units | 6–12 | 2,500–4,500 | Dwell time, scheduling info, weather exposure |
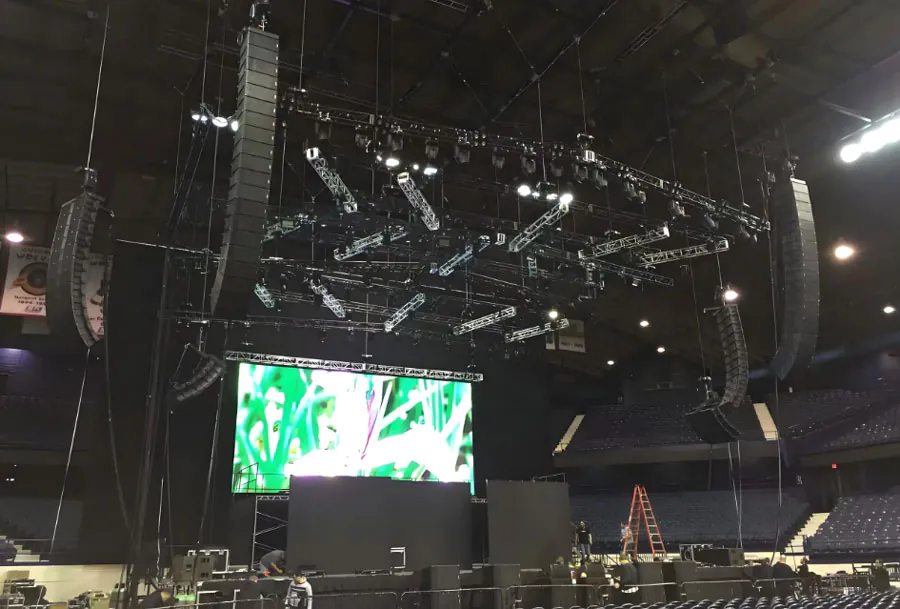
| Outdoor Event Space / Venue | Stage-front, angled arrays for crowd coverage | 10–30 | 4,000–6,000 | Temporary power/data logistics, rapid install/removal, crowd safety |
Strategic placement of TW VISION outdoor digital displays requires thinking beyond the hardware. A holistic approach—integrating site analysis, human behavior, environmental forces, and regulatory landscapes—ensures displays deliver measurable value. By matching screen specifications to viewing conditions, addressing power and connectivity, planning for maintenance and security, and tailoring content to audience behavior, you create resilient, high-performing installations. Use the placement matrix as a starting blueprint, then refine with on-site data and stakeholder feedback. With thoughtful planning, TW VISION outdoor displays become powerful assets that enhance engagement, brand presence, and customer experience.