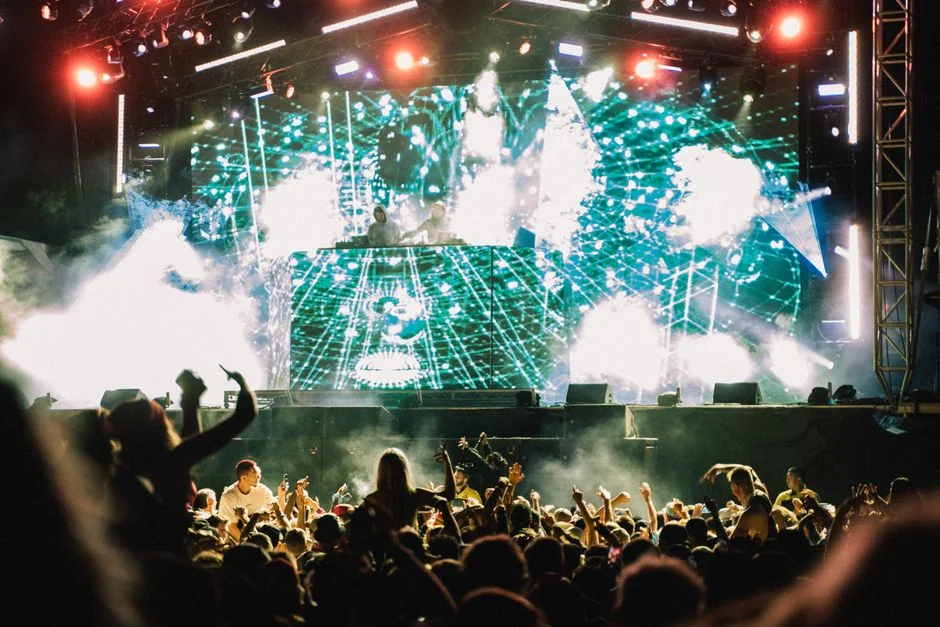
led screen testing grid concert: 10 Best for flawless shows
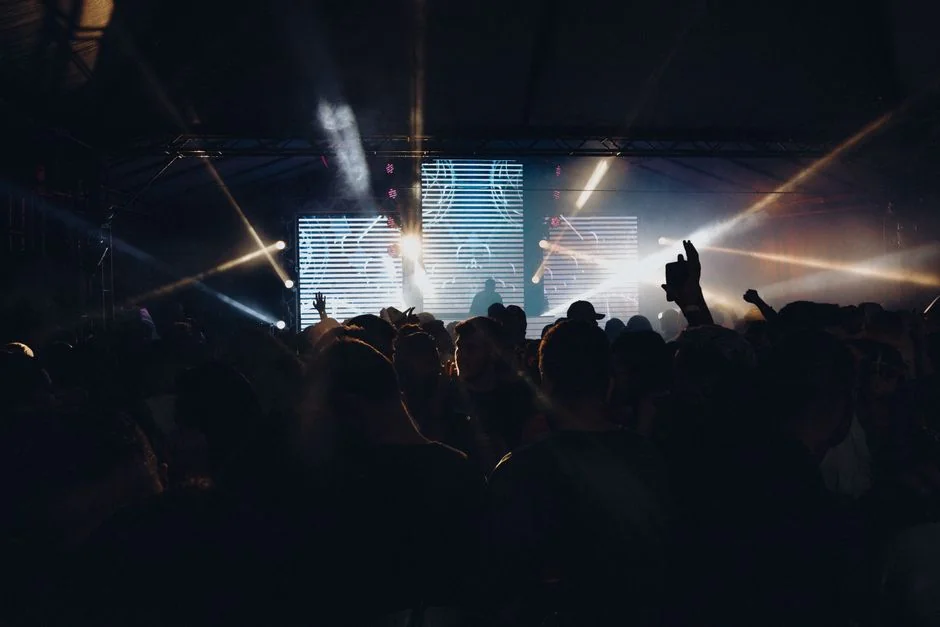
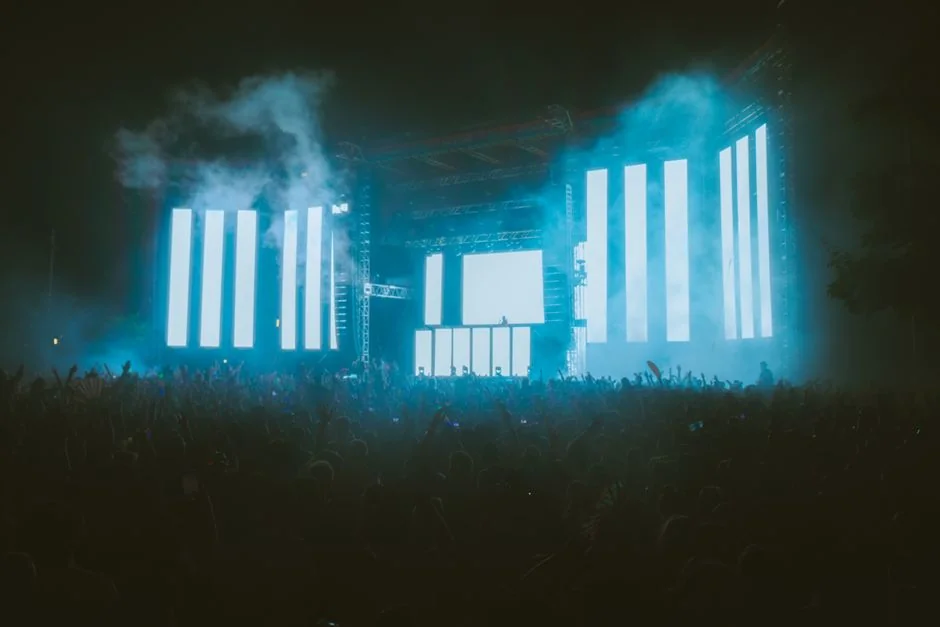
A smooth show depends on more than a strong playlist and a confident front-of-house mix. Visual reliability matters just as much, especially when the audience is staring at a massive LED wall that needs to look perfect from every seat. A well-planned led screen testing grid concert workflow helps crews catch mapping mistakes, dead pixels, color shifts, and signal problems before doors open. It also gives lighting, video, and stage teams a shared reference so everyone can verify the same visual standard. When the pressure is high and the changeover is short, a structured test grid is one of the simplest ways to reduce risk, save time, and protect the production value of the entire event.
Table of Contents
- Why a Test Grid Beats Guesswork
- Planning the Test From File Prep to Cabling
- Reading the Results: What the Grid Reveals
- Final Checks, Documentation, and Showtime Discipline
- FAQ
- Why use a grid instead of playing a live video?
- How early should the test happen before doors open?
- Can the grid help find mapping mistakes in a complex wall?
- What should be documented after the test is complete?
- Conclusion
Why a Test Grid Beats Guesswork
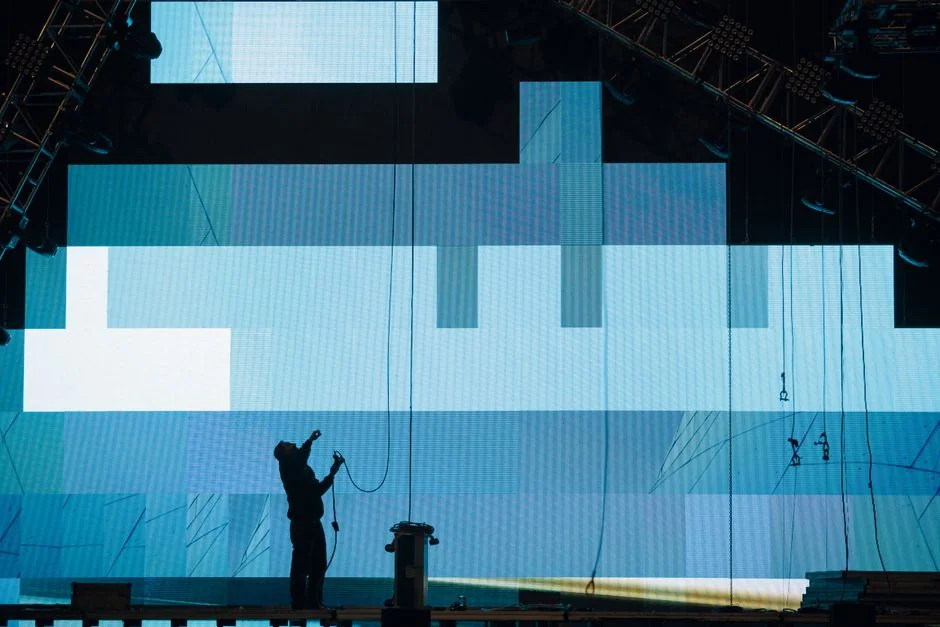
Concert LED systems are built from many moving parts: cabinets, processors, media servers, output cards, signal paths, power distribution, and software layers. If one part is slightly off, the result can be obvious on a giant wall even when the source file looks perfect on a laptop. That is why a led screen testing grid concert approach is so effective. Instead of guessing whether the image is aligned, you force the wall to reveal every edge, seam, and pixel relationship in a format that is easy to read.
A test grid is valuable because it gives you a universal language. A production manager can point to a crooked line. A video operator can see a cabinet that is not responding. A technician can compare what is expected with what is actually being displayed. Everyone is looking at the same pattern, which removes ambiguity. That saves time during setup and eliminates the common problem of different departments describing the same fault in different ways.
The grid is especially useful in large or complex venues where the wall wraps, curves, or includes multiple surfaces. Straight lines help confirm that the cabinet layout matches the design file. Crosshairs help verify that the center points line up. Fine spacing shows whether scaling is clean or whether the image is being stretched. In a led screen testing grid concert scenario, even a small offset becomes visible fast, which is exactly what you want before a paying audience enters the room.
A good grid test also helps identify issues that are not immediately obvious during normal content playback. A high-motion video clip may hide a bad tile, but a precise pattern exposes it instantly. A uniform background may seem fine until a brightness mismatch creates a visible patch. A grid gives the crew a low-noise environment for diagnosis, and that makes troubleshooting much more efficient.
To get the most out of the process, define what success looks like before the test starts:
– Cabinet rows and columns align with the file map
– Pixel pitch appears consistent across the visible surface
– Lines remain straight at the edges and seams
– Brightness is even across all sections
– No cabinet shows unexpected color shifts or dropout
When the team agrees on these checkpoints, the led screen testing grid concert pass becomes a real quality gate, not just a routine checkbox. It creates confidence for operators, reassurance for clients, and a cleaner path toward final rehearsal.
Planning the Test From File Prep to Cabling
The best results start long before the first image appears on the wall. A led screen testing grid concert workflow should begin with the content file, the processor settings, and the cable map. If any of those pieces are inconsistent, the display can look wrong even when the hardware is physically installed correctly.
Start by confirming the native resolution of the wall. Match the grid file to the exact pixel dimensions whenever possible so every line lands cleanly on the pixel structure. If the wall is being driven through a processor that scales content, verify how the processor handles aspect ratio, overscan, and edge blending. A mismatch here can make the grid look skewed even when the cabinets are perfectly aligned.
Next, simplify the test content. A clean black background with white lines is often enough for alignment checks. Add numbered markers or corner labels if the wall is large enough that technicians need to call out specific tiles from a distance. Keep the file lightweight so it loads quickly and plays reliably across the media server or playback device. In a led screen testing grid concert setup, the goal is clarity, not artistic polish.
Cabling deserves equal attention. Trace the signal path from the server to the processor and from the processor to each receiving card or loop. Confirm that all cable labels match the system diagram. If you are using multiple outputs, make sure the mapping order is documented. Many display issues are not caused by bad content at all; they come from a single swapped output, an incomplete loop, or an incorrectly assigned cabinet address.
Power checks matter too. LED systems can behave unpredictably when voltage drops or a circuit is overloaded. Verify that power distribution is balanced and that no cabinet is running near a thermal or electrical limit. If fans, sensors, or onboard indicators are available, confirm that they are operating normally before you move into the grid test itself.
A practical test sequence usually looks like this:
- Confirm the wall is physically secure and fully powered.
- Verify processor and media server output settings.
- Load the grid file and confirm the correct output mapping.
- Walk the wall from multiple viewing distances.
- Record any faults by cabinet, row, and column.
- Retest after any cable or configuration change.
The real value of a led screen testing grid concert process is that it turns setup into a repeatable routine. Once the team knows the order, the checks become faster and the chance of skipping an important step drops sharply.
It also helps to assign roles. One person should operate the playback system, another should inspect the display, and a third should log issues. If the same technician is trying to do all three jobs, small details get missed. A clear division of labor makes the test faster and more accurate, especially when the crew has only a short window before rehearsal or load-in deadlines.
Reading the Results: What the Grid Reveals
A grid pattern is not just a yes-or-no tool. It tells you where the system is healthy and where attention is needed. In a led screen testing grid concert check, the most obvious issues usually fall into a few categories: geometry, color, brightness, dead pixels, and signal integrity. Knowing how to read each one makes troubleshooting much faster.
Geometry problems show up as bent lines, cropped corners, or squares that do not look square. These issues often point to mapping errors, incorrect output scaling, or a cabinet that is physically misaligned. If the wall has a curve or an unconventional shape, the grid helps the team understand whether the distortion is intentional or accidental. That distinction matters because a properly designed visual effect should still follow the plan from the content designer.
Color issues are equally important. One cabinet may appear warmer, cooler, or less saturated than the rest of the wall. On simple video content, the difference can be hard to see, but a test grid makes it obvious. That is especially useful when matching multiple rental batches or cabinets from different service histories. In a led screen testing grid concert environment, visual consistency is part of the audience experience, so even slight mismatches deserve attention.
Brightness variations can indicate aging modules, thermal differences, power problems, or configuration mismatches. A wall that looks even at a distance may still have local hot spots or dim areas. The grid gives you a neutral backdrop to compare section by section. If the venue lighting is already active, dim the room if possible or use a test brightness level that highlights the contrast without overwhelming the eye.
Dead pixels, stuck pixels, and intermittent modules are among the easiest problems to catch with a grid. A single bad point stands out against a clean line pattern. For large-scale concerts, this is particularly important because the audience may be close enough to see the defect, especially in VIP sections or on side screens. Catching those issues early gives the crew time to swap parts or reassign mapping before the show starts.
Signal integrity problems can show up as flicker, breakup, ghosting, or sections that refresh out of sync. These symptoms may point to a weak cable, a failing connector, a noisy output, or an overloaded data path. A led screen testing grid concert pass helps isolate whether the problem follows a cable, stays with a cabinet, or appears only on a specific output chain. That is the kind of information that shortens troubleshooting from hours to minutes.
Use the grid to answer specific questions:
– Is the issue tied to one cabinet or one output line?
– Does the defect remain after the cable is swapped?
– Does the problem appear only at certain brightness levels?
– Is the fault visible from front-of-house and from stage?
– Does the image hold steady during playback, or does it flicker under movement?
The more precise the observation, the more efficient the repair. A good test does not just show that something is wrong; it tells you where to look first. That is why a led screen testing grid concert inspection is one of the highest-value steps in the entire setup process.
It is also worth capturing photos or short clips of the grid before and after corrections. Those records help track recurring issues across tours or venue visits. Over time, they build a useful history of which cabinets, processors, or cable runs tend to fail first. That kind of documentation turns a one-night fix into a longer-term operational advantage.
Final Checks, Documentation, and Showtime Discipline
Once the display passes visual inspection, the job is not fully done. The final stage is about making sure the wall stays stable when the show environment changes. A led screen testing grid concert workflow should end with a confirmation pass, a rollback plan, and clear handoff notes for the show team.
Start with a retest after every major correction. If you swapped a cable, adjusted a processor setting, or replaced a module, run the grid again. Small changes can have unintended effects, especially in systems where multiple outputs interact. A clean result on the second pass confirms that the fix worked and that nothing else shifted.
Then move to a show-ready content check. Test the actual playback list, not just the grid file. Confirm that cues launch correctly, transitions are smooth, and the wall behaves the way it will during the performance. In a led screen testing grid concert process, the grid is the diagnostic tool, but the real goal is a reliable audience presentation. Make sure the test environment resembles the live show as closely as possible.
Documentation matters here. Record the wall resolution, processor profile, mapping notes, any replaced parts, and the time the wall passed inspection. If a problem reappears later, those details make it much easier to retrace the chain of events. They also help the next crew member understand what was tested and what assumptions were made.
You should also establish a simple escalation plan. If the wall develops a new issue during doors or after the show begins, everyone should know who has authority to pause playback, switch to backup content, or call for a reset. The fewer questions the team has in a high-pressure moment, the better the outcome. A led screen testing grid concert routine is most valuable when it creates confidence not only before the show, but during it.
A strong final pass usually includes these checks:
– All cabinets display the same brightness profile
– No new flicker appears during full-motion playback
– Load and ready the backup content
– Secure power and data connections
– Notes are shared with video, lighting, and stage management
Discipline is what turns a good technical setup into a dependable live show. The wall may be fully operational, but the team still needs to remain attentive to changes in temperature, power load, and content demands. A final led screen testing grid concert review gives everyone one last chance to catch problems while the fix is still easy.
FAQ
Why use a grid instead of playing a live video?
A grid is easier to diagnose because it removes visual clutter. In a led screen testing grid concert check, straight lines and high contrast make alignment, color, and mapping problems stand out immediately. Live video can hide small faults under motion and content complexity, so it is less useful for precise setup verification.
How early should the test happen before doors open?
As early as possible, ideally during load-in or immediately after the wall is powered and mapped. A led screen testing grid concert pass works best when the crew still has time to swap cables, replace modules, or adjust processor settings without rushing. The earlier you find an issue, the lower the pressure on the rest of the production.
Can the grid help find mapping mistakes in a complex wall?
Yes. A led screen testing grid concert setup is one of the fastest ways to catch swapped outputs, incorrect cabinet order, and reversed sections. Numbered markers, edge labels, and predictable spacing make it easier to compare the intended layout with the real display, even on curved or multi-surface rigs.
What should be documented after the test is complete?
Record the wall resolution, processor settings, mapping notes, any repairs, and the final pass time. After a led screen testing grid concert review, those notes help future crews repeat the setup faster and diagnose repeat problems more accurately. Good documentation also protects you if a fault appears later in the show cycle.
Conclusion
Concert visuals only look effortless when the preparation behind them is disciplined. A clear, repeatable led screen testing grid concert process helps crews verify alignment, expose hidden defects, and confirm that the wall is ready for real-world playback. It reduces uncertainty for operators, improves communication between departments, and gives production teams a practical way to protect show quality under time pressure. When the audience sees a clean, stable wall from opening cue to final encore, the work behind it has done its job.