How to Choose the Best Indoor LED Screen Rental
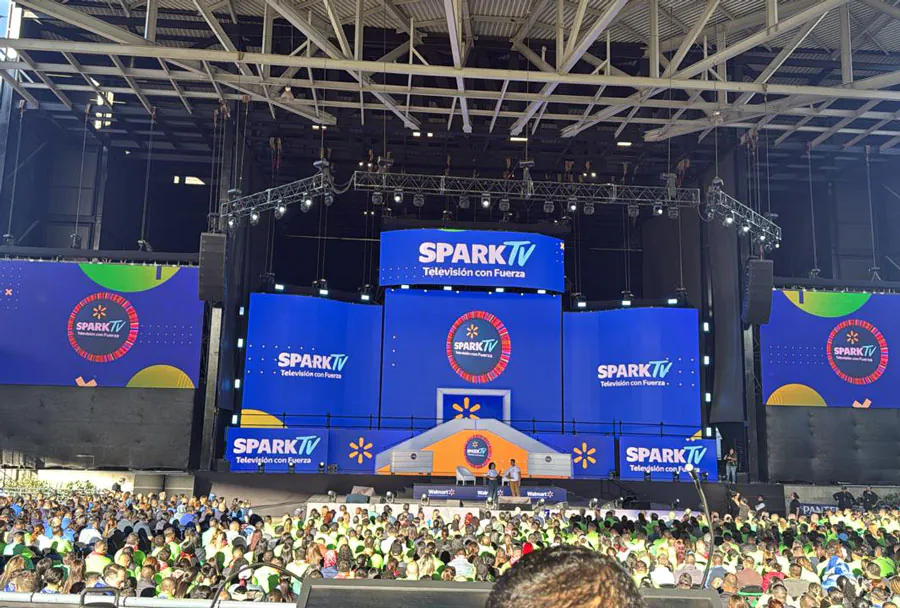
Selecting the right indoor LED screen rental can make or break your event—whether it’s a corporate conference, trade show booth, concert, product launch, or a hybrid webinar. The right screen ensures legible content, consistent color, reliable operation, and a professional visual impact. The wrong choice can cause washed-out visuals, pixelated images, insufficient brightness, late installations, and unexpected costs. This guide walks you through the technical, logistical, and contractual factors you should evaluate when choosing the best indoor LED screen rental provider and setup for your needs.
Understanding Core LED Screen Concepts
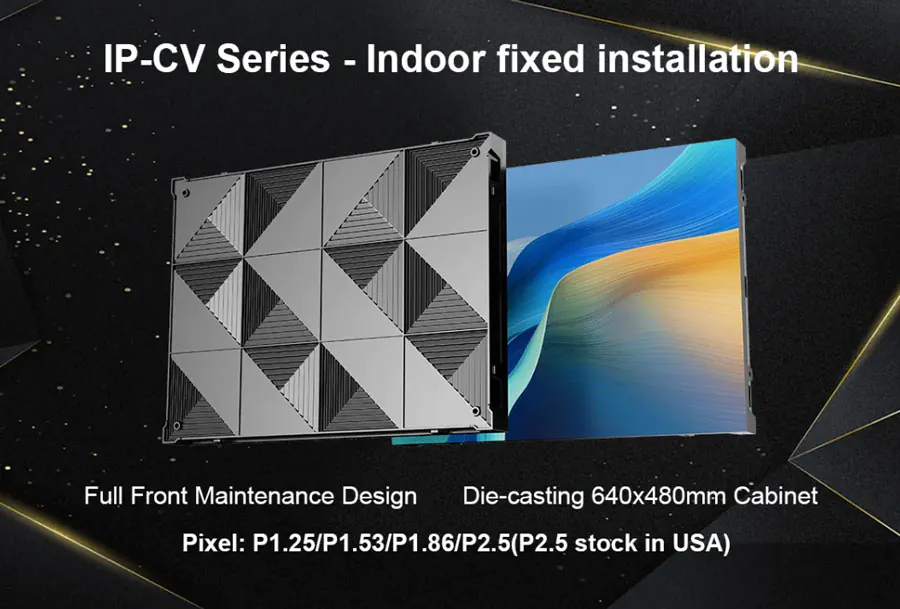
Pixel Pitch and Resolution
Pixel pitch (measured in millimeters) is the center-to-center distance between adjacent pixels. A smaller pixel pitch yields sharper images at close viewing distances. For indoor rentals:
– 1.2–1.5 mm: Excellent for very close viewing (conference stages, broadcast booths).
– 1.9–2.5 mm: Good for medium close viewing (corporate events, small auditoriums).
– 2.8–4.0 mm: Suitable for larger rooms where audience sits farther back (banquet halls, large meeting rooms).
Resolution depends on screen dimensions and pixel pitch; the same physical screen with different pixel pitches produces different pixel counts. Always assess both pixel pitch and panel size to confirm the resolution meets your content requirements.
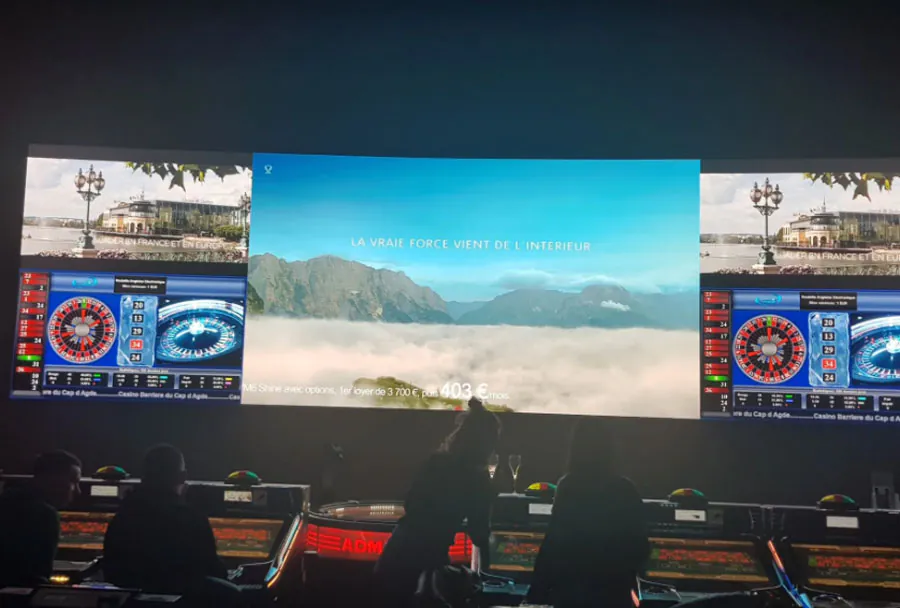
Brightness and Viewing Conditions
Indoor LED brightness is measured in nits (cd/m2). Typical indoor LED brightness ranges:
– 800–1,200 nits: Adequate for dim or controlled lighting.
– 1,200–2,000 nits: Best for venues with bright stage lighting or large windows.
Higher brightness improves visibility but can increase cost and power use. Balance brightness with ambient light and sightline requirements.
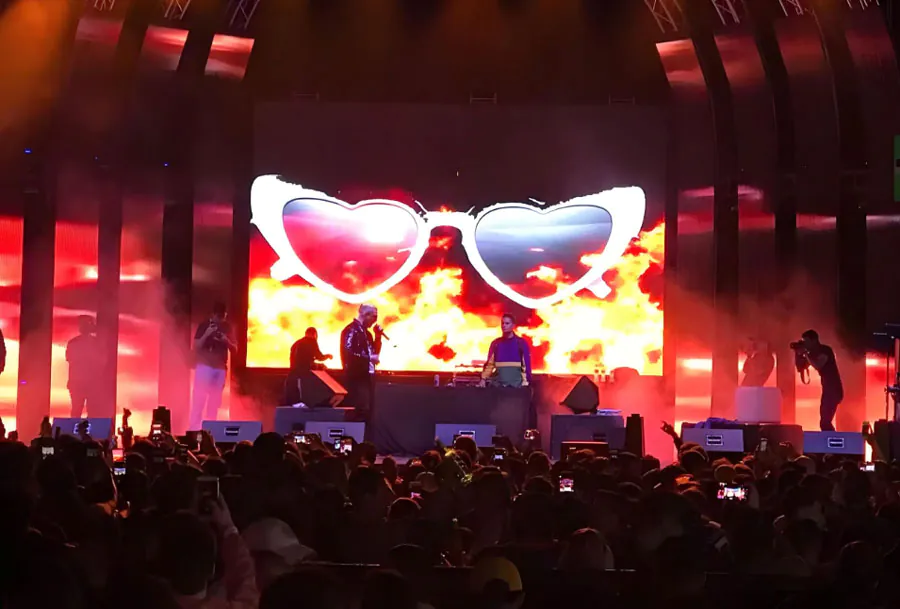
Refresh Rate and Color Accuracy
High refresh rates (≥3,840 Hz or higher) are important if you’ll be filming screens with cameras (TV broadcast or social video). Lower refresh rates can cause flicker on camera. Color calibration and 10-bit processing options affect color fidelity—crucial for branding, video playback, and high-quality visuals.
Practical Factors to Evaluate When Renting
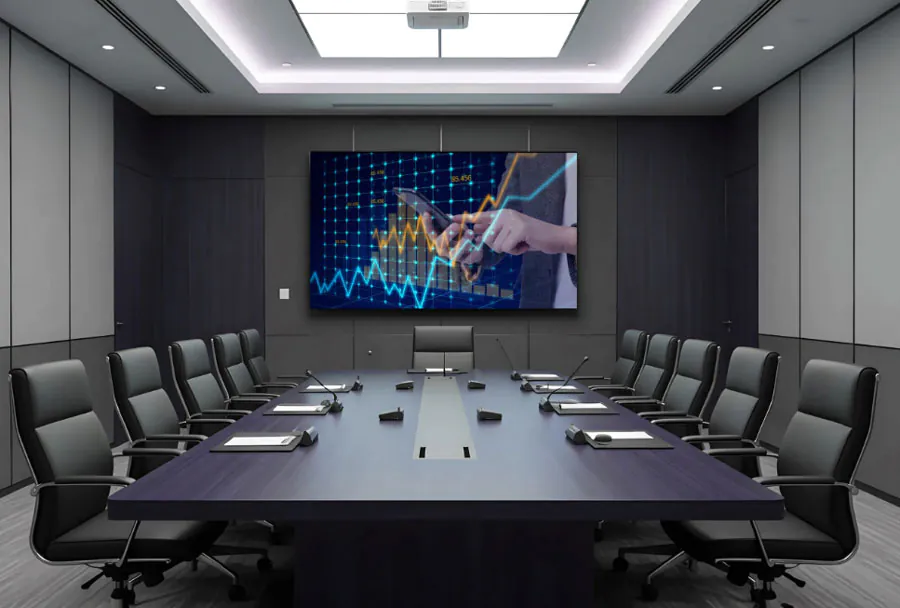
Event Type and Audience Distance
Start with the event profile: the room size, seating arrangement, average audience distance, and whether attendees will view the screen from multiple angles. These determine ideal screen size and pixel pitch. A rule of thumb: comfortable viewing distance (in meters) ≈ pixel pitch (mm) × 1.5 to 3 for acceptable sharpness. For example, a 2.5 mm pitch is fine for viewers sitting 3.8–7.5 meters away.
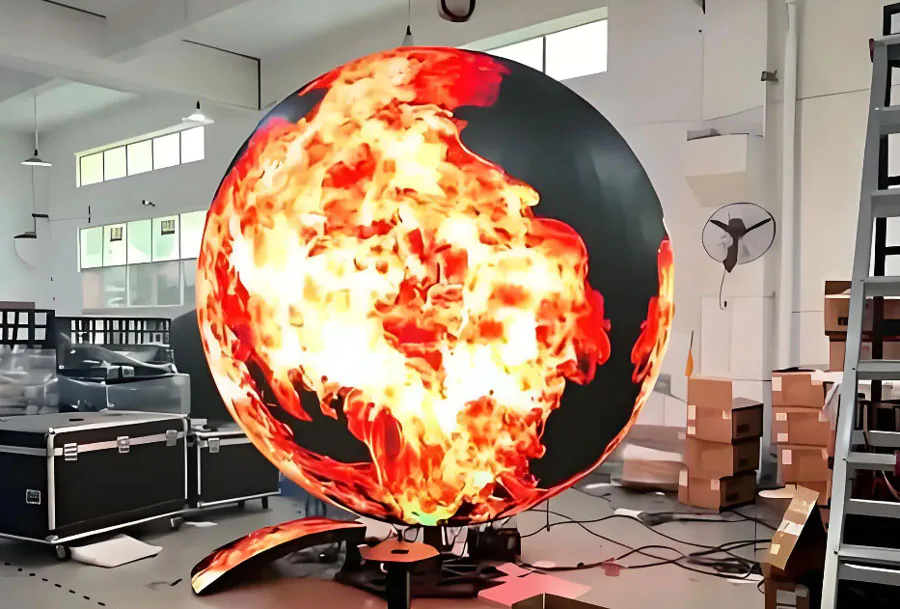
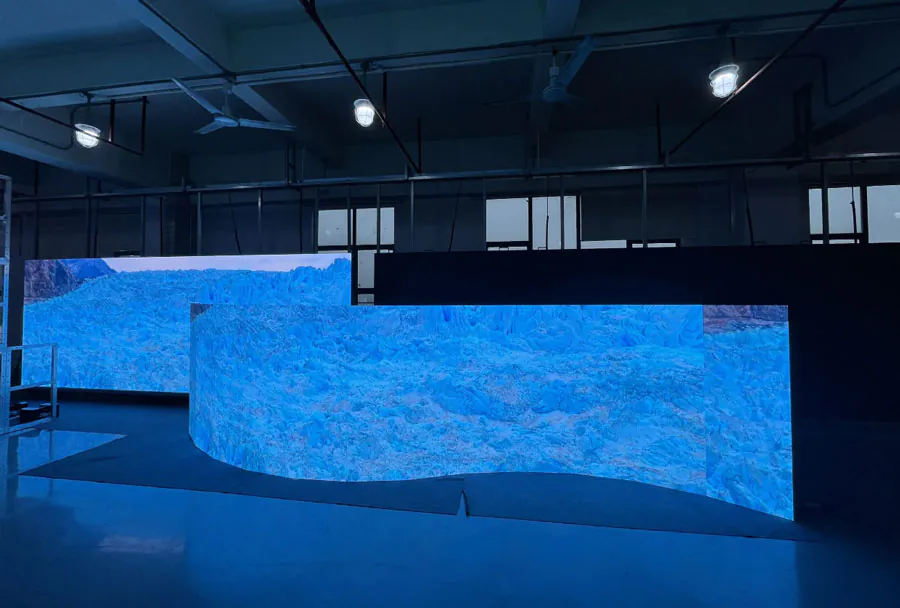
Screen Size and Aspect Ratio
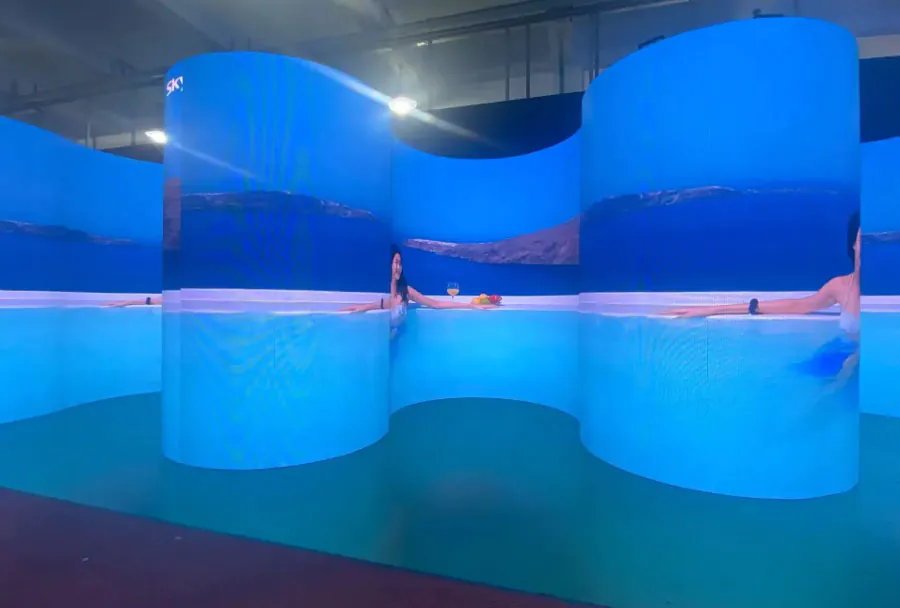
Choose a physical screen size that balances visibility and stage aesthetics. Consider the aspect ratio: 16:9 is standard for video, but custom aspect ratios may be needed for panoramic stage designs. Confirm the rental company can configure the screen size and aspect ratio you need, and whether masking or framing will be provided.
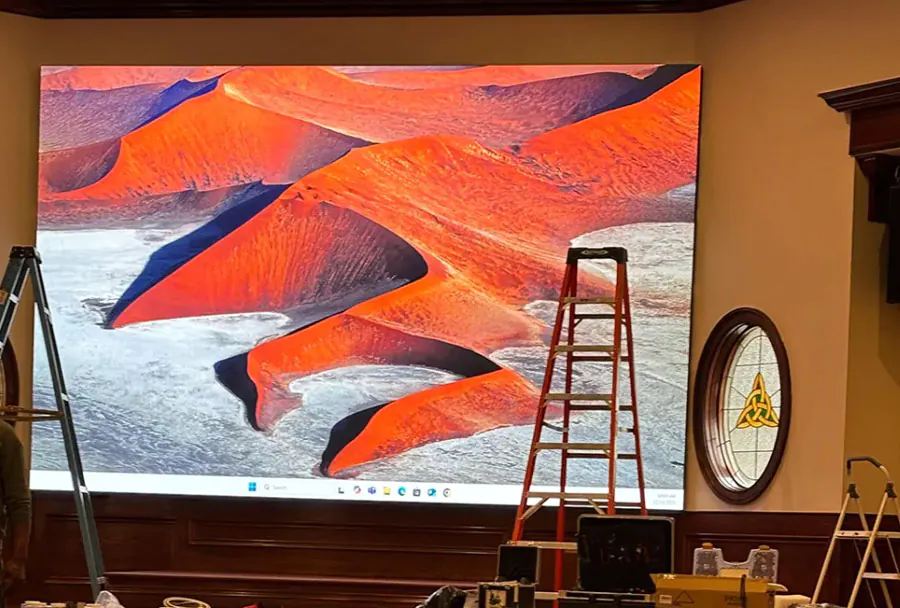
Installation Method and Venue Constraints
Know the venue constraints: ceiling rigging points, floor load limits, power availability, and entry dimensions. Rental providers should perform a site survey or provide guidelines for rigging. Decide between wall-mounted, ground-supported, or flown/hung configurations based on stage design and venue rules.
Power, Cooling, and Safety
Ask for the screen’s power consumption profile and ensure the venue can handle peak loads. Verify cable routing, power distribution, and any necessary UPS or backup power. Check for cooling needs—some cabinets generate significant heat—and confirm safety measures (rigging inspections, certified trusses, redundancy for hung walls).
Vendor Selection: Service, Support, and Reputation
Technical Support and On-site Technicians
Choose a rental company that provides on-site technicians for setup, calibration, and real-time troubleshooting during the event. Confirm their staffing levels, response time SLAs, and escalation process for hardware or playback failures.
Availability of Spare Parts and Backup Screens
A professional rental provider should bring spare modules, power supplies, control boxes, and even a backup screen or duplicate media player if the event is mission-critical. Ask about spare inventory policies and replacement timelines.
Portfolio, Reviews, and References
Request case studies or references from similar events. Check independent reviews focusing on punctuality, reliability, and post-rental billing practices. Viewing how vendors handled issues at comparable events is invaluable.
Budgeting and Contract Terms
Line-Item Quotes and Hidden Costs
A transparent quote should list:
– Screen rental fee (per day)
– Transportation and labor (setup/teardown)
– Power/cable/truss rentals
– On-site technician labor
– Insurance or damage waiver (if not covered)
– Late fees, overtime, and storage
Watch for hidden costs like return shipping, installation hours beyond agreed windows, and content playback fees.
Insurance and Liability
Confirm who holds liability during transport, installation, and the event. Rental agreements should clearly outline damage policy, theft coverage, and responsibilities for force majeure events. Consider purchasing event insurance that covers rented AV equipment when necessary.
Content, Playback, and Compatibility
Media Servers, Input Options, and Scaling
Clarify what playback hardware or media servers are included. Ensure compatibility with your content format (resolution, frame rate, codec). Some rental screens use proprietary processors—confirm they support your aspect ratio and any live inputs (HDMI, SDI, DisplayPort) or network streaming formats.
Testing and Pre-event Rehearsals
Schedule content tests well before showtime. Request a run-through where your final content plays on the actual rented screen so you can adjust fonts, safe areas, and color grading. Make sure the vendor provides time for calibration, color correction, and scaling.
Common Mistakes to Avoid
– Choosing pixel pitch without considering viewing distance and screen size.
– Ignoring refresh rate requirements for camera shoots.
– Skipping site surveys or ignoring venue rigging limitations.
– Underestimating power needs and not providing backup power.
– Overlooking on-site engineering and spare parts.
– Accepting vague contract terms on liability and overtime charges.
Analysis Table: Pixel Pitch and Use Case Mapping
| Pixel Pitch (mm) | Recommended Viewing Distance | Typical Pixel Density (per 10 ft width) | Typical Brightness (nits) | Ideal Use Case |
|---|---|---|---|---|
| 1.2 – 1.5 | 3–10 ft (1–3 m) | ~8,000–12,000 px (width) | 800–1,200 | Broadcast sets, high-end corporate stages, close-up presentations |
| 1.9 – 2.5 | 10–25 ft (3–8 m) | ~4,000–7,000 px (width) | 1,000–1,500 | Conference halls, trade-show booths, medium auditoriums |
| 2.8 – 3.9 | 25–50+ ft (8–15 m) | ~2,500–4,000 px (width) | 1,200–2,000 | Large venues, arena concourses, scenic backdrops |
| 4.8 – 6.0+ | 50+ ft (15+ m) | ~1,600–2,500 px (width) | 1,500–3,000 | Big arenas, outdoor-but-covered areas, long-distance viewing |
Setup Checklist Before You Book
– Determine the audience’s average viewing distance and highest audience concentration zone.
– Specify the required aspect ratio and resolution for your content.
– Confirm room lighting conditions and whether blackout or dimming is possible.
– Get a site survey or venue rigging schematic from the rental company.
– Request a detailed, itemized quote with power, transport, labor, and insurance.
– Ask about on-site technician availability, backup components, and a contingency plan.
– Verify refresh rates for any camera capture or live-streaming requirements.
– Schedule a content test and a full technical rehearsal before event day.
– Confirm delivery, setup, strike times, and penalties for changes to schedule.
Red Flags When Choosing a Rental Provider
– Vague technical specifications or refusal to provide model numbers for panels and controllers.
– No on-site support or claims that “remote support is enough” for complex events.

– Zero spare inventory or inability to guarantee backup modules or power supplies.
– Unclear or shifting delivery and setup windows.
– Contracts that push all liability onto the renter without insurance options.
Final Recommendations
1. Start by defining your event goals and the viewing environment. This determines pixel pitch and size more than anything else.
2. Prioritize vendors who provide clear technical specs, on-site technicians, and spare equipment. Reliability is often more valuable than the lowest rate.
3. Test your actual content on the rented system whenever possible. That single rehearsal will uncover most scaling, color, and safe-area issues.
4. Negotiate clear contract terms on delivery windows, overtime, damage responsibility, and escalation procedures.
5. Include a modest contingency in your budget (10–20%) for last-minute changes, extra labor, or additional power/trussing needs.
Choosing the best indoor LED screen rental is a structured process: assess audience distance and content needs, match pixel pitch and brightness to the venue, vet rental providers for technical capability and service, and lock down clear contractual terms. By preparing a site survey, scheduling a rehearsal, and confirming on-site support and spares, you minimize risk and maximize visual impact. With the right planning and the right vendor, your LED screen will be a reliable, striking centerpiece that enhances engagement and elevates the event experience.