The Ultimate Guide to Installing TW VISION Roll Up LED Video Walls
The success of any event or installation that uses TW VISION Roll Up LED Video Walls depends less on the product’s headline specs and more on the quality of planning, preparation, and execution. These roll-up LED walls are designed for speed, portability, and visual impact, but to get the most reliable, consistent results you must follow a systematic installation workflow, respect safety and environment constraints, and calibrate the system precisely. This guide walks you through the essential steps, practical tips, and troubleshooting strategies for installing TW VISION Roll Up LED video walls in professional environments.
The Ultimate Guide to Installing TW VISION Roll Up LED Video Walls
1. Pre-Installation Planning
Start with a site survey. Measure the available space (width, height, depth) and confirm sightlines and viewing distances. TW VISION roll-up modules come in various pixel pitches—choose one that matches viewing distance and content type (text, video, live camera feeds). Check load-bearing capacity for floors or rigging points if suspending the wall. Confirm power availability (voltage, dedicated circuits) and access to signal sources (media servers, switchers, or cameras).
Create a checklist:
– Module count and layout diagram
– Power distribution plan (PDUs, breakers)
– Signal routing (cables or fiber)
– Environmental constraints (temperature, humidity, exposure)
– Required tools and crew size
2. Unpacking, Inspection, and Staging
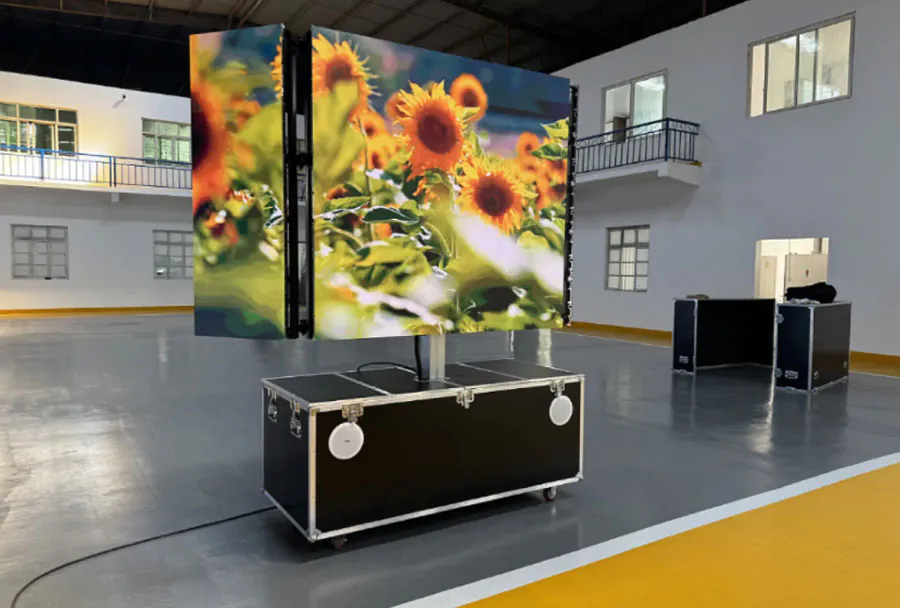
Upon delivery, inspect each roll-up module for physical damage and verify serial numbers. TW VISION panels are fragile where connectors and PCB edges are concerned—note any dents, scratches, or connector damage before signing off with the carrier. Lay out modules on soft surfaces in the staging area in the same order as the planned finish to minimize re-handling.
Recommended staging steps:
– Photograph each module for records
– Verify connectors (power, signal, fastening mechanism)
– Check included accessories: locks, ramp adapters, cable harnesses
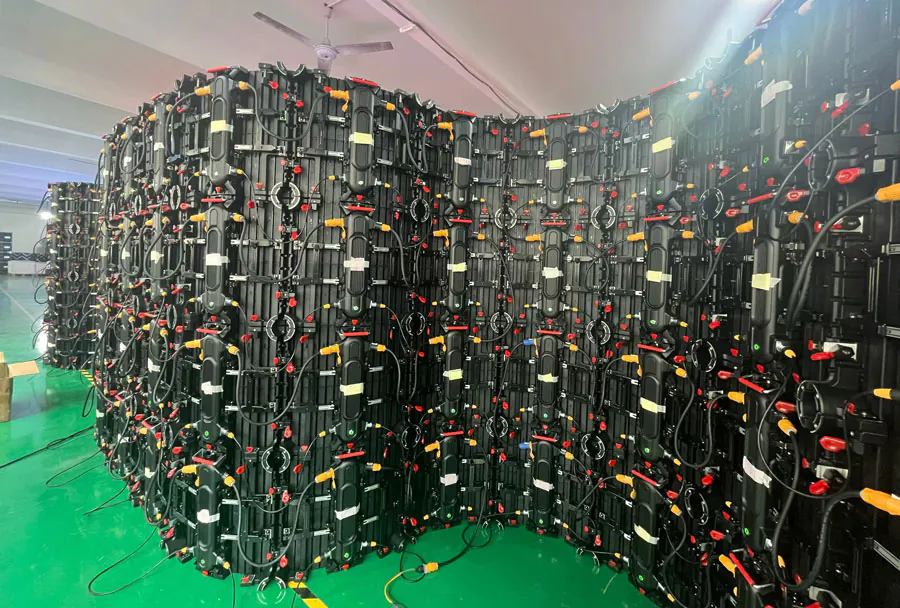
3. Mounting and Structural Considerations
Roll-up LED walls are favored for their modularity and reduced shipping volume, but mounting remains the most critical safety and stability concern. Determine whether the installation will be ground-supported, truss-suspended, or freestanding. For truss suspension, use rated rigging hardware and confirm safety factors per local codes. For ground-supported setups, use stabilizing bases and ballast as needed.
Key mechanical points:
– Use evenly distributed attachment points
– Ensure vertical alignment using plumb lines or laser levels
– Engage locking mechanisms fully; verify physical coupling between modules
– Maintain recommended gap tolerances between modules to avoid light leaks or misalignment
4. Power and Signal Distribution
Plan power distribution to avoid voltage drop and nuisance tripping. TW VISION modules can draw significant current in bright scenes—calculate full-load amperage and add a margin of 20–30%. Use dedicated circuits and PDUs with monitored outputs. Consider using power sequencers to manage turn-on surge.
Signal management:
– Use a reliable video processor or LED controller compatible with TW VISION panels
– Keep HDMI/SDI runs under recommended lengths or use fiber/video extenders
– Label all cables and create a simple signal flow diagram to speed troubleshooting
– Ground the video wall and associated equipment to reduce interference and buzzing
5. Calibration, Testing, and Content Optimization
Before the event, perform a full calibration. Use calibration software to adjust color temperature, gamma, and brightness. TW VISION walls often require pixel mapping and LUT application to achieve uniformity across panels. Verify grayscale response (black levels at low nits) and avoid clipping highlights.
Testing checklist:
– Run a suite of test patterns: grayscale ramps, color bars, convergence patterns, and high-contrast images
– Check seams for brightness/color shift
– Test under actual ambient lighting conditions
– Validate frame rate and synchronization for live camera feeds to prevent rolling or stutter
6. Operational Best Practices
Train operators on a standard operating procedure (SOP) that covers power-up sequence, emergency shutdown, and routine monitoring. Implement an inspection log for each event to capture any recurring issues.

Best practices include:
– Warm up panels for 15–30 minutes before peak use
– Use lower maximum brightness where possible to reduce power draw and heat
– Avoid static images for long periods to prevent temporary image retention
– Monitor temperature during long runs—ensure adequate ventilation
7. Maintenance and Troubleshooting
Routine maintenance extends lifetime and minimizes downtime. Keep spare modules, spare cables, and a basic electronics toolkit onsite. When problems arise, follow a logical troubleshooting flow: physical check, power check, signal check, then controller/software check.
Common issues and fixes:
– Dead pixels or zones: reseat connections, check module power, swap with a spare
– Color mismatch: re-run calibration, check LUTs and controller settings
– Flicker/rolling: confirm grounding, bandwidth limits, and controller sync settings
– Overheating: improve airflow, reduce brightness, or add cooling fans
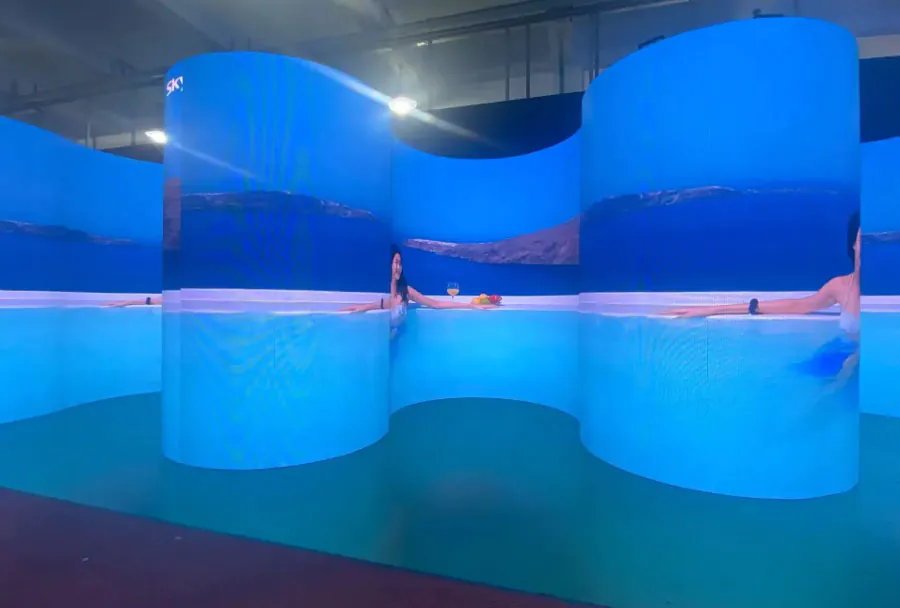
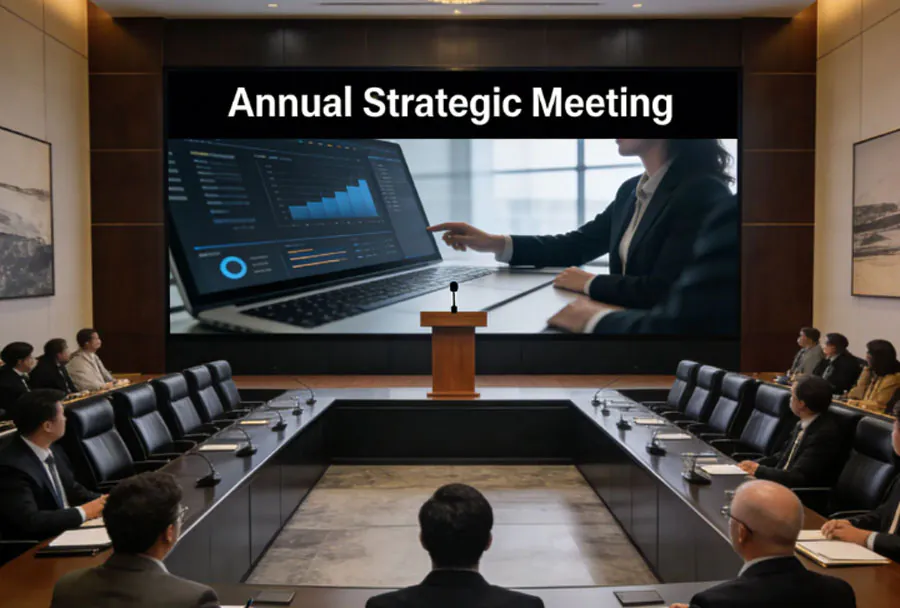
8. Case Studies and Use-Cases
TW VISION roll-up LED walls perform exceptionally in rental/staging, retail pop-ups, corporate events, and temporary exhibitions. A properly installed roll-up wall can be assembled in under an hour by a trained crew, enabling quick turnarounds for multi-day events. For fixed installs, these systems can be adapted for repeated deployments by reinforcing mechanical connections and integrating permanent cable paths.
Analysis Table (Comparison of Typical TW VISION Roll-Up Configurations)
| Model | Pixel Pitch (mm) | Panel Size (W x H) | Estimated Setup Time (Crew of 3) | Ideal Use Case |
|---|---|---|---|---|
| TW-RU4 | 4.8 | 960 x 960 mm | 30–45 minutes | Trade shows, retail displays |
| TW-RU3 | 3.9 | 960 x 960 mm | 40–60 minutes | Corporate events, indoor stages |
| TW-RU2.5 | 2.5 | 960 x 960 mm | 45–75 minutes | High-detail presentations, close viewing |
| TW-RU5.9 | 5.9 | 960 x 960 mm | 25–40 minutes | Large venue backdrops, outdoor signage |
Installing a TW VISION Roll Up LED video wall successfully demands attention to planning, mechanical integrity, power and signal management, and precise calibration. When executed correctly, these systems offer fast deployment, excellent visual impact, and reliable performance across a wide range of applications. Prioritize safety, document every setup, and maintain a small inventory of spare parts—these actions will turn a good installation into a great one, and ensure that your TW VISION wall performs consistently, event after event.