

LED Screen Resolution and Refresh Rate: A Technical Guide for Stage Displays

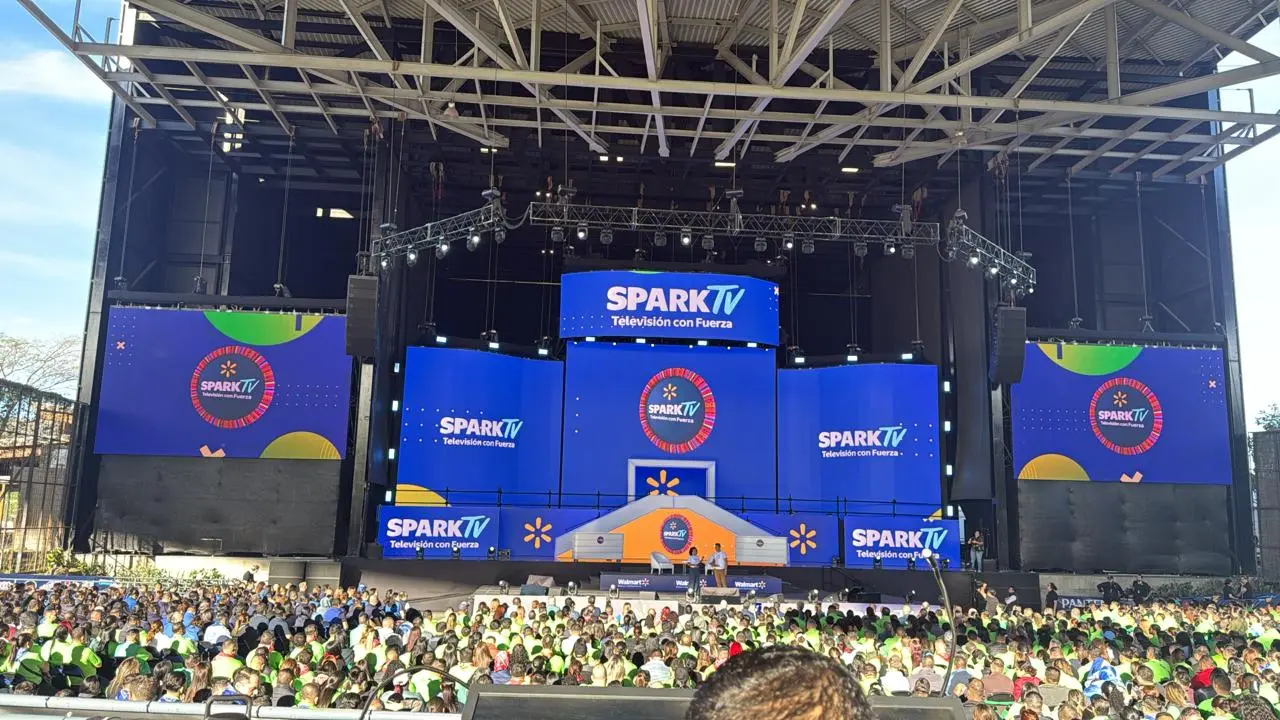
LED Screen Resolution and Refresh Rate: A Technical Guide for Stage Displays begins with a fact that surprises many first-time production designers: a wall can look sharp to the eye and still fail on camera.
Table of Contents
- Resolution Starts With Pixel Pitch, Not Just Total Pixels
- Viewing Distance and Pixel Pitch Math
- Refresh Rate Determines Camera-Friendliness More Than Eye Comfort
- Quick Reference: Camera-Safe LED Settings
- Scan Rate and Driver IC Behavior Determine Flicker and Banding
- Refresh Rate Lives in the Display, Frame Rate Lives in the GPU
- Matching Content Resolution to Your LED Processor Prevents Scaling Artifacts
- Processor Routing Checklist
- Real-World Stage Settings: Brightness, Gamma, and Color Bit Depth
- Refresh rate and motion rendering why it matters
- What refresh rate should an LED wall use for broadcast or IMAG cameras?
- Does pixel pitch matter if the LED wall is only shown behind a band and never on camera?
- How do I fix moiré patterns on an LED wall when the camera is close?
- Is a 4K LED wall always sharper than a 1080p LED wall?
- What causes color banding on an LED wall during slow fade scenes?
- Conclusion
Vision science places the flicker fusion threshold near 60 Hz for most viewers under stage lighting, yet broadcast cameras can reveal scan artifacts far above that threshold. The problem is not the display technology alone—it is choosing panels and processor settings without understanding how resolution and refresh interact.
This guide explains pixel pitch, camera-safe refresh, scan rate, processor scaling, and calibration settings you can apply today.
Resolution Starts With Pixel Pitch, Not Just Total Pixels
In LED Screen Resolution and Refresh Rate: A Technical Guide for Stage Displays, resolution is often mistaken for a fixed canvas such as 1920×1080. On an LED wall, perceived sharpness depends more on pixel pitch—the distance from the center of one LED cluster to the next.
A 5-meter-wide wall using P2.6 modules has about 1,923 pixels across, while the same width in P3.9 gives roughly 1,282 pixels.
Viewing Distance and Pixel Pitch Math
A practical starting point is one millimeter of pixel pitch per meter of viewing distance. That means a P2.6 wall looks smooth from about 3 meters away, while a P3.9 wall suits longer throws. Camera close-ups change this because a lens can magnify the physical gaps between pixels.
A common scenario: a band plays 4 meters in front of a P3.9 backdrop, but the IMAG camera zooms to 200 mm and reveals visible pixel gaps.
This is why LED Screen Resolution and Refresh Rate: A Technical Guide for Stage Displays should start with closest viewer distance, not room size. How to apply this: calculate your closest planned viewing distance and divide by 1000 to choose a conservative pixel pitch.
Refresh Rate Determines Camera-Friendliness More Than Eye Comfort
When most people read LED Screen Resolution and Refresh Rate: A Technical Guide for Stage Displays, they expect resolution to matter most. For live video, refresh rate matters more because a camera shutter samples the wall at its own interval.
The human eye may stop seeing flicker near 60 Hz, but broadcast cameras can reveal artifacts at much higher panel refresh rates.
The Society of Motion Picture and Television Engineers (SMPTE) states that refresh timing and sync standards are critical for LED displays captured by broadcast cameras. Consumer monitors often run at 60 Hz, but stage LED panels need pulse-width-modulated refresh to avoid camera banding.
Processor platforms such as NovaStar and Brompton Technology expose panel refresh settings at 1920 Hz, 3840 Hz, and above.
In one case, a touring LED wall was set to 960 Hz and looked smooth to the audience, but the live camera feed showed dark rolling bands whenever the lighting console dimmed below full intensity.
Quick Reference: Camera-Safe LED Settings
| Factor | What it tells you | Action to take |
|---|---|---|
| Pixel pitch | Physical pixel spacing | Pick P2.6 or P3.9 based on closest viewer |
| Panel refresh | How often LEDs update per second | Set 1920 Hz minimum for IMAG |
| Scan rate | Number of row scans per cycle | Confirm driver IC matches panel spec |
| Input frame rate | Source fps feeding the processor | Match 23.98, 24, 50, or 60 fps |
| Color bit depth | Gradient smoothness | Use 10-bit or 12-bit for slow fades |
How to apply this: open your LED processor configuration and set the panel refresh to at least 1920 Hz before the next camera test.
Scan Rate and Driver IC Behavior Determine Flicker and Banding
Scan rate is the hidden variable most people skip until they see banding in a video feed. LED Screen Resolution and Refresh Rate: A Technical Guide for Stage Displays includes scan behavior because it affects both brightness and camera artifacts.
A 1/8 scan panel keeps more rows active at the same time than a 1/32 scan panel, which can reduce flicker but draws more current. The receiving card inside each module controls this mapping.
NovaStar processors, including the MCTRL series, show scan and refresh parameters in the receiving card configuration page. If you mix modules with different driver ICs or scan mappings in the same wall, seams often appear only on camera at certain shutter angles.
A common scenario: a rental house repairs one section with a newer-generation module, and the whole wall shows a horizontal mismatch line on the broadcast feed.
For this reason, LED Screen Resolution and Refresh Rate: A Technical Guide for Stage Displays treats driver IC profile accuracy as a setup requirement. How to apply this: ask your LED supplier for the exact driver IC model and scan mapping file, then load that profile into the processor before building the wall.
Refresh Rate Lives in the Display, Frame Rate Lives in the GPU
Refresh rate is a property of the display panel. A 60Hz monitor redraws its image 60 times per second. A 144Hz monitor redraws 144 times per second.
That speed is set by the panel and the signal it receives. Frame rate, measured in fps, is a moving target. It changes with scene complexity, resolution, and load on the GPU and CPU.
The foundation of Refresh Rate vs Frame Rate: What’s the Difference? is location. One number belongs to the display output. The other belongs to the render pipeline. Blur Busters explains that the two stay independent until the frame reaches the display. A 144Hz monitor cannot force a 40 fps console scene to render faster.
A powerful GPU cannot make a 60Hz panel show more than 60 unique frames each second. Run TestUFO to compare moving objects at different refresh rates. This tool makes the difference visible in seconds.
| Factor | Refresh Rate | Frame Rate | What to Check |
|---|---|---|---|
| Unit | Hertz (Hz) | Frames per second (fps) | In-game FPS counter |
| Decided by | Monitor panel and output | GPU, CPU, game load | GPU/CPU utilization |
| Behavior | Fixed or limited | Changes every scene | Frametime graph |
| Hard limit | Cable and port version | Render pipeline | Display settings |
In short, Refresh Rate vs Frame Rate: What’s the Difference? starts with which hardware part is responsible for each value. How to apply this: open your display settings, confirm the current Hz, and compare that with an in-game FPS counter so you know which value is the real limit.
Matching Content Resolution to Your LED Processor Prevents Scaling Artifacts
Another part of LED Screen Resolution and Refresh Rate: A Technical Guide for Stage Displays is making the source feed match the physical pixel canvas. A 1920×1080 signal sent to a 1,282-pixel-wide wall forces the processor to scale. Scaling often creates aliasing on text and thin lines, especially in lower thirds and IMAG overlays.
Processor Routing Checklist
– Confirm the LED wall’s total physical pixel width and height in the processor’s canvas settings.
– Set the content output to match that canvas, not the wall’s shipping dimensions.
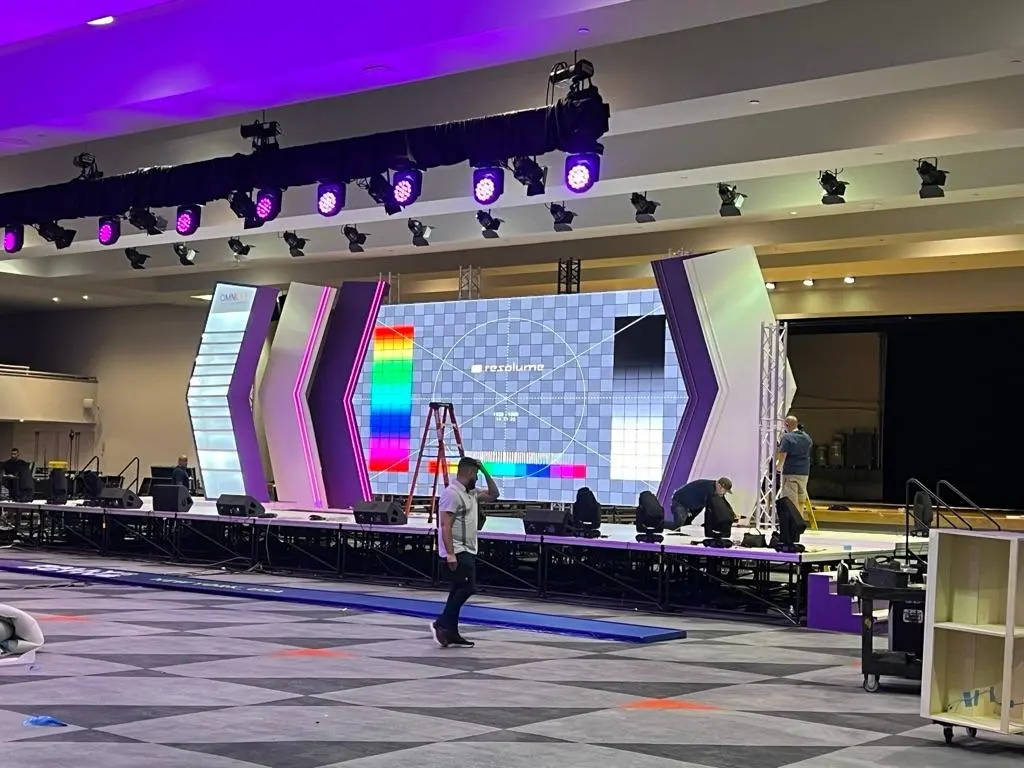
– Use Resolume Arena or another media server to preview the actual composition at native wall resolution before show day.
A common scenario: a P3.9 wall 6.5 meters wide has about 1,666 pixels across, but a media server outputs 3840×2160. The processor downscales the feed, and chart text becomes unreadable on camera. Reducing the composition to the native pixel count produced sharper line work in that case.
That is why LED Screen Resolution and Refresh Rate: A Technical Guide for Stage Displays urges engineers to verify canvas dimensions before rendering.
How to apply this: open your media server output settings and match the exact pixel canvas of the LED processor before rendering your final content.
Real-World Stage Settings: Brightness, Gamma, and Color Bit Depth
The final fact in LED Screen Resolution and Refresh Rate: A Technical Guide for Stage Displays is that spec sheets hide calibration issues. A 10-bit panel can still show banding if the processor sends 8-bit data or gamma is misapplied. Slow fades under haze reveal 8-bit banding quickly, even on high-quality panels.
Brightness also affects perceived sharpness and camera exposure. Many stage LED panels run between 1,000 and 1,500 nits at full output, but cameras often prefer the wall dimmed to match the lighting design. A common scenario: an IMAG feed shows clipped white highlights because the wall was running at full brightness while the lighting designer balanced for a lower output.
Matching the wall’s intensity to the live lighting prevents the camera from stopping down too far and losing detail.
Because LED Screen Resolution and Refresh Rate: A Technical Guide for Stage Displays must account for real lighting conditions, calibration is not optional. How to apply this: calibrate gamma at 2.2 or the preset recommended by your LED processor, and test a grayscale ramp from 0 to 100 percent before load-in.
Refresh Rate and Motion Rendering: Why It Matters
Refresh rate (Hz) defines how many times per second the LED panel updates. Higher refresh rates reduce motion blur and flicker and are critical for camera compatibility. For live broadcast and multi-camera events, aim for a refresh rate significantly higher than the camera’s frame rate. Typical recommendations:
– For in-person viewing without cameras: 1,200–2,000 Hz often suffices to eliminate perceptible flicker.
– For broadcast or multi-camera shoots: 3,000–6,000 Hz (or higher) is advisable to ensure flicker-free footage because different camera shutter speeds and scanning patterns interact with the display refresh.
Key refresh-related concepts:
– PWM (Pulse Width Modulation): Common dimming method where LEDs are switched on/off rapidly. Low-frequency PWM causes flicker; choose panels with high-frequency PWM or global current control for smoother dimming.
– Scanning and driving architecture: LED panels may use 1/4, 1/8, 1/16 scan driving; lower scan ratios usually allow higher refresh rates but may increase power consumption. Choose full scan or low-scan architectures for broadcast-grade displays.
– Frame sync and genlock: Synchronizing the LED controller to an external genlock or camera system prevents tearing and ensures frame alignment across multiple inputs.
Frequently Asked Questions About LED Screen Resolution and Refresh Rate: A Technical Guide for Stage Displays
What refresh rate should an LED wall use for broadcast or IMAG cameras?
Set panel refresh to 1920 Hz or higher for broadcast or IMAG cameras. This advice comes from how LED Screen Resolution and Refresh Rate: A Technical Guide for Stage Displays separates eye comfort from camera safety. A 1920 Hz panel refresh reduces visible rolling bands at common shutter speeds such as 1/100 and 1/250.
If your processor supports 3840 Hz, use it for slow-motion or high-shutter-angle work.
Does pixel pitch matter if the LED wall is only shown behind a band and never on camera?
Yes, but for a different reason. For a non-camera backdrop, you can sometimes use a wider pitch like P3.9 or P5.2 if everyone stands more than 5 meters away. LED Screen Resolution and Refresh Rate: A Technical Guide for Stage Displays still recommends checking close floor seats and side balconies.
A wall that looks soft from 12 meters can appear pixelated from the first row. Ask your rental supplier for a pitch-to-distance chart.
How do I fix moiré patterns on an LED wall when the camera is close?
Moiré happens when the camera sensor grid interacts with the LED pixel grid. In LED Screen Resolution and Refresh Rate: A Technical Guide for Stage Displays, the usual fixes are changing camera distance, lens focal length, or shifting focus slightly. You can also try a diffusion texture on the wall or adjust the processor’s scaling filter.
Test at the actual broadcast camera position before show day.
Is a 4K LED wall always sharper than a 1080p LED wall?
Not always. A 4K canvas built from wide-pitch panels can look less sharp than a tight-pitch 1080p wall viewed from the same distance. LED Screen Resolution and Refresh Rate: A Technical Guide for Stage Displays treats pixel pitch and viewing distance as the real sharpness factors. If the 4K wall is physically huge, each pixel may be easier to see.
Calculate physical pixels per meter before comparing.
What causes color banding on an LED wall during slow fade scenes?
Banding usually comes from sending 8-bit content through a system that cannot preserve smooth gradients. LED Screen Resolution and Refresh Rate: A Technical Guide for Stage Displays points to bit depth mismatches between the media server, processor, and receiving card.
Use a 10-bit or 12-bit signal path from Resolume Arena to the processor, and test a grayscale ramp in dim light. Calibrated gamma also reduces visible banding.
Conclusion
LED Screen Resolution and Refresh Rate: A Technical Guide for Stage Displays comes down to matching the wall to the camera, not just the eye. Keep these takeaways:
– Choose pixel pitch from the closest viewer, not the wall’s total width.
– Set panel refresh to at least 1920 Hz for any camera-fed show.
– Match your media server canvas to the processor’s native pixel grid.
– Test brightness, gamma, and grayscale ramps before load-in.
Open your LED processor software now and verify the panel refresh, scan mapping, and canvas size. A 15-minute settings check before rehearsal prevents most camera artifacts.
