
led screen testing grid concert setup guide: Essential Tips
Introduction
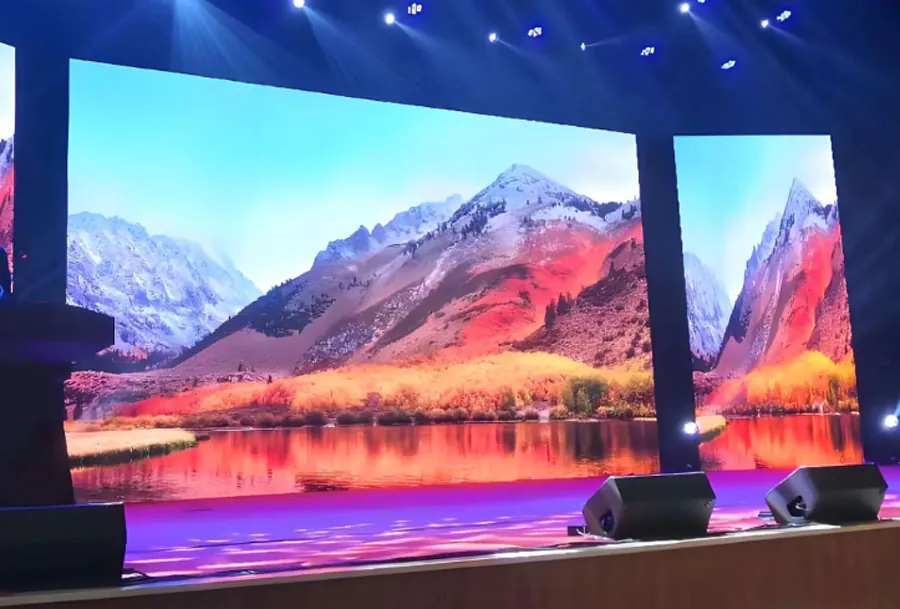
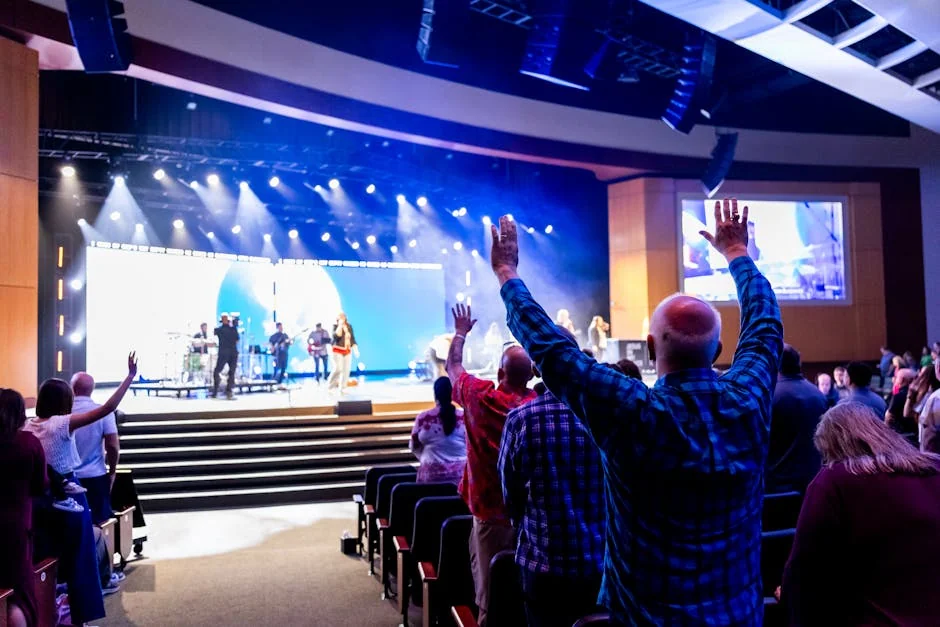
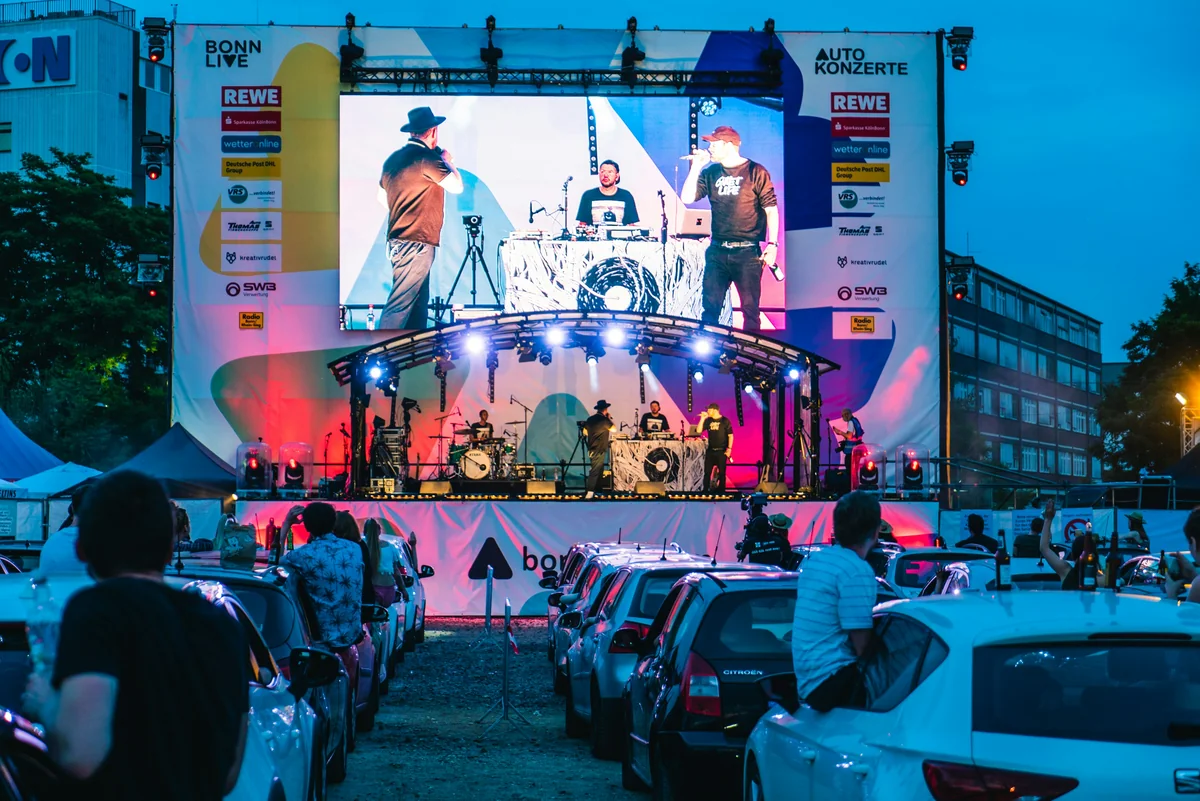
A flawless concert visual starts long before the audience arrives. Behind every seamless backdrop, side wall, and stage fascia is a careful process of calibration, inspection, and verification. That is where LED screen work becomes essential. Event producers, AV technicians, rental companies, and tour managers rely on structured testing to confirm that panels align, colors match, pixels respond, and signal paths remain stable under real show conditions.
Table of Contents
- Introduction
- Why led screen testing grid concert matters for live events
- Essential tools and patterns for led screen testing grid concert workflows
- Step-by-step led screen testing grid concert checklist before showtime
- 1. Inspect power and data infrastructure
- 2. Verify processor configuration
- 3. Display solid colors
- 4. Apply a fine-line grid
- 5. Review larger geometry
- 6. Test motion and camera response
- 7. Replace or remap faulty modules
- 8. Save settings and document issues
- Common problems found during led screen testing grid concert sessions
- Panel seam mismatch
- Color and brightness variation
- Dead pixels and failing modules
- Mapping and scaling errors
- Flicker and camera artifacts
- Environmental stress effects
- Best practices to improve led screen testing grid concert results
- FAQ
- What is a led screen testing grid concert procedure?
- Why is led screen testing grid concert important for concerts?
- When should teams run a led screen testing grid concert check?
- Can a led screen testing grid concert help with camera issues?
- What patterns are best for led screen testing grid concert tasks?
- Conclusion
Using a reliable led screen process reduces the chance of dead pixels, panel mismatch, flicker, moiré, and brightness inconsistency. It also helps crews troubleshoot quickly during setup, saving valuable rehearsal time and protecting the visual impact of the performance. In this guide, you will learn why this method matters, how to use it effectively, what tools support it, and how to build a repeatable workflow for live event success.
Why led screen testing grid concert matters for live events
In a concert environment, LED walls operate under pressure. Load-in windows are tight, lighting changes rapidly, camera systems may be recording, and performers expect everything to work at showtime. A consistent these routine gives technicians a practical visual reference to evaluate the health of the entire display surface before content playback begins.
A testing grid reveals issues that ordinary graphics can hide. When crews display structured horizontal and vertical lines, they can identify panel gaps, cabinet warping, misalignment, scaling problems, and seam irregularities. A proper they workflow also makes it easier to spot whether modules are installed upside down, whether receiving cards are mapped correctly, and whether processors are sending content at the correct resolution.
Another reason this process matters is color consistency. Concert LED walls often combine panels from different inventory batches or rental warehouses. Even high-quality products can show slight variance in temperature, gamma, or brightness. With the concept methods, technicians can compare cabinet behavior side by side and make adjustments before the audience ever sees the screen.
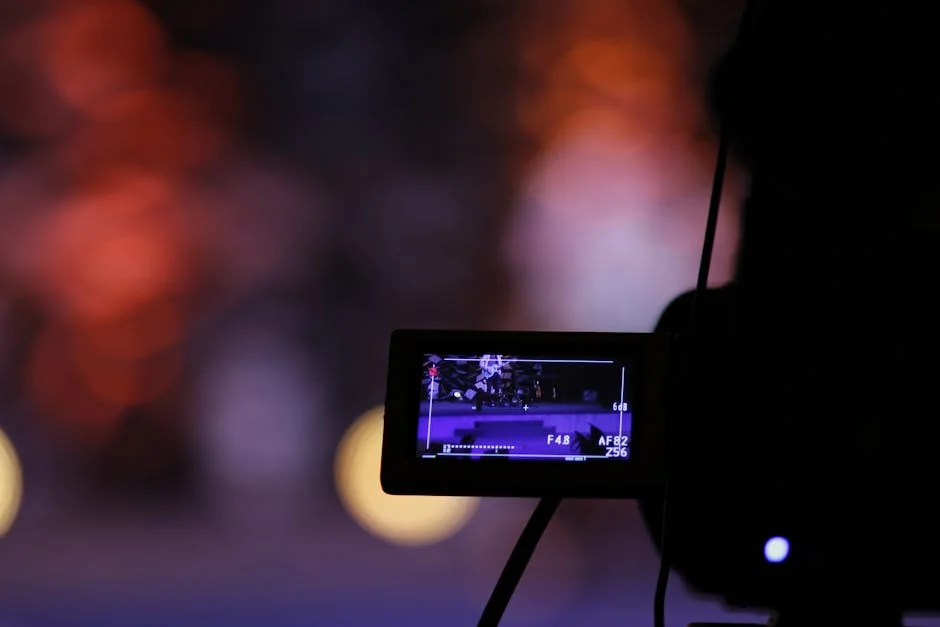
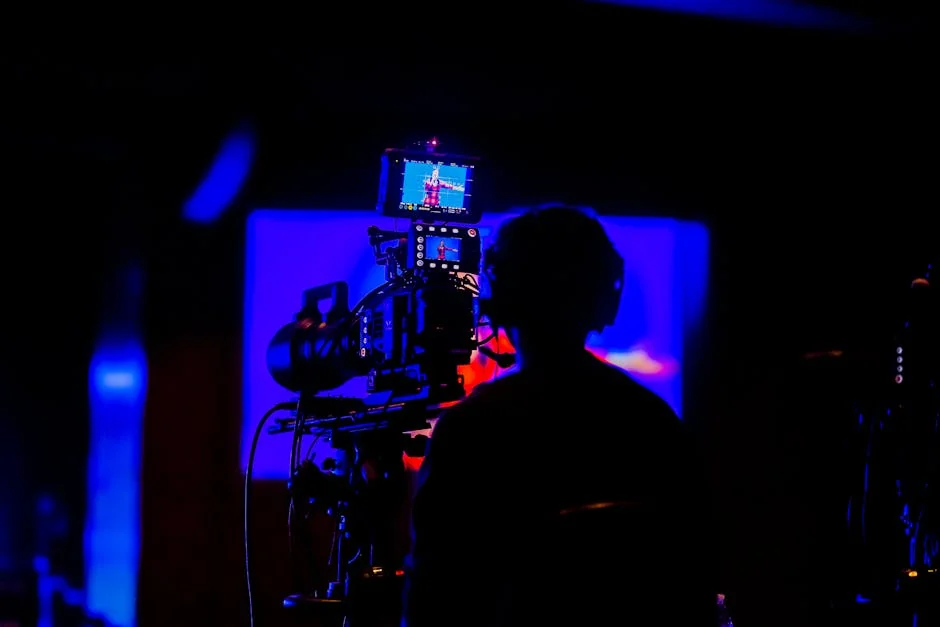
The camera factor is equally important. Modern concerts frequently include IMAG, livestreaming, social content capture, and broadcast integrations. If an LED wall has refresh inconsistencies or subtle artifacting, cameras may exaggerate those flaws. A strong the approach check helps crews verify both in-person visual quality and camera-friendly performance under rehearsal conditions.
Finally, this practice supports safety and efficiency. When teams can identify problem areas early, they avoid last-minute climbs, rushed replacements, and unnecessary signal troubleshooting during countdown to doors. In short, testing is not an optional technical step; it is part of delivering a professional audience experience.
Essential tools and patterns for led screen testing grid concert workflows
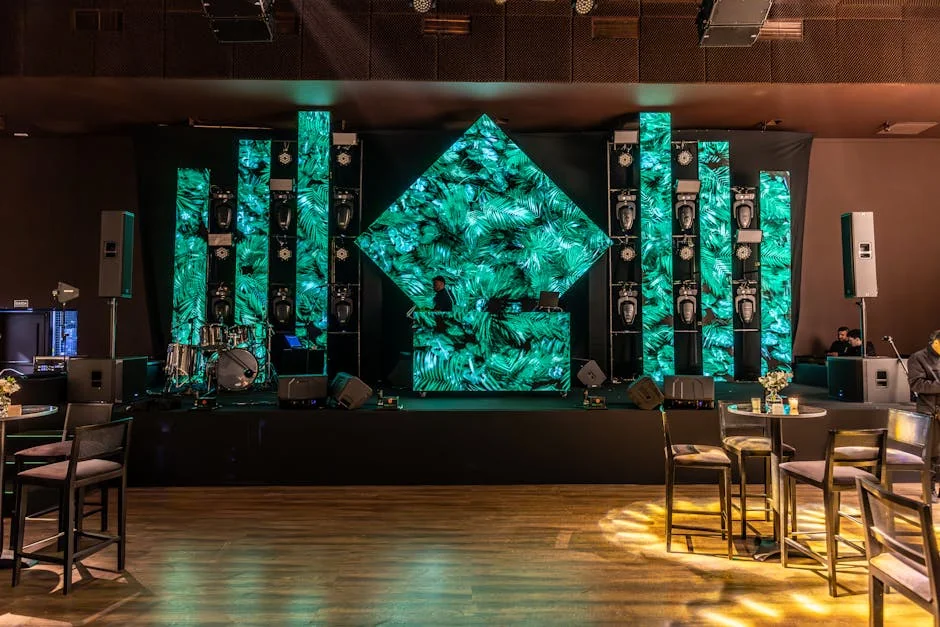
To build a dependable LED WALL testing grid process, crews need more than just an LED wall and a media processor. They need the right set of test assets, control software, measurement tools, and operational habits. The exact toolkit may vary based on screen brand, controller platform, and venue size, but the core principles remain consistent.
The most important element is the grid pattern itself. A good testing grid file should include evenly spaced lines, high contrast, and scaling accuracy. White lines on a black background are common because they expose seams and dead pixels clearly. Some technicians also use red, green, and blue grid patterns to isolate channel-specific issues. Fine grids help reveal cabinet alignment errors, while larger block grids make it easier to assess global geometry across the full wall.
Signal control is another key area. Video processors from major manufacturers allow technicians to route test patterns directly, which can be more reliable than depending on a playback laptop. Media servers and switchers also offer test outputs, but crews should verify that scaling is disabled or correctly configured. A useful testing grid routine checks the entire signal chain, from source to processor to receiving card to panel.
Calibration software plays an important supporting role. Many LED systems provide cabinet-level brightness and color adjustment utilities. After exposing visual differences with a grid, technicians can apply corrections to improve uniformity. Although the grid does not replace full calibration, it acts as a fast diagnostic layer within the wider testing grid workflow.
Physical inspection tools matter too. Crews often use:
– Flashlights for connector and latch checks
– Multimeters for power verification
– Spare data and power jumpers
– Panel suction tools for safe module replacement
– Alignment pins and mechanical supports
– Camera monitoring for moiré and flicker review
Environmental awareness should not be overlooked. Outdoor concerts introduce temperature shifts, moisture risk, wind load concerns, and changing ambient light. Indoor arenas can present rigging limitations, cable congestion, and steep viewing angles. A practical grid setup accounts for these conditions during both assembly and testing.
It is also wise to keep a standard test playlist. A strong sequence might include:
- Solid black for dead or glowing pixels
- Solid white for brightness consistency
- RGB full-screen tests for color channel issues
- Fine grid for seam and mapping checks
- Large grid for geometry review
- Motion test content for processor and refresh evaluation
With the right combination of patterns and tools, technicians can move from reactive troubleshooting to proactive quality control.
Step-by-step led screen testing grid concert checklist before showtime
A repeatable pre-show checklist is one of the best ways to ensure consistent results. Whether the screen is a main upstage wall, DJ booth wrap, stage header, or side screen package, a structured the approach sequence helps crews catch problems in a logical order.
1. Inspect power and data infrastructure
Before turning on the full system, confirm that every cabinet has stable power and secure data connections. Check feeder distribution, PSU status indicators, and cable strain relief. Many wall failures begin with a loose connector or damaged jumper, not the panel itself. This foundational step supports the entire it process.
2. Verify processor configuration
Confirm input resolution, output mapping, refresh settings, scaling parameters, and backup paths. If the processor is misconfigured, the wall may appear functional while still hiding stretch, crop, or sync problems. Starting the this review at the processing level prevents wasted time later.
3. Display solid colors
Run black, white, red, green, and blue full-screen patterns. Look for stuck pixels, missing color channels, inconsistent brightness, and abnormal module behavior. Solid colors often reveal defects before the grid even appears. This is a simple but important layer in the workflow.
4. Apply a fine-line grid
Now bring up a fine grid pattern across the full display. Walk the wall from multiple distances and angles. Check for:
– Uneven seams
– Crooked cabinets
– Bent modules
– Pixel columns or rows not responding
– Mapping offsets
– Content scaling distortion
This stage is where they methods provide the most visual clarity.
5. Review larger geometry
Switch to a wider grid or boxed pattern. This helps identify whether the wall is square overall and whether edges drift across long spans. Large-format concerts often involve walls assembled from flown and ground-supported sections, so macro alignment matters. A complete the concept check should evaluate both micro and macro geometry.
6. Test motion and camera response
Use moving bars, animated patterns, or rehearsal content. Then inspect through the actual show cameras if possible. Some artifacts only appear on camera, especially if shutter settings interact poorly with LED refresh behavior. This camera pass strengthens the the approach routine for hybrid live-broadcast events.
7. Replace or remap faulty modules
If technicians identify bad modules or data issues, fix them immediately and rerun the relevant patterns. Avoid assuming a small flaw will go unnoticed. Concert visuals are highly visible, and audience phones capture everything. A professional it approach always includes retesting after corrections.
8. Save settings and document issues
Once the wall passes inspection, save processor presets, backup show files, and note any noncritical issues for post-show service. Documentation is especially valuable for touring systems where the same inventory moves city to city. Treat the this process as part of the production record, not just a temporary setup task.
Common problems found during led screen testing grid concert sessions
Even experienced crews encounter LED wall issues. The advantage of a disciplined these procedure is that it surfaces those issues in a controlled environment instead of during the headline act. Knowing the most common problems can help teams respond faster.
Panel seam mismatch
This is one of the first issues a grid exposes. Seams may appear wider or more irregular due to cabinet manufacturing tolerances, latch pressure, uneven rigging, or rushed assembly. During a they session, seam mismatch becomes obvious because the grid lines fail to continue smoothly from cabinet to cabinet.
Color and brightness variation
A wall built from mixed panel batches can show subtle but visible variation. One section may look warmer, greener, or dimmer than the rest. A structured the concept routine highlights these differences clearly, especially when alternating between grid patterns and white test screens.
Dead pixels and failing modules
Small defects can hide inside busy show content, but test patterns make them much easier to locate. Entire rows, columns, or modules may drop due to power, ribbon cable, or receiver card faults. A thorough the approach review allows crews to isolate whether the problem is mechanical, electrical, or signal-related.
Mapping and scaling errors
Improper canvas setup can stretch content, shift image position, or mirror sections unintentionally. Fine grid patterns reveal whether the display is truly pixel-accurate. In many cases, it procedures uncover setup errors in the processor rather than hardware problems in the wall.
Flicker and camera artifacts
The wall may look acceptable to the naked eye but still perform poorly on camera. Refresh mismatch, scan mode limitations, or processing issues can produce rolling bands or moiré. Including camera review in the this workflow is essential for concerts with IMAG or streaming deliverables.
Environmental stress effects
Outdoor panels can behave differently as temperature rises or humidity changes. Connectors expand, brightness shifts, and weather seals are tested in real time. A flexible these approach includes rechecks after sunset, before doors, or after environmental changes.
Best practices to improve led screen testing grid concert results
Getting the best results is not only about finding problems. It is also about creating a process that is fast, repeatable, and scalable. Teams that standardize their testing grid habits tend to achieve higher reliability across multiple shows and venues.
First, use standardized test assets. When every technician uses the same pattern package, comparisons become easier from event to event. This consistency makes the led screen testing grid routine more objective and less dependent on personal preference.
Second, test from different viewing positions. A wall may look aligned from front of house yet reveal depth or seam problems from stage left, stage right, or elevated seating areas. Expanding sightline checks improves the value of any the approach process.
Third, combine visual inspection with system data. Many LED platforms report cabinet temperatures, receiver card status, voltage behavior, and fault warnings. Do not rely only on what the eye sees. The strongest workflow blends pattern-based inspection with device-level diagnostics.
Fourth, schedule adequate time. Testing should never be treated as a last-minute step after all creative content is loaded. Build it into the production timeline, especially for complex stage designs. Rushed this checks increase the risk of missed defects.
Fifth, train crew members consistently. Freelancers, touring staff, and local stagehands may all interact with the wall. Clear procedures, labeling, and escalation steps reduce confusion. A documented testing grid standard helps every team member understand what “show ready” actually means.
Finally, maintain backup readiness. Spare panels, extra receiver cards, duplicate processors, and saved mapping files can turn a serious issue into a quick fix. Effective redundancy makes the process more than a diagnostic tool; it becomes part of overall show resilience.
FAQ
What is a led screen testing grid concert procedure?
A led screen testing grid concert procedure is a method of displaying structured test patterns on a concert LED wall to check alignment, mapping, brightness, color consistency, pixel health, and overall performance before the event starts.
Why is led screen testing grid concert important for concerts?
A led screen testing grid concert process helps crews catch technical faults before the audience enters. It reduces the risk of visible seams, dead pixels, scaling errors, and camera artifacts that could damage the production’s visual quality.
When should teams run a led screen testing grid concert check?
Teams should perform a led screen testing grid concert check after wall assembly, after processor setup, after any module replacement, and again before doors if environmental or technical conditions have changed.
Can a led screen testing grid concert help with camera issues?
Yes. A led screen testing grid concert workflow can reveal alignment and refresh-related issues that may become more obvious on broadcast, livestream, or IMAG cameras than they appear to the human eye.
What patterns are best for led screen testing grid concert tasks?
The best led screen testing grid concert pattern set usually includes black, white, red, green, blue, fine grids, larger geometry grids, and motion test content so technicians can evaluate both static and dynamic performance.
Conclusion
Concert LED systems must deliver impact, precision, and reliability under demanding conditions. A disciplined led screen testing grid concert workflow gives production teams a practical way to verify screen integrity before the first song begins. By using the right patterns, checking both hardware and processor settings, reviewing camera behavior, and documenting every correction, crews can prevent many of the most common visual failures.
Whether you manage a touring package, a festival stage, or a one-night arena production, investing time in led screen testing grid concert preparation pays off in better image quality, faster troubleshooting, and stronger audience confidence. When the wall is tested properly, the content can do what it is meant to do: elevate the live performance and create a memorable visual experience.
