Resolution and Refresh Rate Explained Technical Guide to Selecting HD LED Screen Stages
Choosing the right HD LED screen stage requires more than just picking the brightest or largest panel. Two technical parameters—resolution and refresh rate—directly affect image clarity, motion rendering, camera compatibility, and ultimately audience experience. For live events, concerts, corporate presentations, and broadcast productions, balancing pixel pitch, panel size, and refresh performance ensures visuals remain crisp and flicker-free both to the naked eye and on camera. This guide explains the technical concepts you need, how to translate them into practical procurement decisions, and the trade-offs to consider when designing or renting LED stages.
Resolution and Pixel Pitch: What They Mean for Stage Visuals
Resolution for LED stages is determined by pixel pitch—the center-to-center distance between adjacent LEDs—rather than the traditional concept of pixel count on an LCD screen. A smaller pixel pitch (for example, P1.9 or P2.5) yields higher pixel density and finer image detail at closer viewing distances. Conversely, larger pixel pitches (P4, P6, etc.) are acceptable when the audience is farther away because the human eye cannot resolve finer detail at a distance.
When specifying resolution, consider:
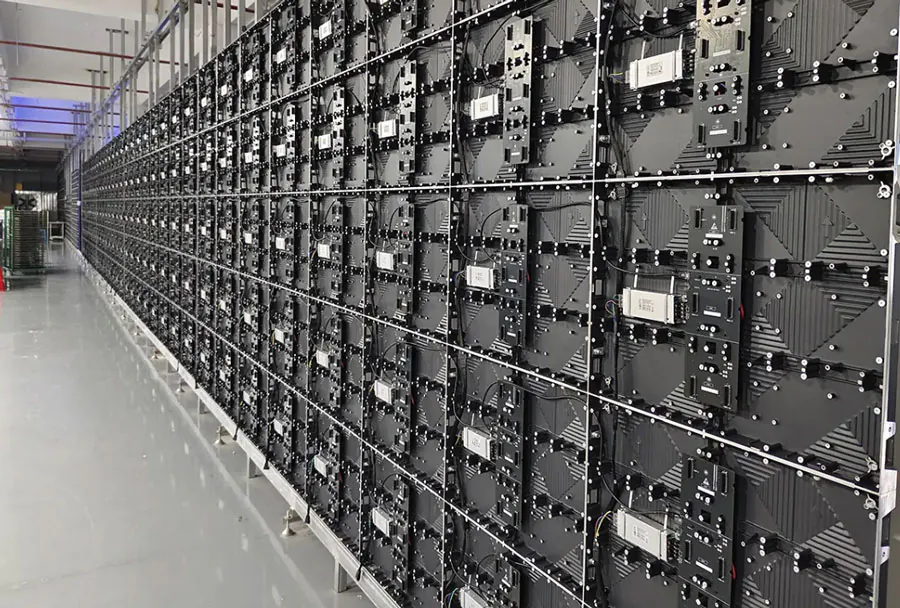
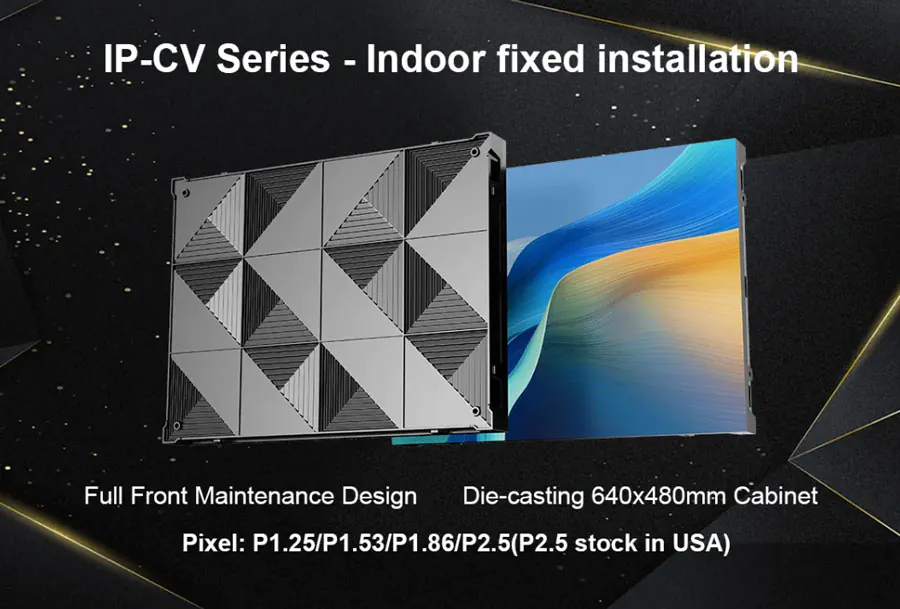
– Panel dimensions and module resolution: LED panels are modular. A single cabinet may be 500 x 500 mm or 500 x 1000 mm; numbering of LEDs per module yields the cabinet’s native resolution.
– Overall screen size: Multiply cabinet resolution by the number of cabinets to compute total pixel resolution.
– Viewing distance: Use the rule of thumb that optimal closest viewing distance (in meters) ≈ pixel pitch (mm) / 0.3. For example, a P4 screen is suitable for audiences no closer than roughly 4/0.3 ≈ 13 meters for full detail perception.
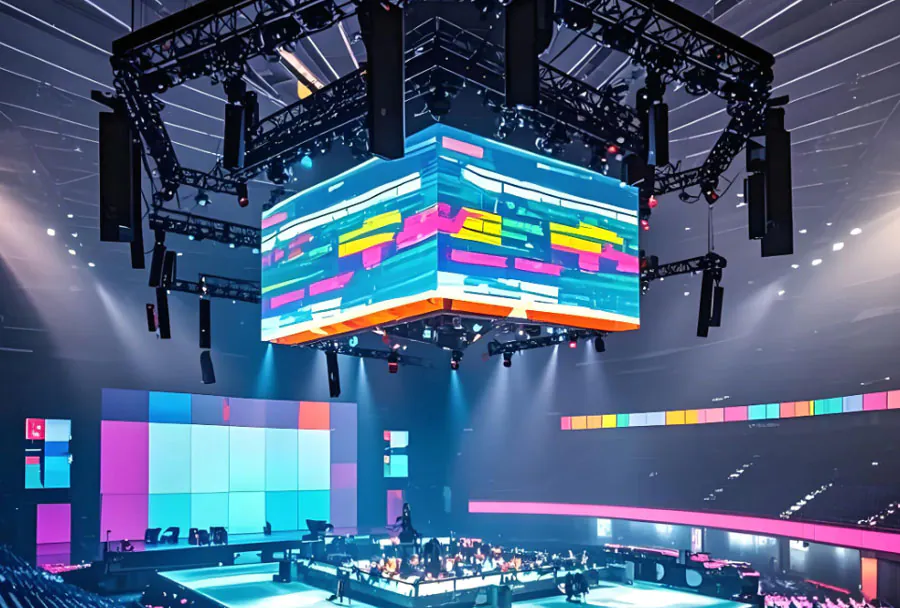
Practical tip: For stages with on-stage presenters within a few meters of the screen or for interactive displays, choose P2.5 or finer. For large concert backdrops viewed from tens of meters, P6 or larger can be appropriate and more cost-effective.
Refresh Rate and Motion Rendering: Why It Matters
Refresh rate (Hz) defines how many times per second the LED panel updates. Higher refresh rates reduce motion blur and flicker and are critical for camera compatibility. For live broadcast and multi-camera events, aim for a refresh rate significantly higher than the camera’s frame rate. Typical recommendations:
– For in-person viewing without cameras: 1,200–2,000 Hz often suffices to eliminate perceptible flicker.
– For broadcast or multi-camera shoots: 3,000–6,000 Hz (or higher) is advisable to ensure flicker-free footage because different camera shutter speeds and scanning patterns interact with the display refresh.
Key refresh-related concepts:
– PWM (Pulse Width Modulation): Common dimming method where LEDs are switched on/off rapidly. Low-frequency PWM causes flicker; choose panels with high-frequency PWM or global current control for smoother dimming.
– Scanning and driving architecture: LED panels may use 1/4, 1/8, 1/16 scan driving; lower scan ratios usually allow higher refresh rates but may increase power consumption. Choose full scan or low-scan architectures for broadcast-grade displays.
– Frame sync and genlock: Synchronizing the LED controller to an external genlock or camera system prevents tearing and ensures frame alignment across multiple inputs.
Translating Specs into Selections: A Step-by-Step Approach
1. Define audience and camera needs:
– Is the LED backdrop primarily for the live audience, broadcast cameras, or both?
– What is the closest audience distance? How many cameras and what shutter rates are expected?
2. Calculate pixel pitch and overall resolution:
– Decide acceptable pixel pitch based on viewing distance and budget.
– Determine required screen dimensions and the number of cabinets.
3. Set refresh rate and driver requirements:
– For broadcast, require minimum refresh of 3,000 Hz and seek panels with high-frequency PWM and low-scan driving.
– For high-motion content (sports graphics, fast camera pans), target higher refresh rates to prevent motion artifacts.
4. Verify color depth and calibration:
– True 14-bit or higher color processing per channel yields smoother gradients; higher grayscale improves camera reproduction.
– Ask for factory calibration and check for per-pixel LUTs or ICC profiles for color consistency across panels.
5. Test before event:
– Conduct camera tests at target shutter speeds and frame rates.
– Validate brightness, contrast, and viewing-angle uniformity across the stage.
Common Trade-offs and Cost Drivers
– Pixel pitch vs. cost: Finer pixel pitch increases cabinet complexity and cost. Choose the minimum pitch that meets viewing distance and camera requirements.
– Higher refresh rates increase processing demands and sometimes cost—controllers and receiving cards capable of 6,000 Hz or more are pricier.
– Brightness and thermal management: High brightness levels reduce HDR headroom and increase heat; ensure adequate power and cooling for long runs.
– Rental vs. purchase: If you frequently stage broadcast events, investing in broadcast-grade panels with higher refresh and calibration features may be justified.
Compatibility with Cameras and Broadcast Workflows
Camera shutter and rolling shutter effects interact with LED refresh. To minimize artifacts:
– Match LED refresh with camera frame rates: Use genlock to synchronize the LED controller to the camera system where possible.
– Avoid using shutter speeds that are exact multiples or submultiples of the LED refresh frequency.
– Test with actual cameras to tune PWM, refresh rate, and shutter timings.
For virtual production and live compositing, ensure low latency between source media and the LED wall. LED controllers should support frame-accurate switching and minimal input-to-display latency to align live camera feeds and LED background motion.
Comparative Analysis Table: Typical Stage LED Options
| Model / Pixel Pitch | Native Resolution (example 10m x 5m screen) | Optimal Closest Viewing Distance | Recommended Refresh Rate | Best Use Cases |
|---|---|---|---|---|
| P1.9 | ~5260 x 2630 pixels | ≈6 meters | 3,000–6,000 Hz (broadcast: ≥4,000 Hz) | High-end corporate, close-proximity presentations, virtual production |
| P2.5 | ~4000 x 2000 pixels | ≈8 meters | 2,000–4,000 Hz | Concert fronts, mid-size stages, mixed live+broadcast events |
| P4 | ~2500 x 1250 pixels | ≈13 meters | 1,200–3,000 Hz | Large stages, audience-distant content, background visuals |
| P6 | ~1666 x 833 pixels | ≈20 meters | 1,200–2,000 Hz | Concert backdrops, outdoor festivals, high-brightness scenarios |
| P10 | ~1000 x 500 pixels | ≈33 meters | 1,000–1,500 Hz | Very large outdoor screens, long-distance viewing, budget solutions |
Testing, Calibration, and Operational Best Practices
– On-site camera test: Before the event, run all camera types and lenses across the planned shutter speeds and frame rates. Look for flicker, banding, and color shifts.
– Brightness and HDR: Adjust LED brightness for camera exposure. For HDR content, ensure the LED wall supports high dynamic range processing and higher native contrast.
– Color calibration: Apply uniform color calibration across cabinets. Regularly maintain per-pixel calibration to prevent patchiness under camera scrutiny.
– Power staging: Distribute power to avoid voltage drop across the wall. Sudden brightness changes (strobe effects, quick content switches) can create transient power spikes—plan UPS or power reserves.
– Redundancy: For mission-critical events, use dual input pipelines and redundant receiving cards to handle signal loss without visible artefacts.
Checklist for Procuring HD LED Screen Stages
– Determine pixel pitch based on the closest audience distance and camera proximity.
– Specify required refresh rate with margin for camera compatibility (broadcast-grade: ≥3,000–6,000 Hz).
– Verify driving method (low scan vs. full scan) and PWM frequency.
– Confirm color depth (14-bit or higher recommended for broadcast-grade).
– Request sample cabinet camera tests and calibration certificates.
– Confirm physical build: cabinet rigidity, seams (for seamless video), rigging points, and serviceability.
– Include test and rehearsal time in the schedule to tune frame sync, brightness, and color.
Resolution and refresh rate are foundational to the performance of HD LED stage displays. Pixel pitch defines the visual granularity and dictates viewing-distance requirements, while refresh rate and driving architecture govern motion smoothness and camera compatibility. For live events—especially those intended for broadcast—prioritize higher refresh rates, robust driving electronics, and thorough camera tests to avoid flicker, banding, and synchronization issues. By approaching LED stage selection methodically—mapping requirements to pixel pitch, controller capabilities, and operational workflows—you deliver reliable, visually compelling experiences for both live audiences and on-camera viewers.