Expert Tips for Hiring Reliable Outdoor LED Screen Rental
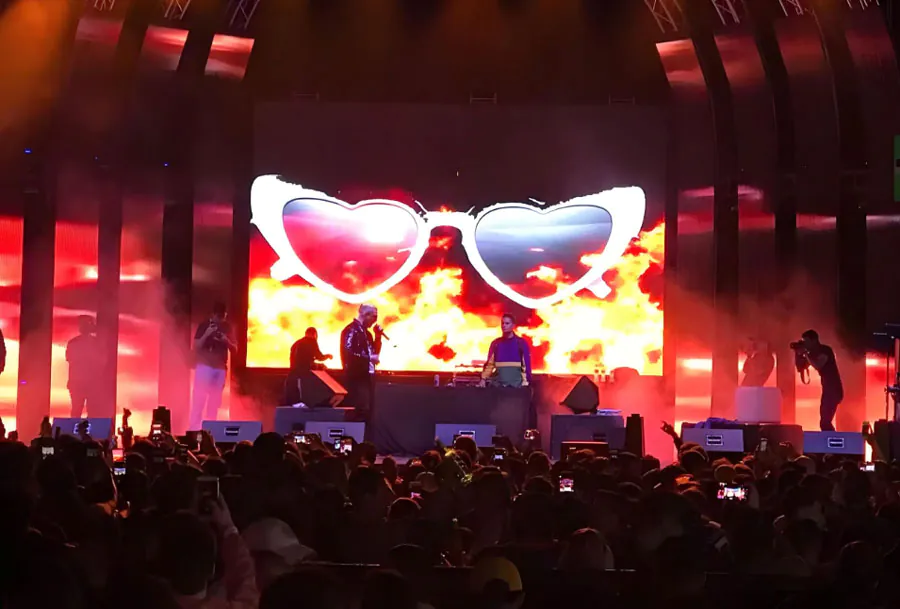
Outdoor LED Screen Rental has transformed how events, advertising campaigns, and public gatherings capture attention. From music festivals and sports events to corporate product launches and political rallies, a well-executed LED screen can be the difference between a memorable moment and a technical disaster. Hiring a reliable outdoor LED screen rental vendor is not just about price — it’s about ensuring the right technology, professional logistics, safety, and content delivery to make your event succeed.
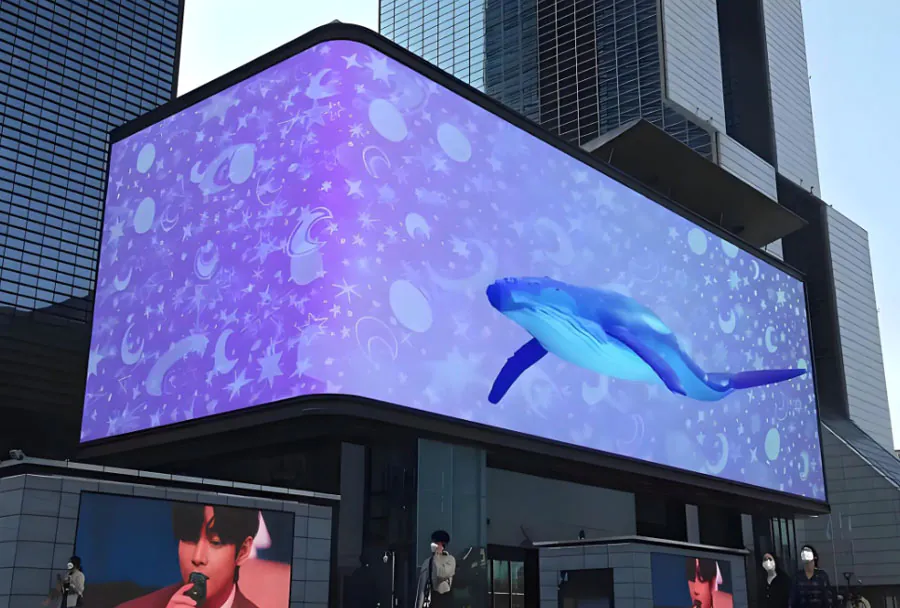
Followed is the YOUTUBE video about TW VISION outdoor LED Screen rental.
This guide will walk you through the critical factors to evaluate when hiring an outdoor LED screen rental provider, give you practical checklists and sample contract considerations, and provide a clear comparison table to help you make informed choices.
1. Define Your Event Needs Before You Shop
Start with clear answers to the following questions:
– What is the event type (concert, sporting event, corporate event, public screening)?
– Expected audience size and viewing zones (crowd density, seating vs. standing)?
– Site layout: single screen, multiple screens, or video wall? Mounting: ground stack, flown, or trailer-mounted?
– Viewing distance range (closest and farthest viewers)?
– Content types and sources (live feed, pre-recorded video, slides, live social media feeds)?
– Duration and hours of operation (daytime vs. nighttime brightness needs)?
– Power availability and local restrictions (permit requirements, noise ordinances, curfews)?
– Budget and margins for contingency?
Clear requirements allow vendors to recommend the correct pixel pitch, screen size, brightness, and support package.
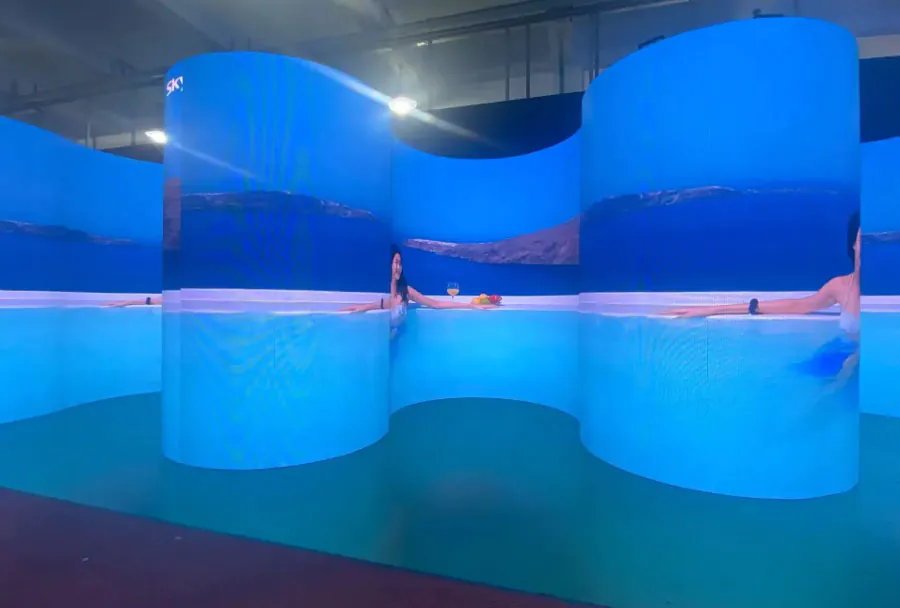
2. Technical Specifications for reliable Outdoor LED Screen Rental
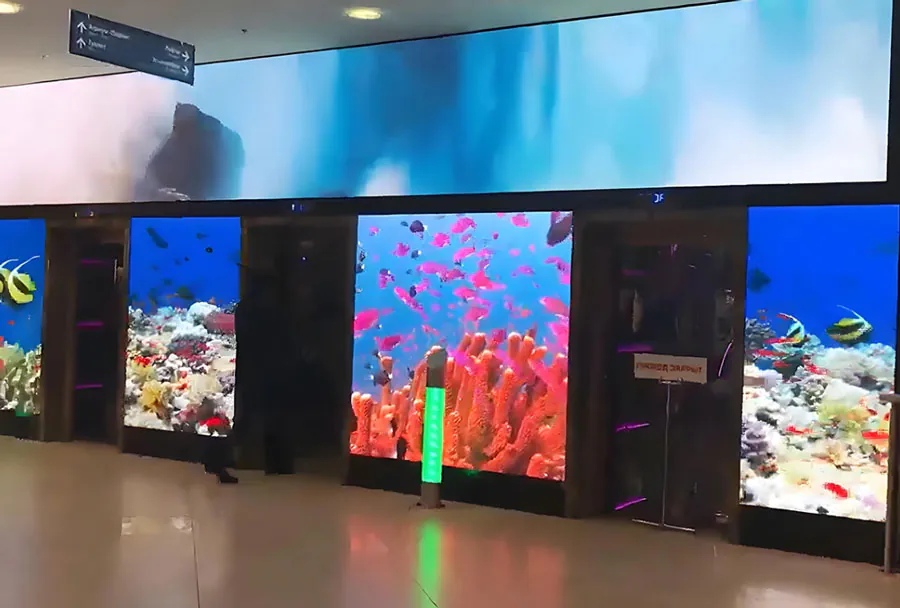
– Pixel Pitch: The distance (in millimeters) between pixel centers. Smaller pitch (e.g., P2.5, P3.9) gives higher resolution ideal for close viewing. Larger pitch (P6–P10) works for distant viewing where fine detail is less important. Choose pixel pitch based on the closest viewing distance: a common rule is viewing distance (in meters) ≈ pixel pitch (mm) × 1.5–3.
– Brightness (Nits/cd/m2): Outdoor screens require high brightness to remain visible in daylight. Typical outdoor rentals provide 5,000–8,000 nits; bright sunny events may need 6,000+ nits.
– Contrast Ratio & Refresh Rate: High refresh rates (≥3,840Hz) reduce flicker for camera capture and broadcasting. Contrast improves image punch, especially in high ambient light.
– Screen Size & Aspect Ratio: Determine required size from viewing distance and content. Aspect ratio should match your content or be adjustable by the provider.
– Weatherproofing & IP Rating: For outdoor use, choose cabinets with IP65 or higher (protected from dust and heavy rain). Ensure the vendor has sealed connectors and climate-resistant power distribution.
– Power & Backup: Ask for power consumption per panel, total amperage, and redundancy plans (backup generators, UPS for critical control systems).
– Control System & Inputs: Confirm compatibility with your video sources (SDI, HDMI, DVI, fiber) and whether the vendor uses reputable controllers (NovaStar, Colorlight, Brompton).
– Rigging & Structural Safety: Verify structural load ratings, wind load tolerances, and whether the vendor will provide a structural engineer’s sign-off for flown screens.
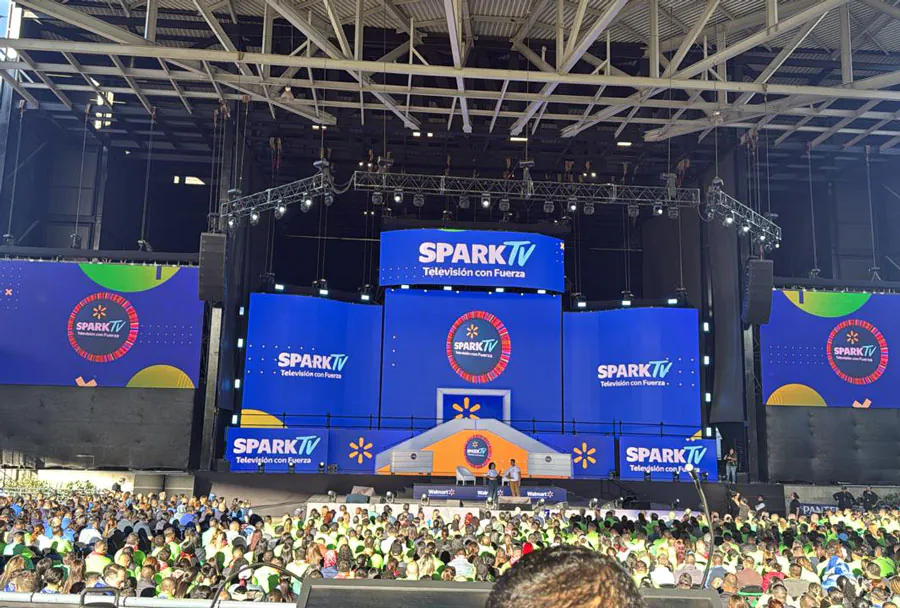
3. Sourcing & Vetting Vendors with Reliable Outdoor LED Screen Rental
– Experience & Specialization: Prefer vendors with a track record in similar events (size, format, location). Ask for case studies, photos, and references.
– Inventory Quality: Inspect sample panels or ask for a demo. Avoid vendors who rely on unknown or outdated Chinese no-name cabinets.
– Certifications & Compliance: Verify local certifications for rigging, electrical work, and safety inspections. Ensure vendor carries required insurance (general liability, equipment insurance, workers’ comp).
– Availability & Logistics: Confirm delivery, installation, and removal windows. Ask whether the vendor provides on-site technicians during the event.
– Financial Stability & Contract Terms: A long-term, stable vendor will be more reliable. Review payment terms, deposits, and cancellation penalties.
4. On-Site Service & Technical Support
– Pre-Event Walkthrough: Vendor should perform a site visit or provide a detailed site survey to plan exact placement, rigging points, and power layout.
– Installation Timeline: Ask for a timeline showing arrival, rigging, alignment, calibration, and testing milestones.

– On-Site Crew: Confirm number and qualifications of technicians, riggers, and electricians. Ask for OSHA or local safety training certificates if relevant.
– Rehearsal & Testing: Ensure the vendor allocates time for content testing, color calibration, and broadcast camera tests.
– Spare Parts & Redundancy: Vendor must have backup modules, power supplies, spare control boxes, and replacement panels on site or nearby.
– Remote Monitoring: Some vendors offer 24/7 remote monitoring for longer rentals — useful for multi-day outdoor installations.
5. Contracts, SLAs & Liability
– Service Level Agreement (SLA): Define uptime expectations (e.g., 99.5% during event hours), response times for faults, and remedies for downtime.
– Cancellation & Weather Policy: Clarify responsibilities in case of severe weather, force majeure, or permit denial. Include options for postponement.
– Damage & Repair Liability: Define who is responsible for damage during transport, setup, and event. Clarify insurance coverage.
– Payment Terms: Include deposit, milestone payments, and final pay upon successful delivery/testing. Consider withholding a small amount until post-event teardown is complete.
– Intellectual Property & Content Handling: Clarify whether the vendor can record content, handle licensing, or charge additional fees for content playback.
– Permits & Inspections: State who obtains permits, pays fees, and coordinates inspections with local authorities.
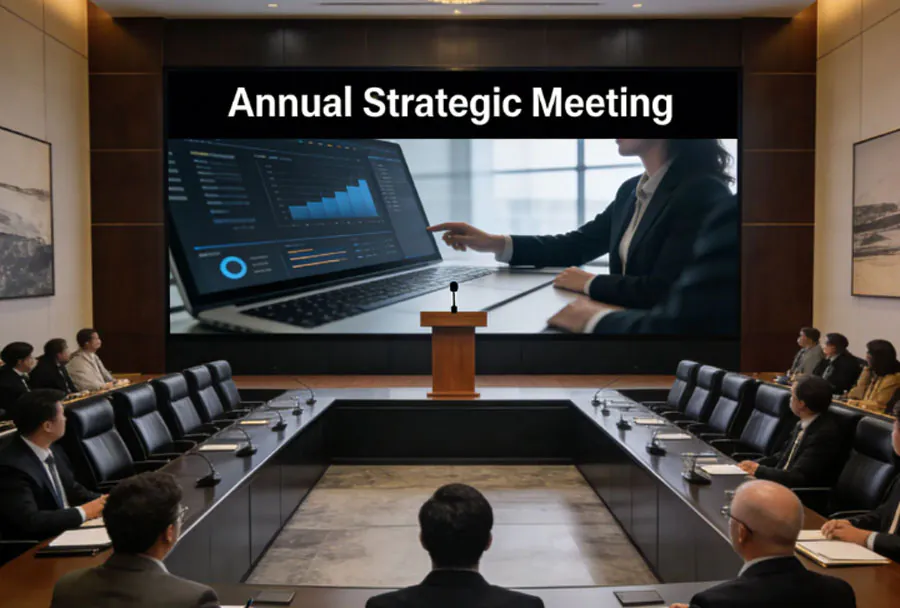
6. Audio-Visual Integration & Content Management
– Resolution & Aspect Matching: Ensure content creators know the screen resolution and pixel aspect to avoid stretching or letterboxing.
– Playback Systems: Ask if the vendor supplies media servers or relies on client devices. Confirm compatibility with live switching gear.
– Timecode & Sync: For multi-screen setups, ensure synchronization via genlock or timecode to prevent visual offsets.
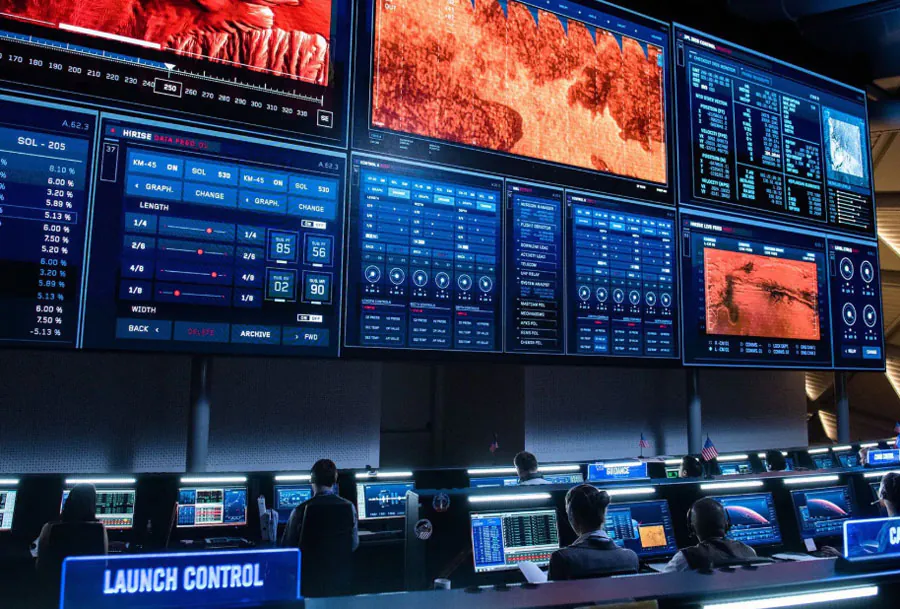
– Live Feeds & Camera Signals: If broadcasting live cameras, ensure vendor supports low-latency signal paths (SDI, fiber) and can lock to broadcast frame rates.
– Content Delivery & File Formats: Agree on accepted codecs, frame rates, and container formats. Confirm pre-show content upload procedures and deadlines.
7. Logistics, Permits & Local Regulations
– Power & Fuel: Confirm onsite power capacity. For remote locations, discuss generator rental, fuel logistics, and noise/emissions restrictions.
– Permits: Verify local outdoor advertising, noise, and public assembly permits. Flown screens often require additional aviation notification in some jurisdictions.
– Road & Transport Access: Ensure the vendor can transport panels and trucks to the site — check for low bridges, narrow roads, or residential restrictions.
– Crowd Management & Safety Zones: Plan safe distances from the screen for stabilization equipment and cable runs. Factor in emergency access routes.
– Environmental Considerations: Ensure compliance with environmental regulations like light pollution limits or protected area restrictions.
8. Cost Factors & Budgeting for reliable Outdoor LED Screen Rental
Cost is influenced by:
– Screen size and pixel pitch
– Brightness and panel quality
– Rental duration and installation complexity
– Transport distance and number of crew
– Permits, generator needs, and taxes
– On-site technician hours and post-event support
Always budget at least 10–20% contingency for unexpected site challenges, weather delays, or extended event hours.
9. Negotiation Tips & Value-Added Services
– Package Services: Negotiate bundled deals that include delivery, setup, tech labor, and teardown rather than a la carte pricing.
– Long-term Relationships: If you’ll produce multiple events annually, negotiate volume discounts or preferred partner rates.
– Off-Peak Discounts: Weekday or off-season bookings can be cheaper.
– Added Services: Ask if the vendor can provide staging, trussing, audio, or lighting packages to simplify logistics.
– Performance Guarantees: Negotiate credits or refunds tied to measurable uptime or brightness levels.
10. Post-Event: Deinstallation & Feedback
– Teardown Windows: Confirm when equipment will be removed and how the site will be left (cleaning, restoration).
– Damage Inspection: Conduct a joint post-event inspection to note any damage or missing items before final payment.
– Debrief & Lessons Learned: Ask the vendor for a post-event technical report and discuss improvements for future events.
Practical Vendor Evaluation Table — At-a-Glance
Factor Why It MattersWhat to Ask the Vendor
| Category | Why It Matters | Key Question to Ask | Minimum Spec | Recommended Spec |
|---|---|---|---|---|
| Pixel Pitch | Determines image clarity for closest viewers | What is the pixel pitch and ideal viewing distance? | P6–P8 for distant viewing | P2.9–P4 for close/mid-range viewing |
| Brightness (Nits) | Visibility in daylight; prevents washed-out visuals | What is peak and average brightness? Any auto-dim? | 4,000–5,000 nits | 6,000–8,000 nits (sunny conditions) |
| Weatherproofing (IP Rating) | Protection from rain, dust, and humidity | What is the IP rating and sealing method? | IP54 (limited protection) | IP65 or higher |
| Refresh Rate | Reduces camera flicker and improves video quality | What is the refresh rate and scan technology? | ≥1,920Hz | ≥3,840Hz (ideal for broadcast) |
| On-site Support | Minimizes downtime and handles live issues | Number of technicians, response time, and spares? | Technician during setup only | Full-time on-site tech + spare parts |
Sample Pre-Event Checklist
– Confirm site survey and sign-off.
– Verify exact screen size, pixel pitch, and aspect ratio.
– Provide final content specs and delivery method.
– Confirm power requirements and backup generators.
– Obtain all necessary permits and notify authorities about large structures.
– Schedule test and rehearsal time; reconfirm crew arrival times.
– Confirm weather contingency plan and safety measures.
– Ensure insurance certificates and risk assessments are in place.
Sample Contract Clauses to Include
– Service Description: Detailed list of equipment, crew, delivery windows, and services.
– Performance Guarantee: Define acceptable uptime and brightness metrics with remedies for breach.
– Force Majeure: Outline weather and unforeseen event handling, including rescheduling options.
– Indemnification & Insurance: Direct the vendor to provide proof of insurance and responsibility limits.
– Payment Schedule: Deposit amount, milestone payments, final payment after teardown and inspection.
– Termination & Cancellation: Clear terms for early termination and associated fees.
Common Pitfalls to Avoid
– Choosing by price alone: Low-cost vendors may cut corners on equipment quality, spares, or crew.
– Skipping a site survey: Assumptions about rigging points, sightlines, and power can lead to last-minute changes.
– Ignoring broadcast needs: Cameras need high refresh rates and stable synchronization.
– Not testing content: Mismatched resolutions or codecs can ruin visuals at showtime.
– Underestimating weather: Poor planning for wind and rain risks safety and damage.
How to Evaluate a Demo or Site Test
When testing:
– Bring camera operators to check for flicker and refresh artifacts.
– View content from multiple typical audience positions (near, middle, far).
– Test live signal chains (camera → switcher → screen) and measure latency.
– Check color uniformity across panels and seams.
– Run the screen at full brightness for an extended period to test thermal stability.
Sustainability & Long-Term Considerations
– Energy Efficiency: LEDs vary in power draw. Ask for consumption specs and consider eco-friendly generator options.
– Equipment Lifecycle: Newer LED tech provides better efficiency and colors. Prefer vendors who cycle equipment regularly.
– Recycling & Disposal: Confirm the vendor has responsible practices for decommissioning old panels.
Decision-Making Matrix (Quick Guide)
– Small local event (≤500 people, single viewing distance): Choose a compact screen, P6–P8, 4–5k nits, basic crew. Focus on cost-effectiveness and quick setup.
– Medium event (500–5,000 people, mixed distances): Opt for P4–P6, 5–7k nits, full on-site tech, robust rigging. Prioritize reliability and rehearsal time.
– Large outdoor spectacle (>5,000 people or broadcasted): Invest in P2.9–P4 screens where close viewing occurs, ≥6k nits, high refresh rate ≥3,840Hz, redundant power and spares, engineering sign-off, and full broadcast integration.
Final Checklist Before Signing

– Did you get a written quote with line-item details?
– Are all technical specs (pixels, brightness, inputs) explicitly documented?
– Is the installation, test, and rehearsal schedule included?
– Are insurance certificates, safety documentation, and permits confirmed?
– Do you have a clear point of contact and escalation path during the event?
– Are penalties or credits for underperformance specified?
Conclusion — Hire Smart, Plan Thoroughly
Hiring reliable outdoor LED screen rental is about more than choosing a vendor with the flashiest demos. It’s about aligning event goals, technical specifications, safety requirements, and logistical realities. A dependable vendor will act as a partner, helping you anticipate challenges and delivering consistent performance under varied conditions. Use this guide to ask the right questions, evaluate suppliers head-to-head, and craft contracts that protect your event and audience — because a spectacular visual experience starts with professional planning and the right people on your team.