

Curved LED DJ Booth Design: Cabinet Angles, Seam Alignment and Viewing Experience

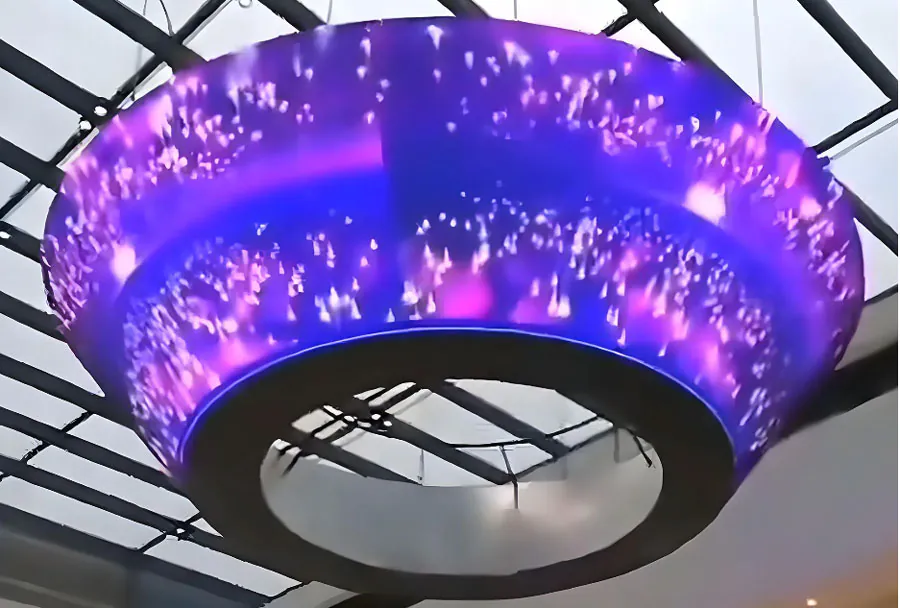
Curved LED DJ Booth Design: Cabinet Angles, Seam Alignment and Viewing Experience starts with one practical truth: a smooth-looking screen depends as much on mechanical geometry as on pixel quality. A professional curving panel such as TW VISION’s PD flexible cabinet can form concave or convex curves up to 22.5 degrees, while its published specifications list a 140-degree horizontal viewing angle.
Table of Contents
- 1. Calculate Cabinet Angles From the Required Radius
- Match the Radius to Available Increments
- Avoid Mixing Nominal and Installed Angles
- 2. Align Seams Mechanically Before Using Correction Software
- Control X, Y, and Z Alignment
- Correct Bright or Dark Edge Lines
- 3. Design the Curve Around the Viewing Experience
- Separate Viewing Angle From Preferred Sightline
- Test Human and Camera Positions
- 4. Map Content to the Physical Cabinet Geometry
- Build the Canvas From Cabinet Resolution
- Protect Text and Logos From Curve Distortion
- 5. Commission the Booth With a Repeatable Test Sequence
- Test in a Controlled Order
- Separate Visual and Camera Approval
- Which is better for a DJ booth, a concave or convex curve?
- Can LED cabinets from different production batches be mixed?
- Should flexible LED modules replace rigid curving cabinets?
- Why does the LED booth look clean in person but striped on video?
- What changes when a curved DJ booth is installed outdoors?
- Conclusion
Those figures sound generous, but they do not guarantee that every booth configuration will look seamless. (TW VISION)
Designers must coordinate the booth radius, cabinet increments, structural tolerances, content mapping, audience position, and processor settings. A mathematically correct arc can still produce visible vertical lines if locks are inconsistent, while well-aligned cabinets can show distorted logos when content is mapped as a flat rectangle.
The five sections below explain how to calculate cabinet angles, control seams, evaluate sightlines, prepare content, and commission the finished booth using measurable checks rather than visual guesswork.
1. Calculate Cabinet Angles From the Required Radius
The correct cabinet angle is the angle that produces your intended radius without forcing the panel hardware. Begin Curved LED DJ Booth Design: Cabinet Angles、Seam Alignment and Viewing Experience planning with the manufacturer’s permitted angle positions, not with a freehand stage sketch.
Match the Radius to Available Increments
For a cabinet face that acts as a chord, you can estimate the radius with:
`Radius = cabinet width ÷ [2 × sin(angle ÷ 2)]`
A 500 mm cabinet set at 5 degrees creates an approximate radius of 5.73 meters. The same cabinet at 2.5 degrees produces a much larger radius, so small changes at each joint have a major effect across a multi-cabinet booth.
Real products offer different adjustment ranges. ROE Visual states that Ruby-C supports precise positioning in increments as small as 1 degree, while Absen’s LR V3 uses curve-lock settings from -7.5 to +10 degrees. (absen.com)
| Cabinet system | Published curve range | Adjustment detail | What to check |
|---|---|---|---|
| ROE Ruby-C | Up to ±30° | 1° positioning | Required radius |
| Absen LR V3 | -7.5° to +10° | Dual curve locks | Lock symmetry |
| Absen SA2.6-C | -30° to +30° | 1.25° increments | Arc continuity |
| Absen NTF V2 | Up to ±45° | Flexible cabinet | Local bend limits |
Avoid Mixing Nominal and Installed Angles
The selected lock value is not always the final visual angle. Frame movement, imperfect floor levels, support deformation, and partially engaged locks can change the installed arc.
Curved LED DJ Booth Design: Cabinet Angles、Seam Alignment and Viewing Experience therefore requires an angle schedule showing every joint from stage left to stage right. Label convex and concave values clearly because manufacturers may define positive and negative directions differently.
How to apply this: calculate the target radius, convert it into supported cabinet increments, and issue a cabinet-by-cabinet angle schedule before load-in.
2. Align Seams Mechanically Before Using Correction Software
Clean seams come from accurate mechanical installation first and electronic correction second. In Curved LED DJ Booth Design: Cabinet Angles、Seam Alignment and Viewing Experience, software should refine minor luminance differences rather than conceal poorly connected frames.
Control X, Y, and Z Alignment
A cabinet can be incorrect in three directions:
– X-axis: the cabinet is shifted sideways, interrupting pixel spacing.
– Y-axis: one cabinet sits higher or lower than its neighbor.
– Z-axis: one face projects forward, creating a ridge or shadow line.
Absen’s K V3 manual describes three-axis adjustment for improving flatness between cabinets. This is important because curved screens require consistent depth as well as consistent horizontal angles. (absen.com)
Install the center cabinet first when the design is symmetrical. Work outward while checking that upper and lower curve locks show matching settings, because different settings can twist the cabinet rather than curve it evenly.
Correct Bright or Dark Edge Lines
After mechanical alignment, display full-screen red, green, blue, white, and low-gray test fields. Bright lines often indicate excessive edge luminance or a physical gap; dark lines may come from shadowing, compressed spacing, calibration differences, or cabinet alignment.
Brompton Technology states that its OSCA seam controls “automatically detect adjacent LED modules/panels” and adjust both edges. Brompton OSCA is designed for panel and module seam-brightness adjustment, but its controls should be applied only after the structure is stable. (bromptontech.com)
Curved LED DJ Booth Design: Cabinet Angles、Seam Alignment and Viewing Experience should include saved before-and-after test images. They help the crew distinguish physical movement from processor correction during later troubleshooting.
How to apply this: reset seam compensation, align every joint mechanically, photograph the test fields, and apply electronic correction only to remaining luminance lines.
3. Design the Curve Around the Viewing Experience
A useful curve directs more cabinet faces toward viewers without creating distracting side-angle distortion. Curved LED DJ Booth Design: Cabinet Angles、Seam Alignment and Viewing Experience should be evaluated from audience positions, not only from the production desk.
Separate Viewing Angle From Preferred Sightline
A published viewing angle defines a usable visibility range under the manufacturer’s test conditions. It does not mean color, brightness, black level, reflections, and pixel structure will appear identical across that entire range.
ROE Visual’s Ruby-C brochure lists horizontal and vertical viewing angles of 140 degrees, along with calibrated brightness of 1,500 nits for the referenced RB-C 2.3 model. Those specifications establish the panel’s capability, but the installed orientation determines whether guests see a balanced image. (roevisual.com)
Position the strongest part of the arc toward the main audience zone. If the booth wraps too aggressively, viewers near the center may see both wings at steep opposing angles, while guests at the sides may see content compressed across the far half of the screen.
Test Human and Camera Positions
Mark representative viewing points in the plan:
– Center audience position
– Stage-left and stage-right extremes
– Front-row position
– Elevated balcony or VIP position
– Main photography and video-camera positions
Vectorworks Spotlight supports entertainment-stage modeling and previsualization. Its LED Wall tool can create straight, circular, and complex curved walls using individual panel objects, helping you inspect cabinet orientation before equipment arrives. (vectorworks.net)
Curved LED DJ Booth Design: Cabinet Angles、Seam Alignment and Viewing Experience works best when you review both static logos and moving footage from every marked position. Thin text and straight grids reveal perspective problems that abstract visuals may hide.
How to apply this: place virtual or physical viewing markers around the venue and approve the curve only after checking content from each location.
4. Map Content to the Physical Cabinet Geometry
Content must follow the screen’s actual pixel layout rather than a visually estimated rectangle. Curved LED DJ Booth Design: Cabinet Angles、Seam Alignment and Viewing Experience fails when accurate construction is paired with an inaccurate media-server canvas.
Build the Canvas From Cabinet Resolution
Start with the manufacturer’s native cabinet resolution. ROE Visual lists its 500 × 500 mm Ruby-C 2.3 panel at 216 × 216 pixels. A ten-cabinet horizontal row therefore contains 2,160 physical pixels before any processor scaling or canvas subdivision. (roevisual.com)
Do not reduce the content canvas because the curved screen appears narrower from the front. The system still contains the same physical pixels, even when perspective makes part of the display look compressed.
Record these properties in the mapping document:
– Cabinet count and orientation
– Native pixel resolution per cabinet
– Total processor canvas
– Data-port boundaries
– Concave or convex angle at each joint
– Content reference point and center line
Protect Text and Logos From Curve Distortion
A logo crossing several angled cabinets may look stretched from one position and compressed from another. Keep critical branding near the primary viewing zone, or compensate through UV mapping when the media-server workflow supports it.
Disguise Designer can model LED screens by shape, size, and resolution. Its spatial mapping tools use known pixel positions to map content onto complex canvases, including cylindrical and spherical surfaces. (disguise.one)
Curved LED DJ Booth Design: Cabinet Angles、Seam Alignment and Viewing Experience also benefits from content-safe zones. Avoid placing small sponsor text across outer joints, where perspective compression and seam variation are most visible.
How to apply this: create the canvas from native cabinet pixels, import the true screen geometry, and test grids, circles, logos, and text before final rendering.
5. Commission the Booth With a Repeatable Test Sequence
A repeatable commissioning sequence separates geometry, signal, calibration, and content problems. Curved LED DJ Booth Design: Cabinet Angles、Seam Alignment and Viewing Experience should never be approved using a single promotional video.
Test in a Controlled Order
Use test content in this sequence:
- Black field to identify light leaks, dead pixels, and unwanted reflections.
- White field to reveal bright seams and cabinet-to-cabinet luminance differences.
- Red, green, and blue fields to identify color variation.
- Low-gray ramps to expose banding and uneven low-level response.
- One-pixel grids to verify mapping and cabinet orientation.
- Circles and diagonal lines to reveal geometric distortion.
- Final DJ content at realistic operating brightness.
NovaStar’s VMP documentation includes seam correction for supported controllers and receiving cards. It allows operators to compare correction effects using brightness or brightness-and-chroma calibration, making NovaStar VMP useful during the final electronic pass. (oss.novastar.tech)
Separate Visual and Camera Approval
A booth that looks clean to the eye may show scan lines or moiré on camera. NovaStar’s calibration guidance recommends changing the camera angle, location, or focus when moiré interferes with image collection. These actions change the interaction between the camera sensor and LED pixel structure rather than repairing a mechanical seam. (oss.novastar.tech)
Curved LED DJ Booth Design: Cabinet Angles、Seam Alignment and Viewing Experience needs separate approval for audience viewing, photography, livestreaming, and recorded video when those uses are part of the event.
Save the processor configuration, cabinet map, calibration state, test images, and approved brightness setting. These records shorten recovery time if hardware is replaced during a show.
How to apply this: run the seven-step test sequence, approve the booth by eye and camera, and archive every final configuration before doors open.
Frequently Asked Questions About Curved LED DJ Booth Design: Cabinet Angles、Seam Alignment and Viewing Experience
Which is better for a DJ booth, a concave or convex curve?
A concave curve wraps inward toward the audience and usually keeps more cabinet faces directed at central viewers. A convex curve projects outward and may suit sculptural booths or displays viewed from several sides.
Curved LED DJ Booth Design: Cabinet Angles、Seam Alignment and Viewing Experience should follow the audience layout; a shallow concave arc is often practical, but a center-stage booth with spectators behind it may require a mixed or circular form.
Can LED cabinets from different production batches be mixed?
They can be mixed when the manufacturer and rental supplier confirm mechanical, electrical, and processing compatibility, but color and brightness may differ because of component variation or aging. Curved LED DJ Booth Design: Cabinet Angles、Seam Alignment and Viewing Experience becomes harder when replacement tiles do not match.
Brompton OSCA can adjust panel-level color and seam brightness, yet correction cannot fix incompatible locks, dimensions, firmware, or unsupported receiving-card configurations.
Should flexible LED modules replace rigid curving cabinets?
Flexible modules are useful for tight radii and unusual forms, but rigid curving cabinets usually offer faster touring assembly, defined angle positions, and repeatable structural connections. Curved LED DJ Booth Design: Cabinet Angles、Seam Alignment and Viewing Experience may use flexible products when the radius changes within one surface.
The exception is a frequently transported booth, where module protection, mounting repeatability, replacement procedures, and service access may favor purpose-built rental cabinets.
Why does the LED booth look clean in person but striped on video?
The camera may be recording a conflict between its shutter timing, sensor scan, and the LED system’s refresh behavior. Curved LED DJ Booth Design: Cabinet Angles、Seam Alignment and Viewing Experience must therefore include camera tests at the actual frame rate and shutter settings.
Changing processor timing or camera configuration may help, while moiré may require adjusting camera distance, angle, focus, or lens choice rather than changing cabinet alignment.
What changes when a curved DJ booth is installed outdoors?
Outdoor installation adds wind loading, weather protection, ballast, cable protection, grounding, and structural-engineering requirements. Curved LED DJ Booth Design: Cabinet Angles、Seam Alignment and Viewing Experience must use the panel manufacturer’s approved hanging or stacking hardware and documented limits.
A cabinet’s IP rating does not certify the entire temporary structure; joints, power distribution, processors, support frames, and rear service areas may require separate weather protection and inspection.
Conclusion
Curved LED DJ Booth Design: Cabinet Angles、Seam Alignment and Viewing Experience succeeds when geometry, mechanics, pixels, content, and sightlines are treated as one system.
– Calculate the arc from cabinet width and supported angle increments.
– Fix physical seams first before applying brightness or color correction.
– Evaluate real sightlines instead of relying only on published viewing angles.
– Map and test native pixels using the final cabinet geometry and camera setup.
Curved LED DJ Booth Design: Cabinet Angles、Seam Alignment and Viewing Experience should finish with documented angles, processor files, test images, brightness settings, and approval positions. Your next step is to obtain the selected panel’s technical manual, draw the proposed arc at full scale in CAD, and create a cabinet-by-cabinet schedule for the installation crew.
