

How to Evaluate Dead Pixels During LED Display Acceptance


How to Evaluate Dead Pixels During LED Display Acceptance Testing starts with a documented method, not a quick look at the screen. A 3840 × 2160 UHD image contains 8,294,400 addressable pixels and 24,883,200 RGB subpixels, based on the UHD format defined in ITU-R Recommendation BT.2020. Even a careful technician can miss isolated or intermittent faults across that area.
Table of Contents
- 1. Define the Acceptance Rules Before Testing
- Separate the Defect Categories
- Establish the Governing Document
- 2. Control the Display, Signal, and Test Environment
- Prepare the Display
- Use Repeatable Patterns
- 3. Scan the Entire Screen and Record Every Defect
- Follow a Fixed Scan Path
- 4. Calculate Defect Rates Without Hiding Clusters
- Normalize the Results
- Report Location and Severity
- 5. Retest Repairs and Make a Traceable Decision
- Verify Corrective Work
- Issue a Clear Acceptance Status
- How should dead pixels be assessed on a fine-pitch LED wall?
- Why do dead pixels sometimes appear only in photographs?
- What should you do when a pixel fails only after extended operation?
- How are pixel faults evaluated on curved or transparent LED displays?
- When should a complete module be replaced instead of one pixel?
- Conclusion
The main challenge is that “dead pixel” can mean different things to a buyer, installer, and manufacturer. One contract may count a failed RGB package as one defect, while another counts each failed subpixel. Viewing distance, brightness, signal scaling, camera artifacts, and clustered faults can also change the result.
A defensible acceptance test therefore needs agreed definitions, controlled test conditions, full-field patterns, normalized defect counts, and traceable evidence. The five steps below show how to build that process and make a clear accept, repair, or reject decision.
1. Define the Acceptance Rules Before Testing
A valid evaluation begins by defining exactly which defects count and what contractual limit applies. When deciding How to Evaluate Dead Pixels During LED Display Acceptance Testing, never assume that a general industry tolerance automatically overrides the purchase specification.
Separate the Defect Categories
Record each fault according to its observed behavior:
– Dead pixel: The complete RGB pixel package produces no intended light.
– Dead subpixel: One red, green, or blue emitter remains dark.
– Stuck subpixel: An emitter remains on when the commanded field should suppress it.
– Intermittent pixel: Output changes with time, temperature, content, or cabinet movement.
– Cluster defect: Multiple neighboring pixels or subpixels fail within a small area.
– Module-level fault: A row, column, receiving-card region, or complete module behaves incorrectly.
One RGB pixel normally contains three controllable color components. As a result, one physical package can create one, two, or three subpixel defects depending on the failure.
Establish the Governing Document
Use the contract, approved submittal, manufacturer warranty, and referenced standard in their stated order of precedence. Do not invent a pass limit after inspection.
The abstract for ISO 9241-307:2008 states that the standard “establishes test methods for the analysis of a variety of visual defects” in electronic visual displays. It provides a testing framework, but the project documents must still identify the required acceptance class or defect limit.
How to apply this: Create a signed defect-definition sheet before using How to Evaluate Dead Pixels During LED Display Acceptance Testing on the installed display.
2. Control the Display, Signal, and Test Environment
Reliable testing requires a stable display, a pixel-mapped signal, and repeatable viewing conditions. How to Evaluate Dead Pixels During LED Display Acceptance Testing is unreliable when scaling, ambient reflections, or automatic brightness controls can imitate pixel faults.
Prepare the Display
Operate the screen for the warm-up period stated by the manufacturer. Then confirm:
– The native canvas resolution is active.
– Source scaling and overscan are disabled.
– Every cabinet is online and addressed correctly.
– Brightness and color settings match the acceptance specification.
– Automatic light-sensor adjustments are temporarily controlled.
– The processor is not applying an unintended crop, mask, or test overlay.
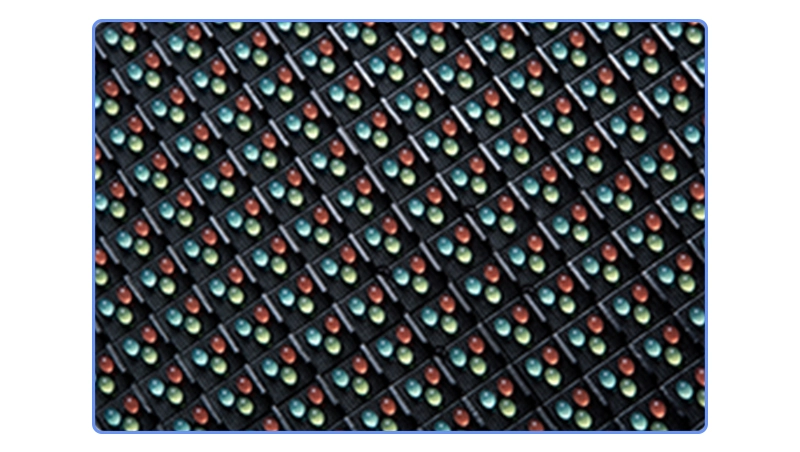
Inspect the screen from close range and the specified normal viewing position. Close inspection reveals individual emitters, while the design distance shows whether a fault is visually significant.
Use Repeatable Patterns
Display full-screen black, white, red, green, and blue fields. These five fields expose dark pixels, stuck emitters, color-channel failures, and light leakage more effectively than normal video.
The browser-based EIZO Monitor Test provides multiple display checks, including defective-pixel and uniformity patterns. For large LED systems, NovaLCT is commonly used with compatible NovaStar hardware to configure screen mapping, receiving cards, and calibration data. Confirm any browser pattern is shown at native resolution and true full screen.
How to apply this: Save the five solid-color files locally and lock the processor configuration before starting How to Evaluate Dead Pixels During LED Display Acceptance Testing.
3. Scan the Entire Screen and Record Every Defect
The screen should be inspected systematically by cabinet, module, or grid zone rather than through a casual visual sweep. During How to Evaluate Dead Pixels During LED Display Acceptance Testing, structured scanning reduces the chance that technicians will repeatedly inspect the center while overlooking edges and seams.
Follow a Fixed Scan Path
Begin at the upper-left corner and move horizontally across each row. Complete one test pattern before changing to the next field.
For each suspected defect:
- Pause the pattern.
- Verify the fault from more than one angle.
- Change to the complementary color field.
- Record its cabinet, module, row, and column.
- Capture a close image and a wider location image.
- Mark whether the defect is constant or intermittent.
A 3840 × 2160 display contains 8,294,400 pixels, calculated directly from the UHD dimensions in ITU-R BT.2020. Dividing such a screen into documented zones makes complete coverage easier to prove.
| Observation | Likely issue | What to check |
|---|---|---|
| Dark on all fields | Dead pixel | RGB package |
| Dark on one color | Dead subpixel | Color channel |
| Bright on black | Stuck emitter | Driver output |
| Full dark row | Signal fault | Ribbon or module |
| Repeating region | Mapping fault | Receiving card |
| Camera-only dots | Imaging artifact | Inspect directly |
A camera is evidence, not the sole judge. Shutter interaction, moiré, focus, and LED refresh behavior can create dots that are not visible to the eye.
How to apply this: Use a numbered grid and complete every zone on every color field when performing How to Evaluate Dead Pixels During LED Display Acceptance Testing.
4. Calculate Defect Rates Without Hiding Clusters
Raw defect counts should be reported alongside screen size, defect type, and physical distribution. How to Evaluate Dead Pixels During LED Display Acceptance Testing becomes misleading if a large screen and a small screen are compared only by total failed pixels.
Normalize the Results
A useful reporting metric is defects per million pixels:
`Defects per million pixels = defect count ÷ total pixel count × 1,000,000`
This formula does not set an acceptance threshold. It only normalizes the result so that screens with different resolutions can be compared consistently.
Consider a display with 8 defective pixels across 8,000,000 addressable pixels. The normalized result is 1 defect per million pixels, but the report must still show whether the eight faults are isolated or concentrated in one visible cluster.
Report Location and Severity
Your defect register should include:
– Total addressable pixels
– Dead complete pixels
– Dead red, green, and blue subpixels
– Stuck or always-lit subpixels
– Intermittent faults
– Cluster size and location
– Edge, seam, or central-image position
– Test brightness and signal resolution
– Pattern used to confirm each fault
Do not combine all observations into one total. A single dark subpixel and an entire failed pixel are not equivalent, while a tight cluster can be more distracting than the same count spread across several cabinets.
How to apply this: Add the normalization formula and a separate cluster map to every How to Evaluate Dead Pixels During LED Display Acceptance Testing report.
5. Retest Repairs and Make a Traceable Decision
Final acceptance should depend on verified evidence, the governing specification, and a repeat test after corrections. How to Evaluate Dead Pixels During LED Display Acceptance Testing is incomplete if the team replaces a module but never checks mapping, color consistency, or adjacent components.
Verify Corrective Work
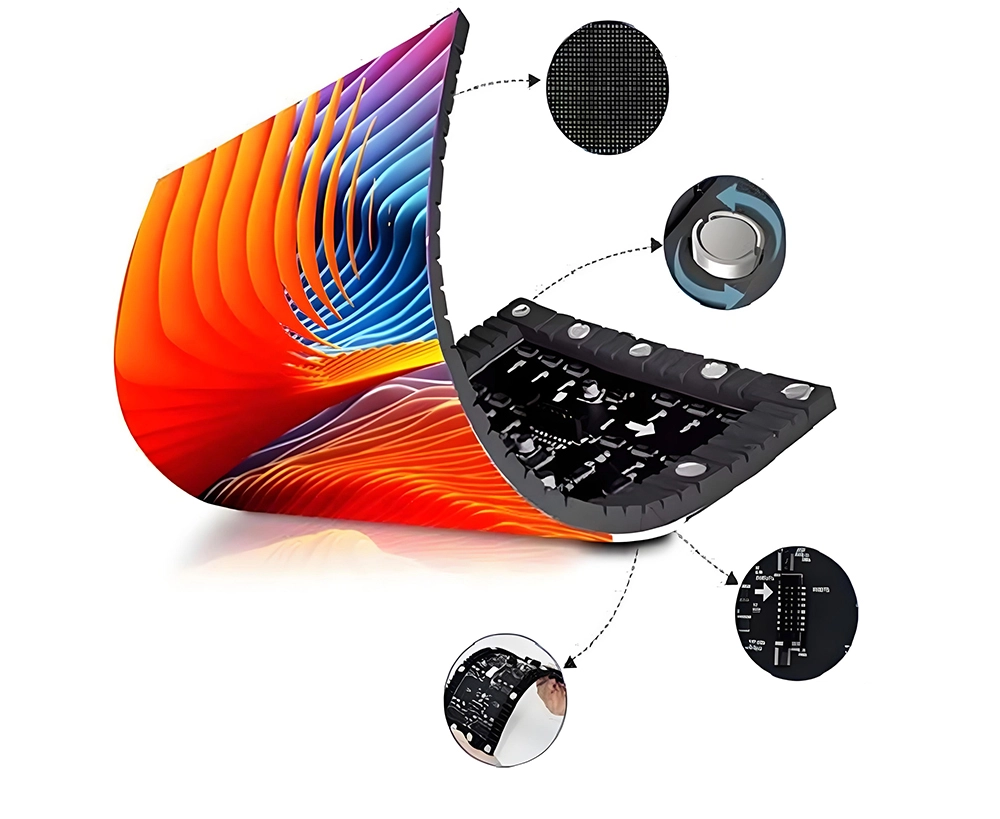
After a pixel, module, cable, or receiving card is repaired, repeat all five solid-color fields. Also display grayscale ramps and representative motion content to identify calibration discontinuities or unstable data paths.
A replaced module may eliminate the original dark pixels while introducing a visible brightness or color mismatch. Calibration data should therefore be restored or regenerated through the manufacturer-approved workflow.
Issue a Clear Acceptance Status
Use one of three documented outcomes:
– Accept: The measured result meets every applicable limit.
– Accept with punch-list work: The contract permits correction after conditional handover.
– Reject pending correction: The result exceeds the specified limit or includes prohibited cluster faults.
The final record should identify the display serial or project number, processor configuration, date, technician, test source, resolution, brightness state, defect map, photographs, repair history, and approving parties. Preserve the original and post-repair reports instead of overwriting earlier findings.
If the contract does not define a pixel-fault limit, obtain a written agreement before declaring a pass. A technician’s verbal opinion is not a substitute for an acceptance criterion.
How to apply this: Repeat the complete pattern sequence after every repair and attach both test records to the final How to Evaluate Dead Pixels During LED Display Acceptance Testing certificate.
Frequently Asked Questions About How to Evaluate Dead Pixels During LED Display Acceptance Testing
How should dead pixels be assessed on a fine-pitch LED wall?
Inspect a fine-pitch wall both close enough to identify individual emitters and from the design viewing distance stated in the project documents. At close range, normal package boundaries can resemble dark defects.
When applying How to Evaluate Dead Pixels During LED Display Acceptance Testing, use magnification only to confirm a suspected location, not to create a stricter acceptance condition that the contract never specified.
Why do dead pixels sometimes appear only in photographs?
Cameras can produce false dark or bright dots because the shutter, sensor scan, and LED refresh cycle are not synchronized. Moiré can also appear when the camera sensor grid interacts with the LED pitch. For How to Evaluate Dead Pixels During LED Display Acceptance Testing, confirm every camera-only defect through direct observation and additional shutter settings.
A fault that moves when the camera position changes is usually an imaging artifact.
What should you do when a pixel fails only after extended operation?
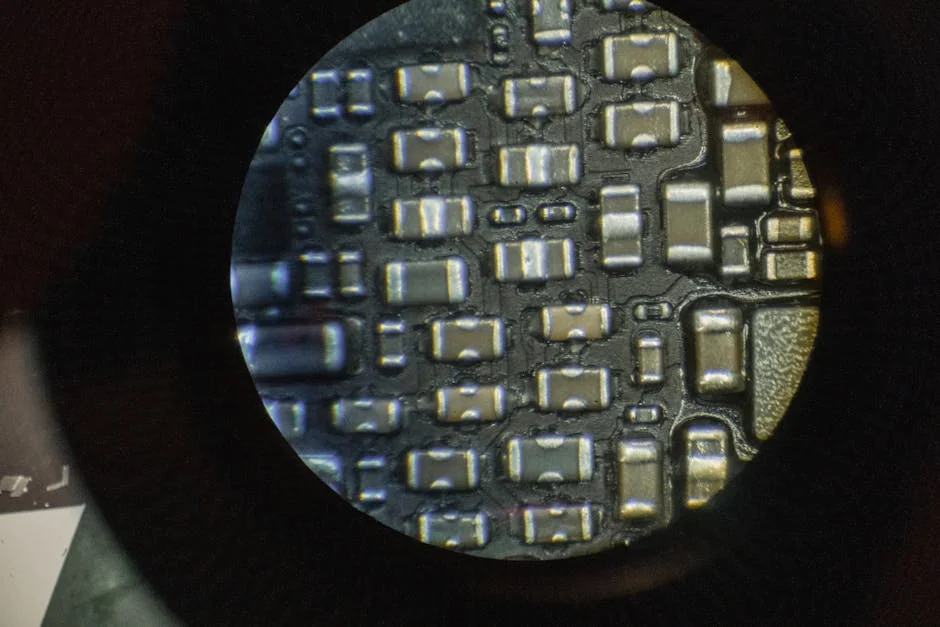
Treat the observation as an intermittent defect and record the operating time, brightness, cabinet temperature if available, and displayed content. Heat-sensitive solder joints, driver components, or power connections may behave normally after startup. How to Evaluate Dead Pixels During LED Display Acceptance Testing should include a manufacturer-specified warm operating state when this occurs.
Do not classify the pixel as permanently repaired merely because it works after a restart.
How are pixel faults evaluated on curved or transparent LED displays?
Curved and transparent products require viewing angles that account for their geometry and open structure. On a curved wall, package shading can make edge emitters appear dim from an off-axis position. With transparent LED, background light can hide or imitate defects.
Apply How to Evaluate Dead Pixels During LED Display Acceptance Testing from the intended audience positions, then use a controlled dark background for close confirmation.
When should a complete module be replaced instead of one pixel?
Module replacement is usually appropriate when faults are clustered, driver-related, inaccessible to field repair, or covered by the manufacturer’s module-level service policy. Individual LED replacement may be possible on serviceable products, but it can affect alignment and color matching.
During How to Evaluate Dead Pixels During LED Display Acceptance Testing, compare both repair options against warranty terms, spare-part availability, calibration requirements, and the risk of damaging adjacent emitters.
Conclusion
A reliable pixel-fault inspection combines contractual clarity, controlled test conditions, systematic coverage, and evidence that another technician can reproduce. The key actions are:
– Define defects and pass limits before inspection begins.
– Use native-resolution black, white, red, green, and blue fields.
– Record defect type, location, clustering, and normalized counts.
– Repeat the full test after every repair or module replacement.
How to Evaluate Dead Pixels During LED Display Acceptance Testing should never depend on a quick visual impression or an undocumented manufacturer claim. Your final decision must connect each observed fault to an agreed requirement and preserve the evidence behind that decision.
Create the defect-definition sheet, load your test patterns, divide the screen into numbered zones, and secure approval of the acceptance threshold before the inspection team begins.
