Flexible LED Display Installation: A Practical Guide to Mounting and Testing

Flexible LED Display Installation: A Practical Guide to Mounting and Testing demands precision, planning, and the right testing protocols to avoid costly failures. According to a 2024 industry report from LED Professional, improper mounting accounts for nearly one-third of all flexible display failures within the first year of deployment.
Table of Contents
- Understanding Your Flexible LED Display’s Mounting Requirements
- Selecting the Right Mounting Hardware
- Preparing the Installation Surface and Framework
- Managing Cable Routing and Connections
- Step-by-Step Mounting Process for Flexible LED Panels
- Aligning Modules on Curved Surfaces
- Testing Protocols Before Powering On
- Running Initial Diagnostic Tests
- Calibration and Final Verification
- Documenting Baseline Performance
- Case study from TW VISION
- Can I install a flexible LED display on a textured wall surface?
- What happens if my flexible LED display gets wet during outdoor installation?
- How do I test a flexible LED display installation when I don’t have calibration equipment?
- Why does my flexible LED display flicker after installation?
- Can I remove and reinstall a flexible LED display without damaging it?
- Conclusion
The challenge isn’t just technical—it’s about bridging the gap between the promise of bendable, lightweight screens and the real-world conditions they face once installed.
Your flexible LED panels arrive looking flawless, but without proper surface preparation, load calculation, and post-installation diagnostics, even premium modules can develop dead pixels, color inconsistencies, or complete signal loss.
This Flexible LED Display Installation: A Practical Guide to Mounting and Testing walks you through the entire process—from assessing your mounting surface to running final calibration tests—so your installation performs reliably for years. You’ll learn what tools you need, which tests matter most, and how to avoid the mistakes that even experienced technicians sometimes make.
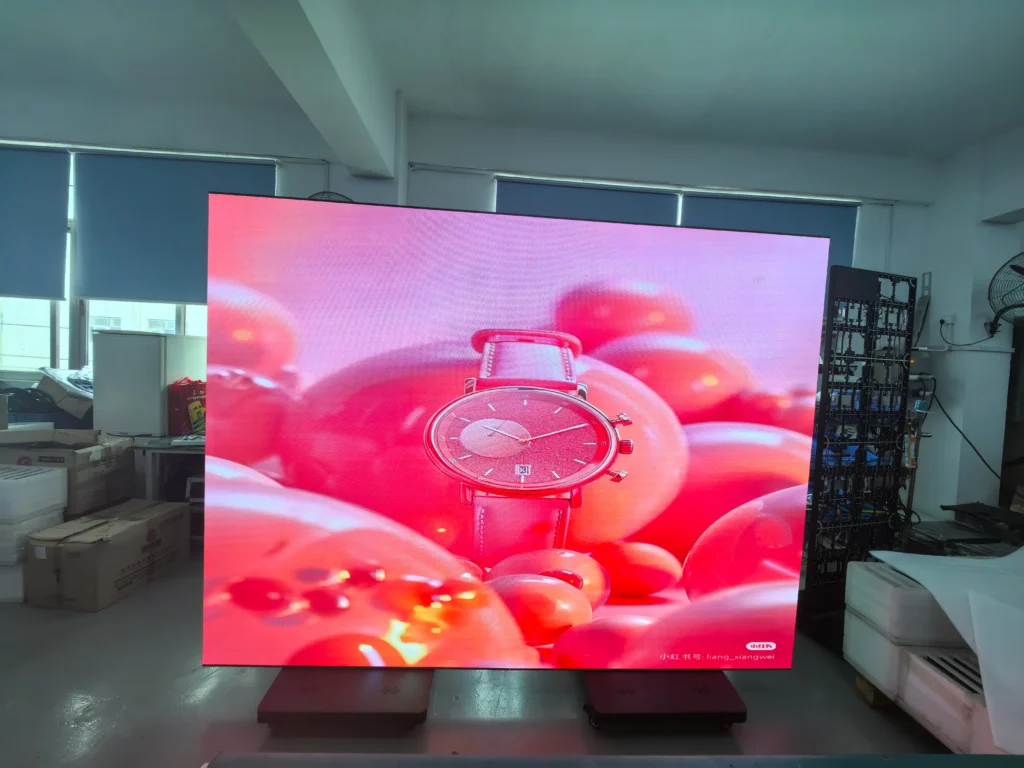
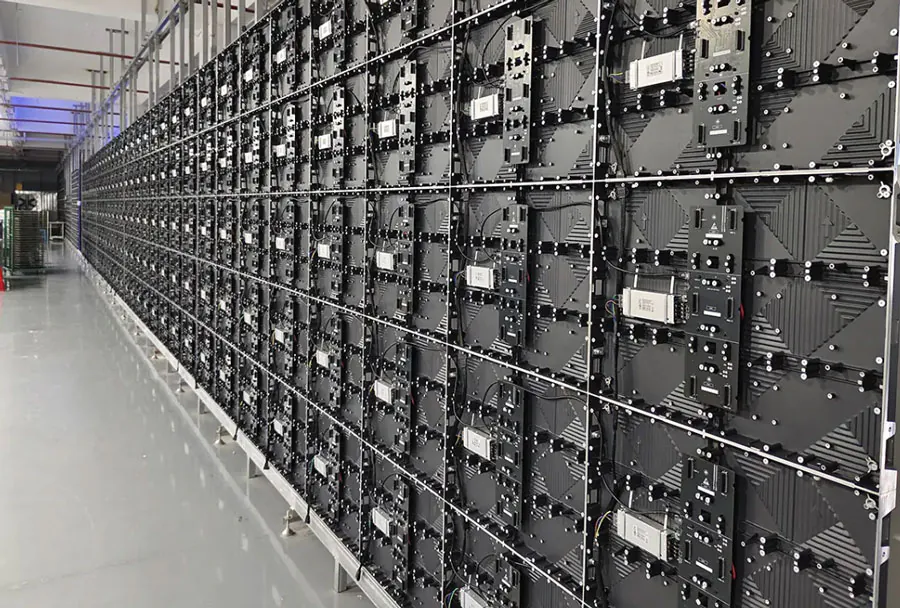
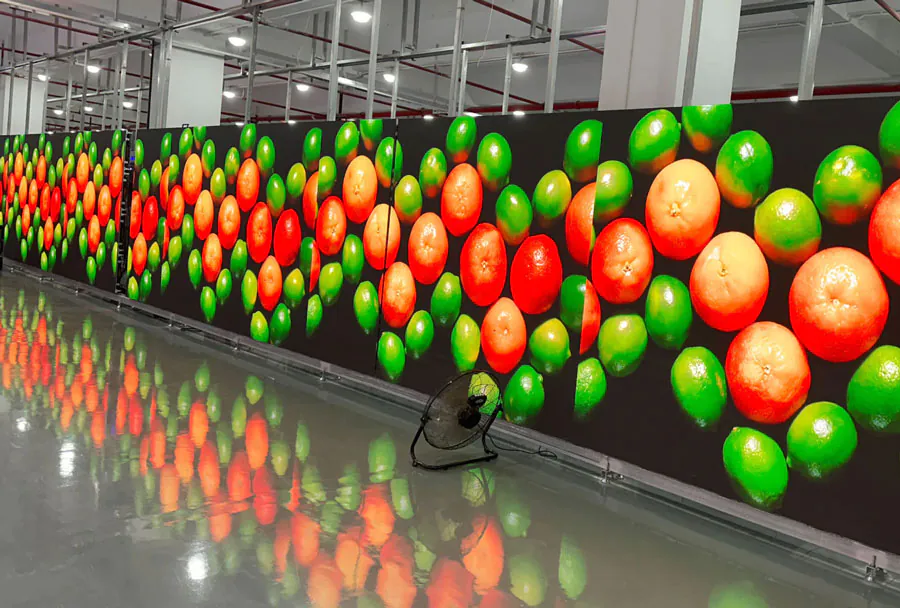
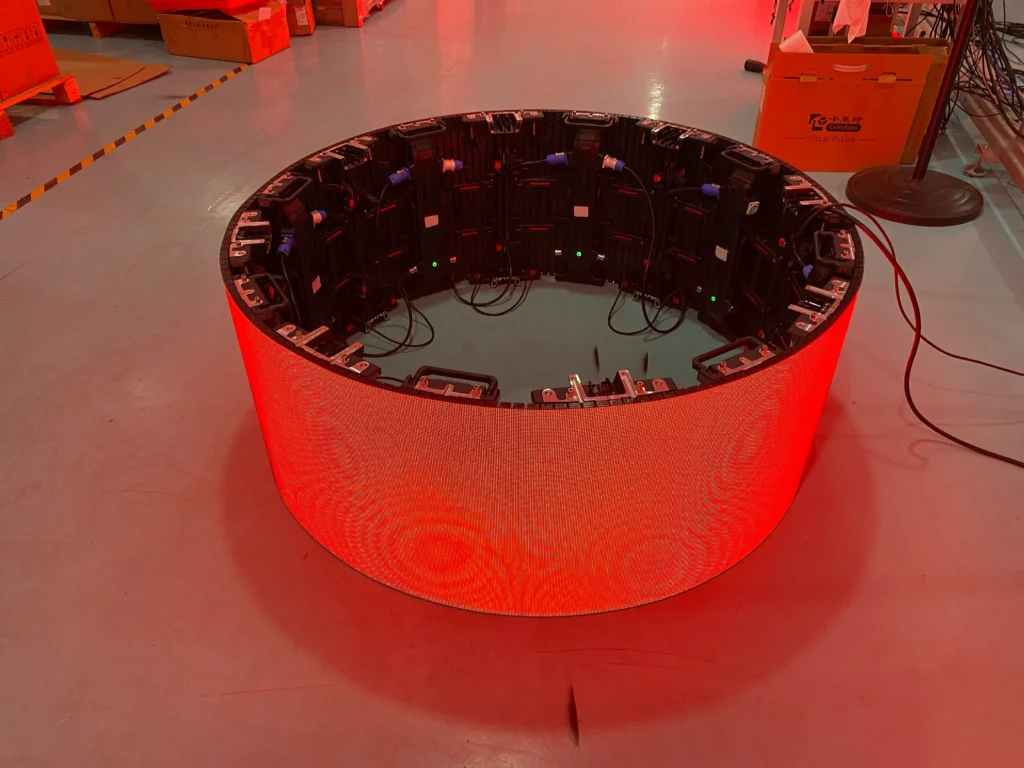
Flexible led display aging in TW VISION’s factory. curve 22.5–22.5 degree, for rental usage, pixel pitch: P1.9
Understanding Your Flexible LED Display’s Mounting Requirements
Every Flexible LED Display Installation: A Practical Guide to Mounting and Testing starts with a thorough assessment of the substrate and environmental conditions. The mounting surface must be clean, flat within a 2mm tolerance per meter, and capable of supporting the display’s weight plus dynamic loads like wind or vibration.
Flexible LED modules typically weigh between 8 and 15 kilograms per square meter, depending on pixel pitch and cabinet design. A magnetic mounting system rated for 50kg per square meter provides adequate safety margin for most indoor applications. Outdoor installations require mechanical fasteners rated for local wind loads—coastal regions often demand anchors tested to 150km/h winds or higher.
Temperature expansion is another critical factor in any Flexible LED Display Installation: A Practical Guide to Mounting and Testing. Flexible LED displays can expand and contract by up to 2mm per meter across a 40°C temperature swing. Your mounting frame must accommodate this movement without transferring stress to the LED modules themselves.
Failing to account for thermal cycling leads to warped panels and connector fatigue within months.
How to apply this: Before mounting a single panel, use a laser level to map your surface flatness across the entire installation area and document any deviations exceeding 1.5mm.
Selecting the Right Mounting Hardware
The choice between magnetic, screw-fastened, or rail-based mounting depends entirely on your substrate and display curvature. When following a Flexible LED Display Installation: A Practical Guide to Mounting and Testing, magnetic systems work well on ferrous metal surfaces with gentle curves under 10 degrees per meter. For tighter radii or non-magnetic walls, you’ll need a rail system with adjustable brackets.
Screw-fastened installations offer the highest security but require precise hole alignment. A misaligned hole by just 2mm can create tension points that crack the LED module’s PCB over time. Always use a drilling template and verify alignment before committing to permanent fasteners.
Preparing the Installation Surface and Framework
Surface preparation directly determines how long your Flexible LED Display Installation: A Practical Guide to Mounting and Testing lasts. Dust, oil, and moisture trapped between the display and mounting surface accelerate corrosion and can interfere with magnetic connections. Clean the entire mounting area with isopropyl alcohol and a lint-free cloth, then allow it to dry completely before proceeding.
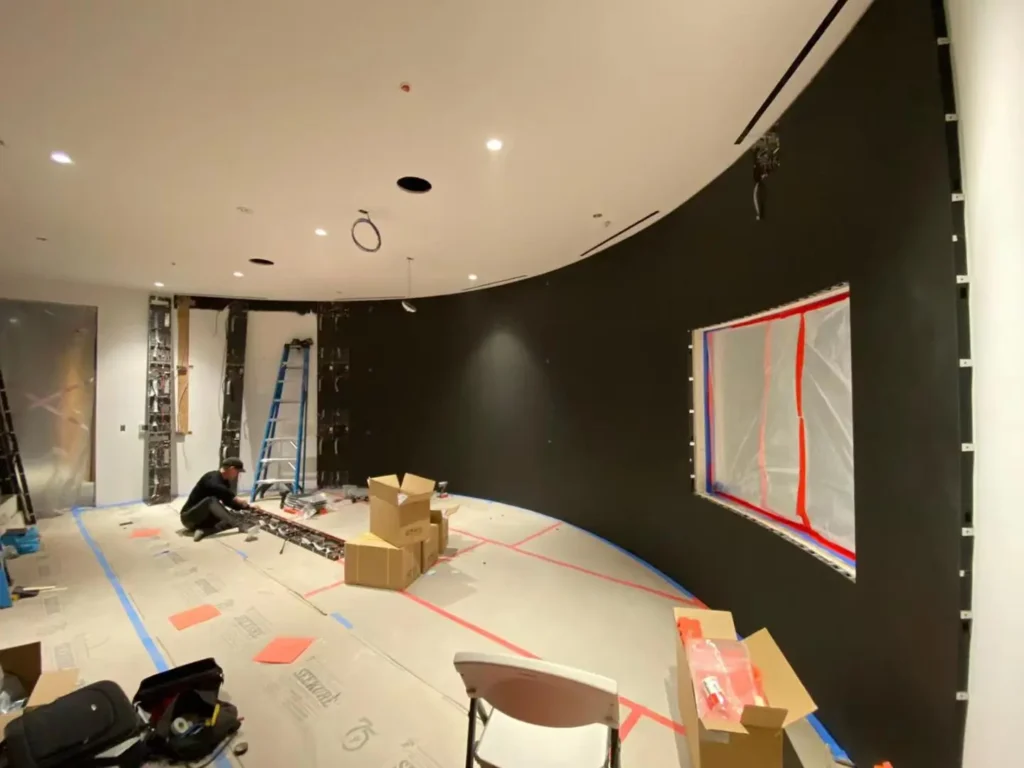
For curved installations, build a framework that matches your target radius exactly. A common scenario involves a Flexible LED Display Installation: A Practical Guide to Mounting and Testing on a cylindrical column with a 1.5-meter radius. The framework must maintain this radius within a 3mm tolerance at all points—any deviation creates visible seams or gaps between modules.
Use a radius gauge to verify consistency at multiple points along the curve.
Power and data cable management deserves equal attention during any Flexible LED Display Installation: A Practical Guide to Mounting and Testing. Route all cables through the framework channels before mounting panels, leaving sufficient slack at connection points. Cables pulled taut will disconnect as the display thermally cycles, creating intermittent faults that are difficult to diagnose later.
How to apply this: Create a checklist that includes surface flatness measurements, radius verification at three points per module, and cable slack confirmation before you mount the first panel.
Managing Cable Routing and Connections
Flexible LED displays use a daisy-chain architecture where signal travels from one module to the next. Each connection point represents a potential failure site in your Flexible LED Display Installation: A Practical Guide to Mounting and Testing. Use locking connectors wherever possible, and apply a small amount of dielectric grease to outdoor connections to prevent moisture ingress.
Label every cable at both ends. When troubleshooting a signal issue later, you’ll save hours by knowing exactly which cable feeds which module. A numbering system that matches your installation diagram eliminates guesswork.
Step-by-Step Mounting Process for Flexible LED Panels
The actual mounting sequence for a Flexible LED Display Installation: A Practical Guide to Mounting and Testing follows a logical progression that minimizes handling damage. Start from the center of the display area and work outward in both directions. This approach ensures symmetry and makes it easier to correct alignment issues before they compound across multiple modules.
Each flexible LED module connects to its neighbors using alignment pins or magnetic edges. Apply gentle, even pressure when mating connectors—never force a connection during a Flexible LED Display Installation: A Practical Guide to Mounting and Testing. If two modules don’t align smoothly, check for debris in the alignment sockets or verify that your framework hasn’t shifted.
Forcing a connection can bend pins or crack the PCB substrate.
A 2023 survey of AV installers published by rAVe Publications found that 42% of on-site failures traced back to connector damage during installation. Take your time with each module connection. The few extra seconds per panel prevent hours of rework later.
How to apply this: Mount your first three modules as a reference cluster, verify alignment and signal, then use them as the baseline for all subsequent panels.
Aligning Modules on Curved Surfaces
Curved installations require incremental alignment checks throughout your Flexible LED Display Installation: A Practical Guide to Mounting and Testing. After mounting every five modules, step back and sight down the curve. Look for any module that sits proud of its neighbors or creates a visible flat spot in what should be a smooth arc.
Flexible LED modules have some give, but they can’t compensate for framework errors. If a module won’t sit flush, adjust the framework behind it rather than trying to bend the module beyond its rated curvature. Exceeding the manufacturer’s maximum bend radius—typically specified in the product datasheet as a minimum radius in millimeters—will crack solder joints and void your warranty.
Testing Protocols Before Powering On
Before applying power to your Flexible LED Display Installation: A Practical Guide to Mounting and Testing, conduct a thorough pre-power inspection. Check every cable connection visually, verify that power supply voltages match the display’s requirements, and confirm that all modules are securely mounted.
Use a multimeter to test continuity between the mounting frame and electrical ground. A proper ground path prevents static discharge damage and reduces electrical noise that can cause flickering.
For large installations, measure resistance at multiple points—any reading above 1 ohm indicates a grounding issue that needs attention before completing your Flexible LED Display Installation: A Practical Guide to Mounting and Testing.
Polarity mistakes destroy LED modules instantly. Double-check that positive and negative terminals match between your power supply and the display’s input connector. Many flexible LED displays use non-standard pinouts, so consult the manufacturer’s wiring diagram rather than assuming red means positive.
How to apply this: Create a laminated pre-power checklist and physically check off each item—skipping this step has destroyed thousands of dollars in equipment.
Running Initial Diagnostic Tests
Power up the display in sections rather than all at once during your Flexible LED Display Installation: A Practical Guide to Mounting and Testing. If a short circuit exists somewhere, sectional power-up limits the damage to a single power supply or a few modules.
Watch for any modules that fail to light, show incorrect colors, or flicker during the initial seconds.
Most flexible LED display manufacturers provide test software that cycles through solid colors, gradients, and test patterns. Run the full test sequence and photograph each pattern. These reference images help you spot degradation later when comparing against future test runs.
Calibration and Final Verification
Calibration transforms a functional Flexible LED Display Installation: A Practical Guide to Mounting and Testing into a professional-grade visual system. Without calibration, brightness and color vary noticeably between modules, creating a patchwork appearance that undermines the seamless look flexible displays are known for.
Use a colorimeter like the X-Rite i1Display Pro to measure each module’s output. Professional calibration software such as Novastar’s NovaCLB reads these measurements and adjusts each pixel’s drive parameters to achieve uniformity across the entire display. The process typically takes 15-30 minutes for a moderate-sized Flexible LED Display Installation: A Practical Guide to Mounting and Testing.
Brightness calibration should target your actual viewing environment. An indoor retail display might need only 800 nits, while a storefront window facing direct sunlight requires 3,000 nits or more. Setting brightness too high wastes electricity and shortens LED lifespan—every 10°C increase in operating temperature roughly halves the expected life of the LEDs.
How to apply this: Run calibration at the display’s intended operating brightness, not at full power, to ensure accuracy under real-world conditions.
Documenting Baseline Performance
After calibration, capture baseline measurements including brightness uniformity (aim for 97% or better), color temperature consistency, and power consumption. Store these numbers with your installation records for your Flexible LED Display Installation: A Practical Guide to Mounting and Testing.
As LED expert Brad Koerner, formerly of Philips Lighting and now an independent consultant, noted in a 2024 industry webinar: “The most valuable diagnostic tool isn’t expensive equipment—it’s good documentation of how the system performed when it was new.” Without baseline data, you can’t distinguish between a gradual degradation and a sudden fault.
| Test | What It Reveals | Action to Take |
|---|---|---|
| Brightness uniformity | Module-to-module variation | Recalibrate if below 95% |
| Color temperature | White point accuracy | Adjust RGB balance per module |
| Dead pixel scan | Manufacturing defects or damage | Replace modules exceeding 5 dead pixels |
| Power draw | Electrical faults or inefficiency | Investigate if 15% above spec |
| Thermal imaging | Hot spots indicating poor connections | Reseat connectors in hot areas |
Case study from TW VISION:
Radius: 13.72m(45ft)
Screen size: 14.08×4.96m(46.2×16.273ft)
Module qty: 44x31pcs
Module size:320x160mm
Pixel: 1.9
Refresh Rate: 7680HZ
Broadcast usage
Power: 110-240V auto, CE UL
Processor: Novastar H5
LED panel aging video in the factory showed as followed.
Frequently Asked Questions About Flexible LED Display Installation: A Practical Guide to Mounting and Testing
Can I install a flexible LED display on a textured wall surface?
Textured surfaces create uneven pressure points that distort flexible LED modules. If the texture depth exceeds 1mm, install a smooth backing board first. Brick and rough concrete always require an intermediate mounting surface.
For temporary installations, a rigid substrate like 6mm plywood provides adequate smoothness for a Flexible LED Display Installation: A Practical Guide to Mounting and Testing without permanent wall modification.
What happens if my flexible LED display gets wet during outdoor installation?
Immediately disconnect power and allow the display to dry completely for 48 hours before testing. Even IP65-rated flexible LED displays have limits—prolonged water exposure can wick through connector seals. After drying, inspect every connector for corrosion before reapplying power.
A Flexible LED Display Installation: A Practical Guide to Mounting and Testing that’s been wet requires full diagnostic testing even if it appears undamaged.
How do I test a flexible LED display installation when I don’t have calibration equipment?
Most receiving cards include built-in test patterns accessible through the control software. Run solid red, green, blue, and white screens while photographing the display from your typical viewing distance. Look for color shifts or brightness variations visible in the photos.
While not as precise as colorimeter-based calibration, visual inspection catches obvious uniformity problems that require attention in any Flexible LED Display Installation: A Practical Guide to Mounting and Testing.
Why does my flexible LED display flicker after installation?
Flickering in a Flexible LED Display Installation: A Practical Guide to Mounting and Testing typically points to three causes: insufficient power supply capacity, loose data connectors, or ground loop interference. Check that your power supplies deliver at least 20% more current than the display’s maximum draw. Reseat every data connector along the signal path.
If flickering persists, isolate sections to identify whether the problem follows specific modules or power supplies.
Can I remove and reinstall a flexible LED display without damaging it?
Yes, but modules have a finite number of mounting cycles. Most flexible LED modules tolerate 5-10 installations before magnetic strength degrades or alignment pins wear. Document each removal and inspect connector pins for bending.
For rental and staging applications where frequent Flexible LED Display Installation: A Practical Guide to Mounting and Testing is expected, invest in modules specifically rated for touring use with reinforced connectors.
Conclusion
A successful Flexible LED Display Installation: A Practical Guide to Mounting and Testing depends on methodical preparation, careful handling during mounting, and thorough testing before and after power-up. The difference between a display that performs flawlessly for years and one that develops problems within months often comes down to the small decisions made during installation.
– Surface preparation and framework accuracy determine long-term reliability more than any other factor
– Test in sections before full power-up to contain potential damage from wiring errors
– Calibration with proper equipment transforms module-level consistency into seamless visual performance
– Document baseline measurements immediately after installation for future troubleshooting reference
Your next step is to gather the specific tools your Flexible LED Display Installation: A Practical Guide to Mounting and Testing requires: a laser level, multimeter, and the manufacturer’s test software at minimum.
Download the installation manual for your specific flexible LED display model and verify that your mounting surface meets the flatness and load-bearing specifications before you unpack a single module.