How Can Buyers Balance a Slim Wall-Mounted LED Design with Service Access

How Can Buyers Balance a Slim Wall-Mounted LED Design with Service Access? The answer depends less on the panel’s advertised depth than on the complete service strategy behind it. A thin display can still require room for power supplies, receiving cards, data cables, ventilation, and safe electrical work.
Table of Contents
- 1. Start With the Service Method, Not the Screen Depth
- Front-service installations
- Rear-service installations
- 2. Convert the Product Drawing Into a Real Clearance Plan
- 3. Coordinate the Wall, Frame, and Equipment Rack
- Confirm the wall structure
- Reserve equipment space
- 4. Design for Module Replacement and Fault Isolation
- Identify serviceable parts
- 5. Put Access and Maintenance Into the Contract
- Can a recessed LED wall still be easy to maintain?
- Is front access always better than rear access?
- What should buyers do when the display is mounted above a finished floor?
- Can service access affect image quality?
- What if the wall cannot provide enough rear clearance?
- Conclusion
Buyers often focus on the visible cabinet and discover later that technicians cannot remove a module, reach a connector, or open the rear enclosure without dismantling nearby construction. This creates avoidable maintenance costs and longer display downtime.
This guide explains how to evaluate front-service and rear-service designs, reserve practical clearance, coordinate the display with the wall structure, and write service requirements into the purchase agreement. It also covers useful design tools, commissioning checks, and edge cases such as recessed installations and public-facing venues.
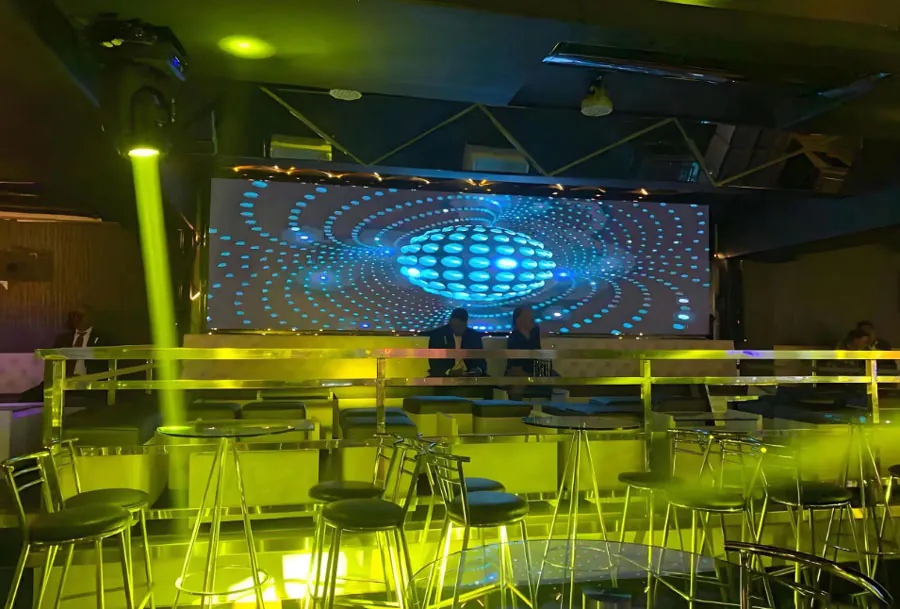
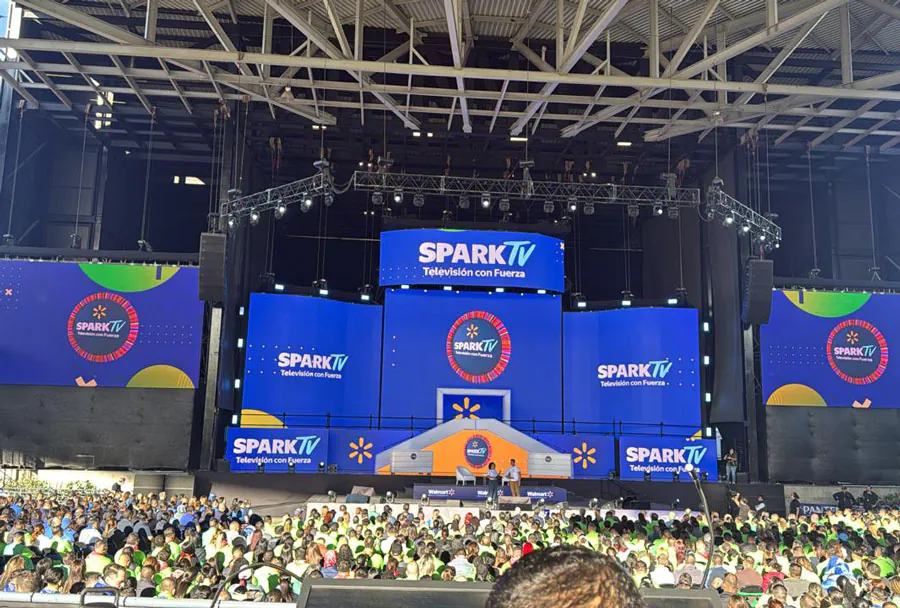
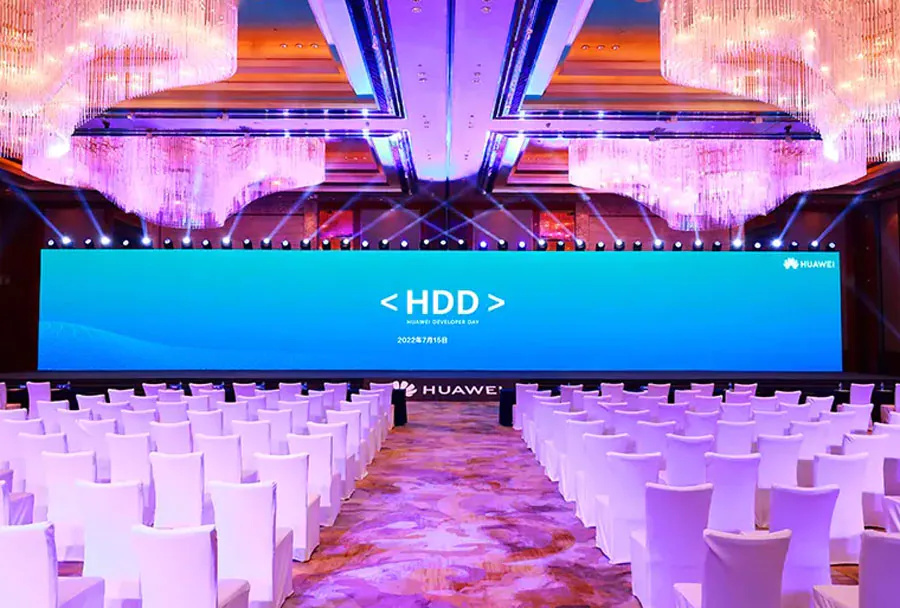
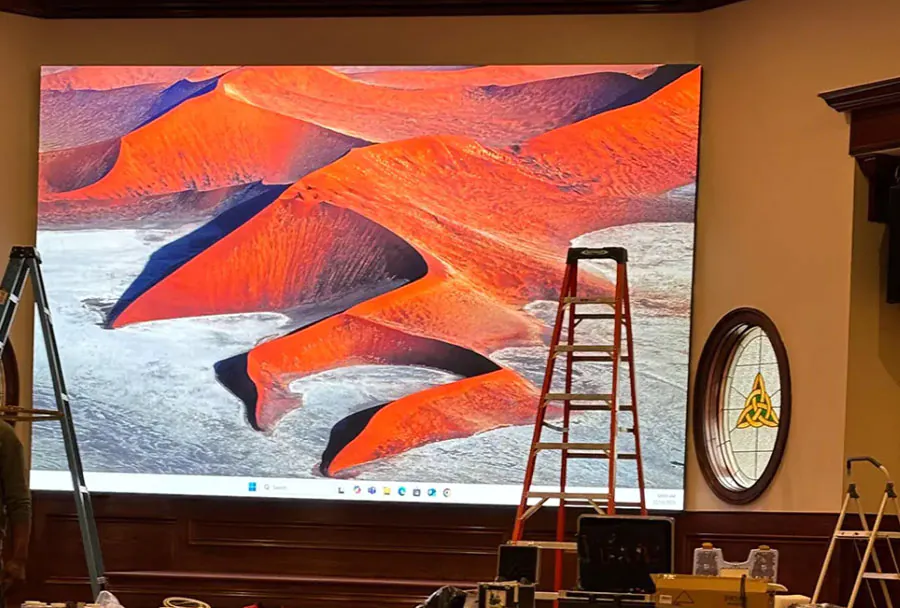
LED video wall wall mounted guidance made by TW VISION.
1. Start With the Service Method, Not the Screen Depth
The most important decision is whether technicians will service the LED display from the front, rear, or both. A slim wall-mounted LED design is practical only when its service method matches the room, wall structure, and maintenance plan.
Front-service installations
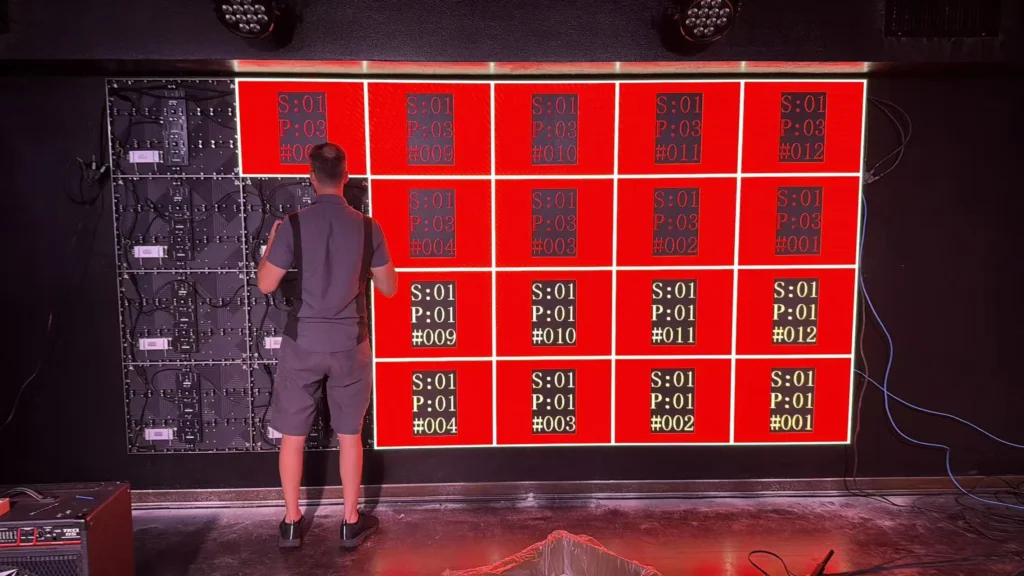
Front-service cabinets use removable modules that technicians pull or release from the viewing side. This approach works well when the display sits close to a structural wall, inside a retail feature wall, or in a lobby where rear access would require a separate corridor.
Front access does not eliminate planning requirements. Technicians still need enough room to stand safely, place removed modules, use service tools, and protect the finished floor or nearby furniture.
Rear-service installations
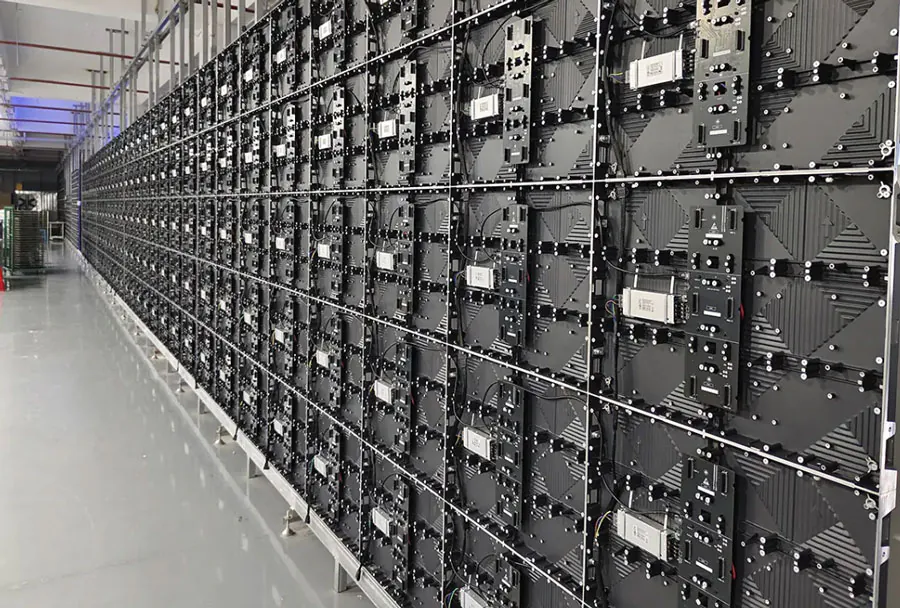
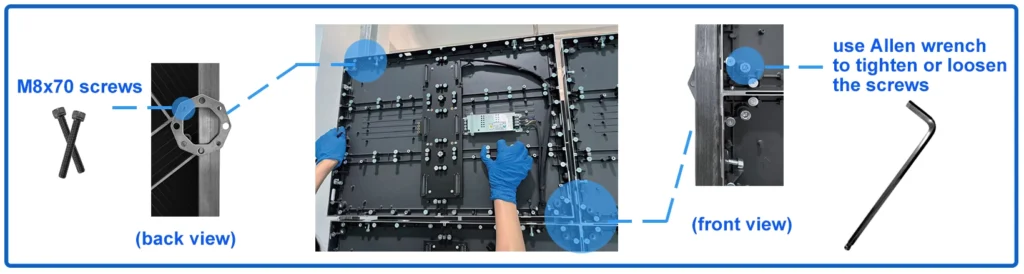
Rear-service systems may provide easier access to power supplies, controllers, and cable connections. They can also reduce the need to handle delicate LED modules from the front. However, the wall must include a service corridor, hinged frame, removable panels, or another access route.
The U.S. Occupational Safety and Health Administration states that electrical working space must be at least the width of the equipment or 30 inches, whichever is greater, and must provide sufficient depth and height for safe work. See OSHA’s electrical installation requirements.
How Can Buyers Balance a Slim Wall-Mounted LED Design with Service Access? Begin by obtaining the manufacturer’s service diagram and marking the required access direction directly on the architectural elevation.
2. Convert the Product Drawing Into a Real Clearance Plan
A manufacturer’s cabinet depth is only one part of the installation envelope. How Can Buyers Balance a Slim Wall-Mounted LED Design with Service Access? Treat the display, mounting frame, cabling, power equipment, and technician position as one coordinated system.
Request these documents before approving the wall design:
– Cabinet and mounting-frame dimensions
– Front-removal or rear-removal instructions
– Module extraction distance
– Minimum cable bend radius
– Power-supply and receiving-card locations
– Ventilation requirements
– Weight per cabinet and total wall load
– Recommended replacement procedure
A common error is measuring from the wall to the front face while ignoring the frame, cable loops, power distribution, and removable-module path. A recessed display may look flush after construction, yet the recess can block the tool angle required to release a module.
| Design choice | Main benefit | What to check |
|---|---|---|
| Front service | Minimal rear clearance | Module tool path |
| Rear service | Easier electronics access | Corridor width and doors |
| Hinged frame | Fast opening | Hinge load and swing area |
| Removable wall panel | Clean appearance | Panel weight and storage |
| External equipment rack | Easier troubleshooting | Cable length and heat |
For electrical coordination, use the larger of the equipment width or the applicable working-space requirement rather than assuming a narrow service gap is acceptable. OSHA’s rule is a safety baseline, not a substitute for the manufacturer’s installation instructions or local electrical code.
How Can Buyers Balance a Slim Wall-Mounted LED Design with Service Access? Draw the front and rear service envelopes at full scale before framing, then have the installer confirm that a technician can remove the largest serviceable component.
3. Coordinate the Wall, Frame, and Equipment Rack
A reliable installation treats the LED wall as a building system rather than a decorative finish. How Can Buyers Balance a Slim Wall-Mounted LED Design with Service Access? Coordinate structural support, electrical power, data distribution, ventilation, and access panels before construction begins.
Confirm the wall structure
The wall must support the display and transfer its load into suitable structure. Drywall alone is rarely an adequate basis for a heavy fine-pitch LED installation. The design may require steel backing, a reinforced frame, concrete anchors, or a freestanding support structure.
Ask the installer to identify:
– Total display weight
– Weight per anchor or fixing point
– Required flatness and tolerance
– Seismic or vibration requirements
– Floor and ceiling attachment points
– Access openings for cable routing
Reserve equipment space
The video processor, sending devices, power distribution, network hardware, and spare components should have a defined location. Mounting these parts randomly behind the display can turn a minor fault into a full wall-access problem.
Autodesk Revit can help teams coordinate the LED wall, structure, electrical routes, and equipment rack in a building information model. For smaller projects, Bluebeam Revu can support drawing markups and review workflows.
One practical example is a conference-room display with a narrow architectural recess. The cleanest result may come from placing the display close to the wall while locating the processor and power distribution in an adjacent cabinet with a labeled access door.
How Can Buyers Balance a Slim Wall-Mounted LED Design with Service Access? Add the display and all service zones to the coordination drawings, then conduct a review with the architect, electrician, installer, and facilities manager.
4. Design for Module Replacement and Fault Isolation
Service access is valuable only when it allows technicians to find and replace failed parts quickly. How Can Buyers Balance a Slim Wall-Mounted LED Design with Service Access? Ask what happens after a pixel module, receiving card, power supply, or data connection fails.
Identify serviceable parts
A purchase specification should state which components are field-replaceable and whether replacement occurs from the front or rear. It should also identify whether calibration data, cabinet mapping, or firmware configuration must be restored after replacement.
Important questions include:
– Can one module be removed without disturbing adjacent modules?
– Are replacement modules pre-calibrated?
– Is a dedicated extraction tool required?
– Can power supplies be changed without removing the cabinet?
– Are receiving cards accessible without dismantling the wall?
– Where will spare modules be stored?
– What diagnostic information can the controller provide?
The processor and receiving-card architecture also matters. Brompton Tessera is a real LED processing platform used for configuration, monitoring, and control in compatible display systems, but buyers must confirm compatibility with the selected LED product.
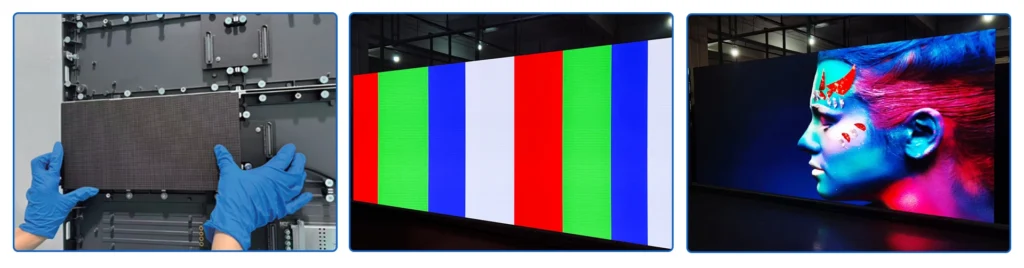
A useful acceptance test is to simulate one module failure and require the installer to remove, replace, reconnect, and test it while the wall remains mounted. This exposes blocked access, missing tools, and unclear procedures before the display enters daily use.
How Can Buyers Balance a Slim Wall-Mounted LED Design with Service Access? Include a witnessed replacement test in commissioning and record the time, tools, access route, and calibration steps required.
5. Put Access and Maintenance Into the Contract
The final balance between appearance and maintainability should be written into the specification, not left to verbal promises. How Can Buyers Balance a Slim Wall-Mounted LED Design with Service Access? Define measurable access, documentation, response, and warranty requirements before issuing the purchase order.
The contract should identify:
– Approved service direction
– Maximum finished projection from the wall
– Required access openings and clearances
– Mounting and structural responsibilities
– Power and network handoff points
– Spare-parts recommendation
– Service response process
– Training and handover documents
– Warranty exclusions
– Responsibility for damaged finishes during service
The project should also preserve a current “as-installed” drawing set. It should show cabinet numbering, power circuits, data paths, processor location, spare storage, and removable panels.
Do not confuse a long warranty with easy maintenance. A warranty may cover a failed component but not the labor required to remove architectural finishes, move furniture, hire access equipment, or repair a damaged wall.
How Can Buyers Balance a Slim Wall-Mounted LED Design with Service Access? Add a service-access schedule to the contract and make final payment dependent on documentation, training, and a successful maintenance demonstration.
Frequently Asked Questions About How Can Buyers Balance a Slim Wall-Mounted LED Design with Service Access?
Can a recessed LED wall still be easy to maintain?
Yes, but the recess must be designed around the service direction and tool path. A shallow recess may work for front-service modules, while rear-service equipment may need a separate room or removable panel. How Can Buyers Balance a Slim Wall-Mounted LED Design with Service Access?
Ask the installer to approve a physical mock-up when the recess has unusual returns, trim, or adjoining millwork.
Is front access always better than rear access?
No. Front access is often useful where rear space is unavailable, but rear access can make power and controller repairs easier. How Can Buyers Balance a Slim Wall-Mounted LED Design with Service Access? Compare the likely failure points, not just the cabinet depth. A venue with frequent electronics servicing may prefer a rear corridor even when front modules are removable.
What should buyers do when the display is mounted above a finished floor?
Plan safe access equipment and protect the surrounding finishes before installation. A technician may need a platform, lift, or controlled work zone, depending on the display height and venue rules. How Can Buyers Balance a Slim Wall-Mounted LED Design with Service Access? Require the installer to describe the maintenance method for the highest module and identify who supplies access equipment.
Can service access affect image quality?
Indirectly, yes. Poorly supported cabinets, repeated module handling, loose connections, or inconsistent replacement parts can affect alignment and calibration. How Can Buyers Balance a Slim Wall-Mounted LED Design with Service Access? Require post-service uniformity checks, especially when the display uses fine pixel pitch or sits close to viewers.
What if the wall cannot provide enough rear clearance?
Use a front-service product, move electronics to an adjacent cabinet, or redesign the wall as a hinged or removable assembly. Do not rely on technicians squeezing through an undocumented gap. How Can Buyers Balance a Slim Wall-Mounted LED Design with Service Access? Have the manufacturer sign off on the proposed access arrangement before the wall is closed.
Conclusion
A slim LED wall is not successful when it only looks thin. It must also allow technicians to reach, remove, replace, test, and document the parts that keep the display operating.
– Choose front or rear service based on the actual room and maintenance route.
– Coordinate cabinet depth with the frame, cable path, electronics, and structural support.
– Test module replacement before final acceptance.
– Put clearances, drawings, training, and service responsibilities into the contract.
How Can Buyers Balance a Slim Wall-Mounted LED Design with Service Access? Start by requesting the complete installation and service package, then review it with the installer and building team before construction begins. That single step can prevent an attractive display from becoming a difficult and expensive fixture to maintain.