Flex TV Screen Installation & Maintenance: A Guide to Flexible LED Displays

Flex TV Screen Installation & Maintenance: A Guide to Flexible LED Displays starts with a blunt fact: the panels themselves rarely fail first. Industry service logs consistently trace a large share of flexible display failures to install-time errors such as over-bent modules, strained ribbon cables, and skipped calibration.
Table of Contents
- Step 1: Assess Wall Condition, Curvature, and Viewing Distance
- Step 2: Build a Safe Mounting Structure and Hang Modules Correctly
- Step 3: Wire Power, Data, and Processors with Margin for Error
- Step 4: Calibrate Color, Brightness, and Seams for a Uniform Image
- Step 5: Set Up Preventative Maintenance and a Troubleshooting Routine
- Can I install a flexible LED panel on a curved wall without a custom frame?
- What is the safest way to clean a flexible LED display without damaging the surface?
- Do flexible LED screens need different settings for outdoor use?
- How do I choose between magnetic and screw mounting for flexible modules?
- What should I do if one section of the display shows a color mismatch after installation?
- Conclusion
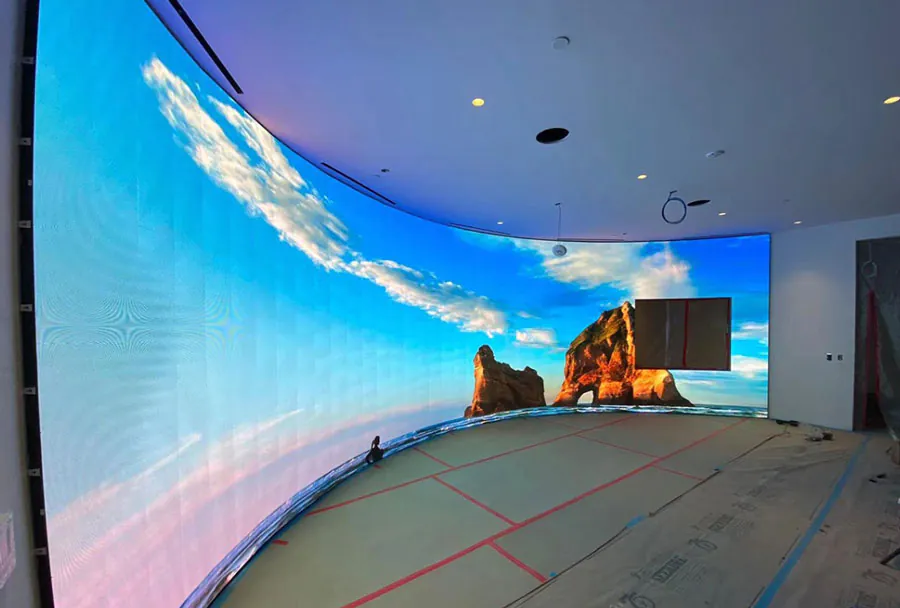
The problem you face is that flexible LED screens invite ambitious curves, but their connectors, mounting rails, and power supplies still need straight-line engineering. You can wrap a column or arch a wall, but only if the structure behind the LEDs stays rigid and the electrical path stays clean.
This guide walks through five practical steps: site and radius assessment, structural mounting, power and data wiring, calibration, and a maintenance routine that keeps the wall serviceable.
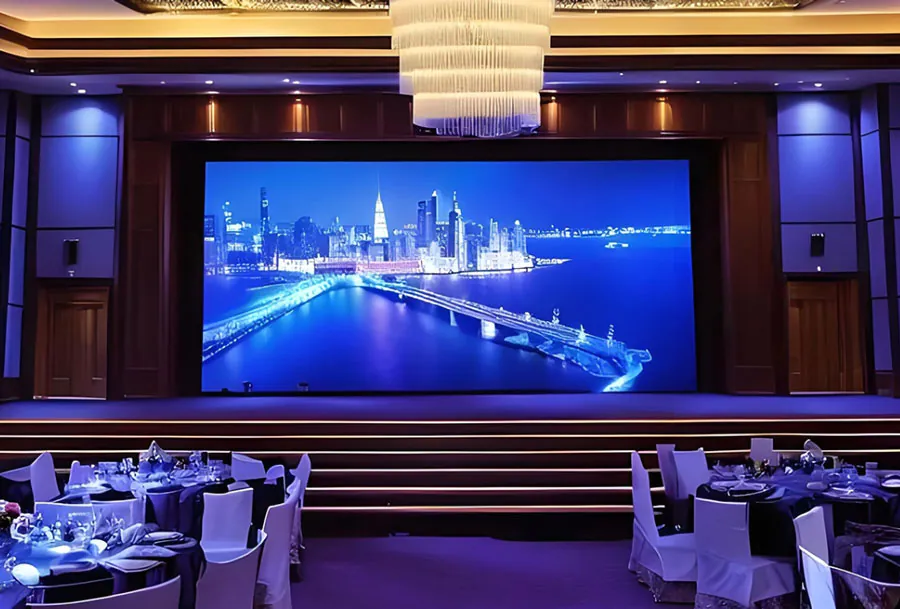
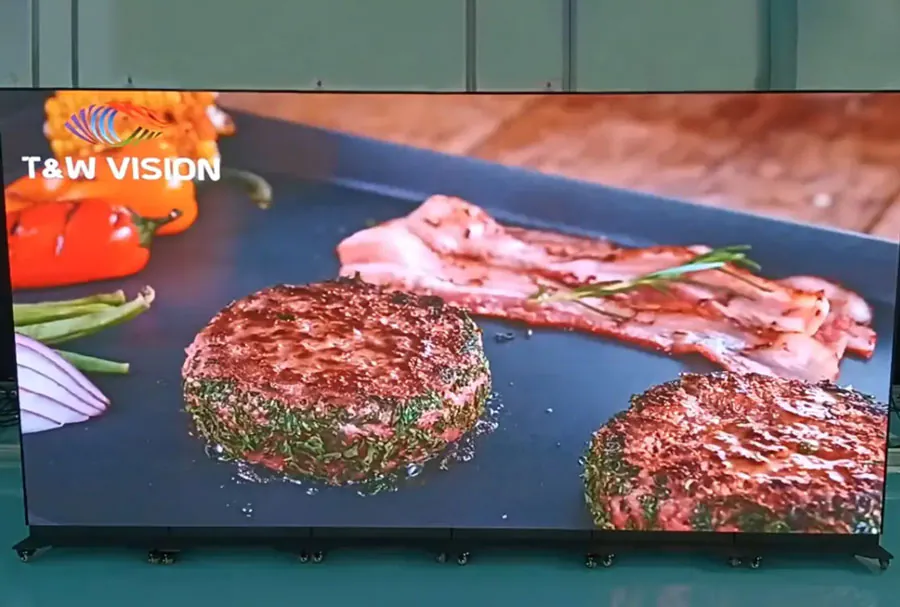
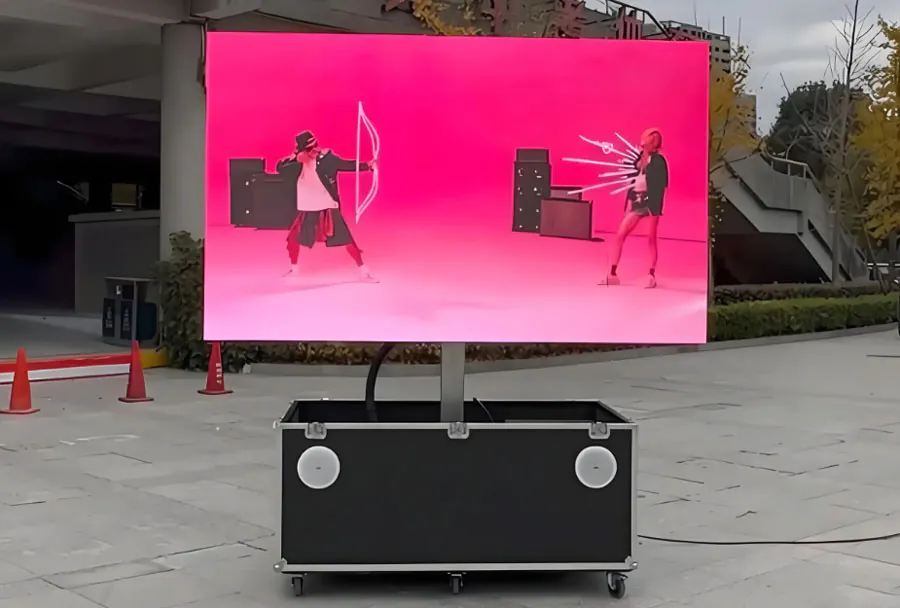
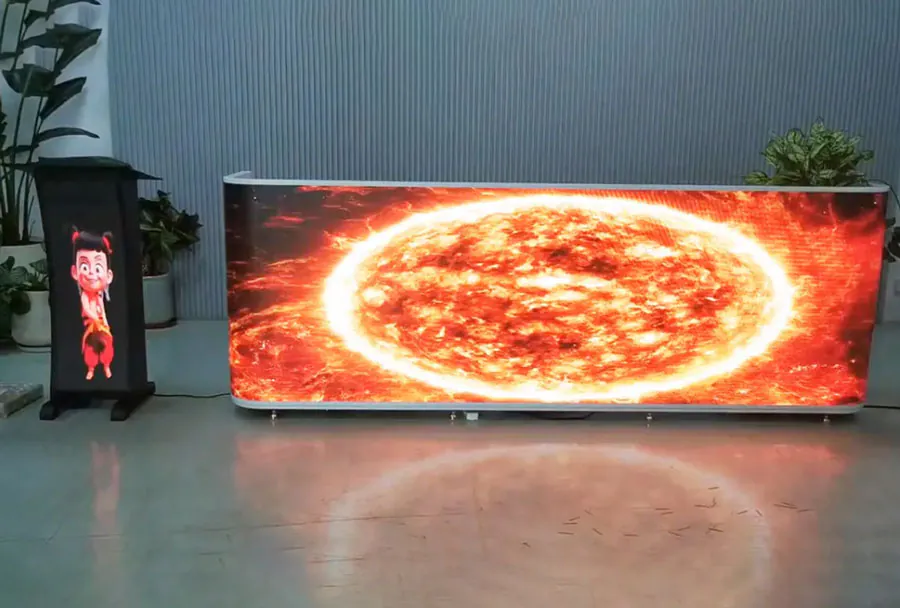
TW VISION Flex LED SCREEN for TV usage, stock in USA, P1.86 and GOB.
Step 1: Assess Wall Condition, Curvature, and Viewing Distance
Before you order panels, measure the wall’s flatness, the tightest curve you want, and the closest viewer position.
Pixel pitch usually sets the closest comfortable viewing distance. A common design rule: minimum viewing distance in meters is roughly equal to the pixel pitch in millimeters. A 2.5 mm flexible panel works best when viewers stay at least 2.5 m away, while a close-up retail fixture may need a 1.5 mm or 1.8 mm module.
Flexible modules carry a minimum bend radius on their datasheet. Some common flexible LED modules list a bend radius of 500 mm or more, but narrower strips exist for tighter rolls. Never guess; pull the exact radius and compare it to your wall’s curvature. A wall with a 300 mm radius would permanently stress many 500 mm-rated panels.
During a Flex TV Screen Installation & Maintenance: A Guide to Flexible LED Displays, document the wall’s high and low points with a laser level. That baseline helps you choose between a true curve and a segmented flat frame. This same Flex TV Screen Installation & Maintenance: A Guide to Flexible LED Displays approach prevents the most expensive panel-ordering mistakes.
– Check maximum deviation from flat with a laser or straightedge.
– Confirm the module’s minimum bend radius from the datasheet.
– Measure the closest viewer position before choosing pixel pitch.
– Photograph stud locations after scanning the wall.
How to apply this: mark stud locations and wall deviations with a laser, then compare both against the panel’s bend radius and pixel pitch before you buy mounts.
Step 2: Build a Safe Mounting Structure and Hang Modules Correctly
Flexible panels stay aligned only when the frame behind them is rigid and follows the intended curve.
Start with an aluminum or steel frame attached to structural members, not drywall anchors. The frame must hold the total panel weight plus service access. Manufacturer data sheets list module weight; common flexible modules range from about 0.5 kg to 2 kg per tile depending on pixel pitch and cabinet material.
Multiply that across a whole wall and the load quickly demands engineered support.
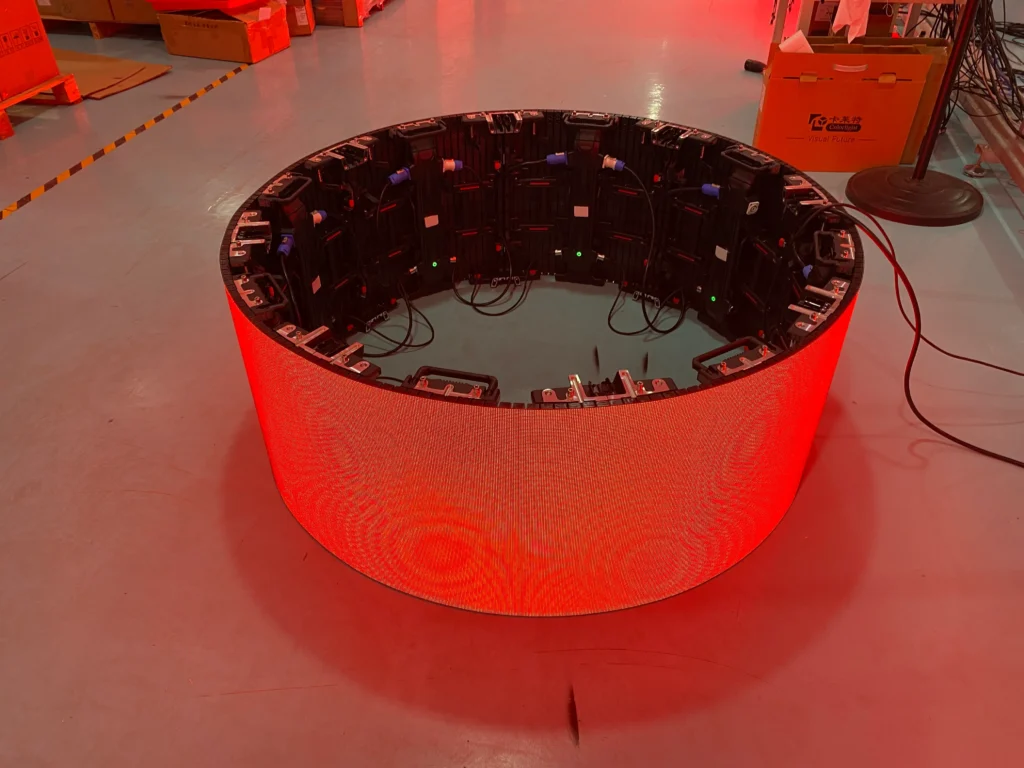
A common scenario: a bar or lobby column uses a pre-bent aluminum channel that matches the display’s radius. Installers bolt the channel to the wall, then snap magnetic modules into place. If the channel flexes, the seams open and individual LEDs begin to shadow.
In any Flex TV Screen Installation & Maintenance: A Guide to Flexible LED Displays, the frame is the foundation. A curved wall without a rigid curve transfers stress directly onto the modules. Treat the frame as a second backbone for the entire Flex TV Screen Installation & Maintenance: A Guide to Flexible LED Displays.
How to apply this: run a string line or straightedge across the frame and adjust shims until the curve is smooth, then test-hang one module before fitting the full wall.

Step 3: Wire Power, Data, and Processors with Margin for Error
Most flexible LED failures are electrical, so build in extra capacity and label every cable at both ends.
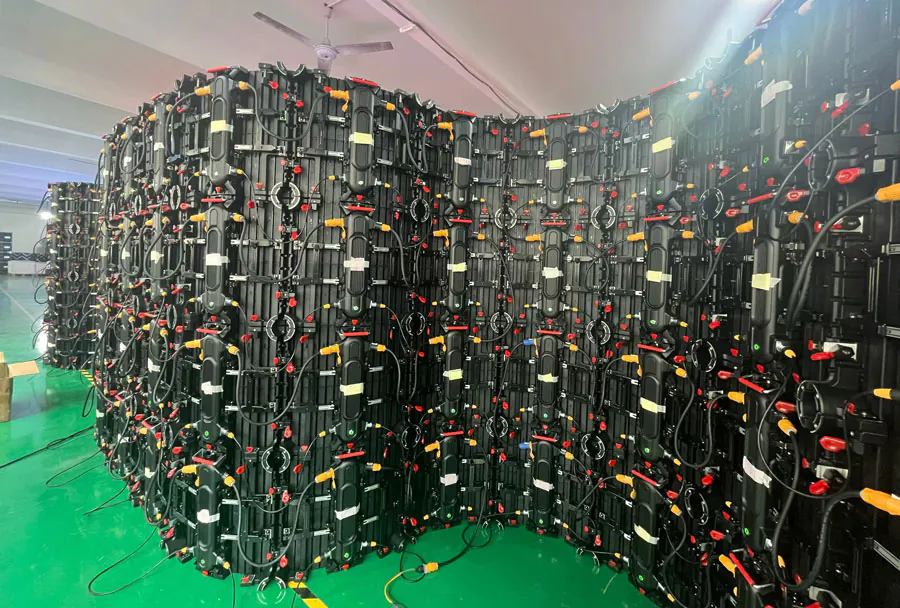
Power supplies should never run at full rated load. Use separate circuits or balanced phases for larger walls, and size DC cabling for voltage drop. Manufacturer data sheets often show maximum flat-cable runs; exceeding them causes color shift and flicker. For flexible displays, keep the cables from bending at sharp angles near module edges, especially the ribbon connectors.
For system control, NovaStar receiver cards and processors like the MCTRL series let you map tiles and monitor voltage through NovaLCT software. If the wall needs advanced HDR or per-tile calibration, Brompton Technology Tessera processors manage brightness, color, and seam correction from one interface.
A clean Flex TV Screen Installation & Maintenance: A Guide to Flexible LED Displays includes a point-to-point wiring diagram and a spare data path, so one failed cable does not take down an entire quadrant. That diagram becomes the quickest service tool in your Flex TV Screen Installation & Maintenance: A Guide to Flexible LED Displays kit.
How to apply this: draw a one-line diagram showing each PSU, receiver card, and data loop, then energize one module before connecting the next.
Step 4: Calibrate Color, Brightness, and Seams for a Uniform Image
Out of the box, LED modules vary in brightness and color, so on-site calibration is not optional if you want a seamless wall.
Even within a single production batch, LED bin tolerances differ. Processors correct this with per-module or per-pixel coefficients. Run the correction after the wall is fully assembled and warmed up, because color shifts during the first 30–60 minutes of operation.
As AVIXA states in its audiovisual performance verification guidance, on-site luminance and color measurement confirms that a display performs to the specification the system was designed for.
Flex TV Screen Installation & Maintenance: A Guide to Flexible LED Displays should treat calibration as a required line item, not a finishing nicety. Seams and color errors are most visible on curved surfaces, so this step affects the whole project.
Saving the correction file makes future service on the Flex TV Screen Installation & Maintenance: A Guide to Flexible LED Displays faster and more accurate.
| Calibration factor | What to measure | Action to take |
|---|---|---|
| Pixel brightness | Spot luminance at corners and center | Apply per-module correction |
| White balance | Color temperature across tiles | Adjust RGB gain in the processor |
| Seam alignment | Step or gap between modules | Re-shim the frame or remount the tile |
| Refresh | Camera flicker or rolling bars | Match processor output to panel spec |
| Grayscale | Banding in low-light content | Lower brightness in small steps |
How to apply this: save the processor’s calibration file, version it by date, and keep a copy on a USB drive near the display.
Step 5: Set Up Preventative Maintenance and a Troubleshooting Routine
A flexible LED wall lasts longer when you inspect it on a fixed schedule and catch small problems before they cascade.
Set a recurring calendar: monthly visual check, quarterly cleaning, and annual thermal inspection of power supplies and connections. During the visual pass, look for dead pixels, dim patches, gaps between modules, and loose magnetic tiles. Many service records show that reseating data and power connectors resolves a large share of intermittent flicker before a module is ever replaced.
Every Flex TV Screen Installation & Maintenance: A Guide to Flexible LED Displays should include a logbook for firmware versions, calibration files, and module serial numbers. Keep this log next to the processor so the next technician can run Flex TV Screen Installation & Maintenance: A Guide to Flexible LED Displays without starting from zero.
A well-kept log turns guesswork into a repeatable service path.
Common first-visit fixes to document:
– Reseat the ribbon cable and power connector.
– Check PSU voltage under load.
– Swap in a known-good module to isolate the fault.
– Re-import the last saved calibration file.
How to apply this: create a spreadsheet with columns for date, module serial, symptom, action, and technician name, and review it before every service visit.
Frequently Asked Questions About Flex TV Screen Installation & Maintenance: A Guide to Flexible LED Displays
Can I install a flexible LED panel on a curved wall without a custom frame?
No, do not skip the curved frame. Flexible panels need a rigid curve behind them; otherwise the connectors bend unevenly and modules pop loose. For a tight radius, use narrower flexible strips or a segmented flat frame that approximates the curve.
One exception is a gentle curve above the panel’s minimum bend radius, which may work with heavy-duty magnetic rails alone. Any Flex TV Screen Installation & Maintenance: A Guide to Flexible LED Displays should verify the actual radius before mounting.
What is the safest way to clean a flexible LED display without damaging the surface?
Start with a dry microfiber cloth to lift dust. For smudges, use a lightly dampened cloth with deionized water, never spraying liquid on the face. Some anti-glare coatings tolerate 70% isopropyl alcohol, but confirm with the panel maker first. A common exception is outdoor modules with sealed masks, where a mild electronics-safe cleaner works best.
This belongs in your Flex TV Screen Installation & Maintenance: A Guide to Flexible LED Displays folder.
Do flexible LED screens need different settings for outdoor use?
Outdoor flexible panels require IP-rated modules, UV-stable masks, and sealed power supplies. You also need enough airflow behind the curved wall because heat builds in a closed concavity. Coastal air adds another variable: use stainless hardware and conformal coating. One example is a boardwalk arch that runs the same content at lower night brightness to reduce thermal load.
Plan for these in any Flex TV Screen Installation & Maintenance: A Guide to Flexible LED Displays.
How do I choose between magnetic and screw mounting for flexible modules?
Magnetic mounting is faster for front-service walls and gentle curves, but vibration or high traffic can dislodge tiles. Screw mounting adds mechanical security and suits rental stages or outdoor wind zones. A common setup uses magnetic rails for a retail lobby and screw-mount flight cases for touring.
Let the environment decide, then document the choice in your Flex TV Screen Installation & Maintenance: A Guide to Flexible LED Displays plan.
What should I do if one section of the display shows a color mismatch after installation?
First reseat the data and power connectors on that section; a poor contact often shifts color. Then re-import the saved calibration file or run a local correction on just the affected tiles. If the mismatch remains, swap the module with a known-good spare to isolate a panel fault. This targeted approach saves hours versus re-calibrating the full wall.
It belongs in any Flex TV Screen Installation & Maintenance: A Guide to Flexible LED Displays checklist.
Why does my flexible LED screen show a single dead pixel after bending?
A single dead pixel usually means a cracked LED package from mechanical stress. For flexible LED screen troubleshooting, gently press around the pixel with a soft rubber tool while the screen runs a solid color. If the pixel flickers back to life, the solder joint is cracked and the module likely needs replacement.
Straightening the panel and avoiding tight bends can prevent further damage.
Can weather affect flexible LED screen troubleshooting?
Yes. Moisture ingress and extreme temperature swings cause expansion and contraction that loosen connectors. For outdoor flexible LED screen troubleshooting, always check for condensation inside the module and apply dielectric grease to connectors after drying. An indoor screen that suddenly fails after a cold night may have a cracked solder joint from rapid cooling.
Which controller port should I check first for a blank module?
Check the port farthest from the sending card first, because signal loss increases with cable length. Many flexible LED screen troubleshooting guides miss that the last module in a daisy chain receives the weakest data signal. Swap the first and last module cables to see if the fault shifts, which points to cable length or a failing receiving card output.
How do I reset a flexible LED screen that shows “no signal”?
Most controllers have a physical reset button or a software command to re-enumerate modules. For flexible LED screen troubleshooting, hold the reset while powering on to enter safe mode, then reload the factory config file. A blank black screen with “no signal” often means the receiving card lost its firmware, not a hardware failure.
Is it safe to bend a flexible LED screen while it is powered on?
No. Bending any powered LED module risks shorting traces and cracking solder joints. Always power down and discharge the PSU before flexing the panel. For routine flexible LED screen troubleshooting, treat the panel as static while powered, and only test bending after a full power-off and at least 30 seconds of discharge time.
Conclusion
Flex TV Screen Installation & Maintenance: A Guide to Flexible LED Displays comes down to five repeatable habits that prevent most service calls.
– Measure wall curvature, viewer distance, and pixel pitch before ordering.
– Build a rigid frame that holds the curve and total weight.
– Wire power and data with labeled slack, then test one module first.
– Calibrate on site and save the correction file with a date.
– Run monthly visual checks and log every repair.
Book a pre-installation walkthrough with your electrician and panel supplier. Ask them to confirm the bend radius, circuit load, and processor compatibility before delivery day. Then build the one-line diagram and maintenance spreadsheet so the next service call starts from a clear history instead of guesswork.
That is the true payoff of a disciplined Flex TV Screen Installation & Maintenance: A Guide to Flexible LED Displays.
Related Articles
- 2026 Folable LED Screen Price: Cost Factors & Custom
- Bendable LED Display Installation Services: TW VISION
- LED Display Troubleshooting
- ultra-thin flexible LED screen: complete guide: Expert Guide – LED DISPLAY MANUFACTURE TW VISION