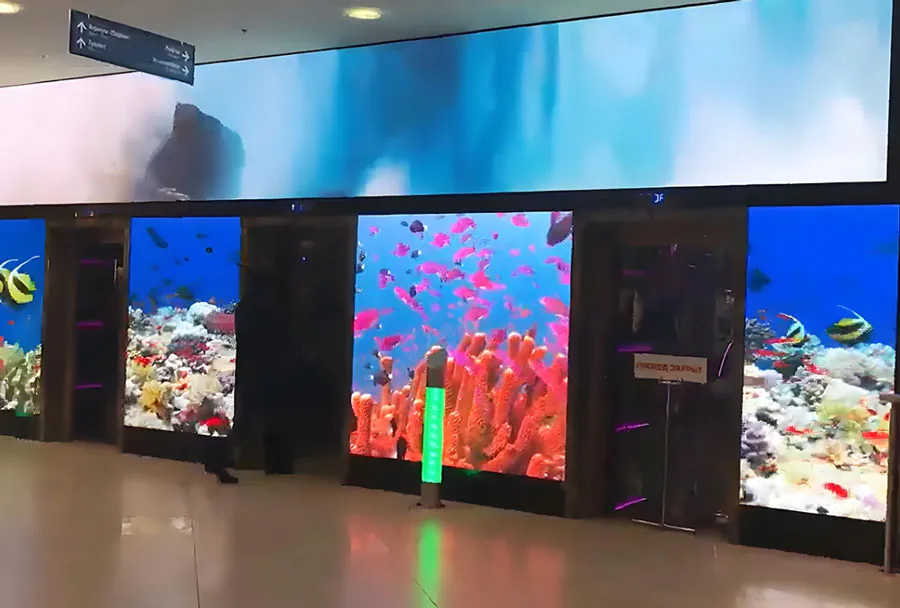
How to Check LED Screen Alignment and Image Uniformity After Repeated Folding

Checking LED Screen Alignment and Image Uniformity After Repeated Folding starts with a mechanical inspection, not a camera. A folded LED display can develop slight module shifts, connector strain, or cabinet curvature before the damage is visible in normal video. The most revealing checks use solid-color test images, straight-line patterns, grayscale ramps, and controlled camera settings.
Table of Contents
- 1. Prepare the Screen and Test Conditions
- Use controlled test images
- 2. Inspect Cabinet and Module Alignment
- Check seams with a line pattern
- Check locking hardware
- 3. Test Image Uniformity Across Colors and Gray Levels
- Use a structured test sequence
- 4. Verify Mapping, Timing, and Calibration Data
- Separate mapping from physical alignment
- 5. Document Defects and Decide on Corrective Action
- Compare the main diagnostic options
- Comparison: Which Tool Should You Use?
- Can a folded LED screen pass a white test but fail during video playback?
- Should I recalibrate before repairing a physically shifted module?
- How can I test a curved or intentionally flexible LED display?
- What if the defect appears only in photographs?
- When should a folding LED panel be removed from service?
- Conclusion
The challenge is separating a real panel problem from a source, processor, camera, or viewing-angle problem. This guide explains how to inspect the physical surface, verify cabinet and module alignment, test brightness and color uniformity, document defects, and decide when recalibration or repair is necessary.
You will also see how tools such as Brompton Tessera, NovaStar, and DisplayCAL fit into the workflow. Use the same test patterns before and after folding so that changes can be compared reliably.
1. Prepare the Screen and Test Conditions
The first step in How to Check LED Screen Alignment and Image Uniformity After Repeated Folding is to create repeatable viewing conditions. Turn on the display long enough for it to reach its normal operating temperature, then use the same processor preset, refresh setting, brightness level, and input source used during the event or installation.
A changing signal chain can imitate a panel fault. Lock the media player output, processor mapping, receiving-card configuration, and cabinet order before you begin. Record the firmware versions and calibration file names because a configuration change can affect color, grayscale, or cabinet behavior.
Use controlled test images
Run these patterns one at a time:
– Black to reveal unwanted light, stuck pixels, and leakage
– White to reveal brightness differences and dirty or damaged surfaces
– Red, green, and blue to isolate color-channel defects
– Mid-gray to reveal low-level uniformity problems
– A fine grid or one-pixel line pattern to expose alignment errors
– A grayscale ramp to check tonal steps and processing behavior
A 100% white field is useful for detecting broad luminance differences, while a 10-step grayscale ramp can reveal incorrect calibration or crushed shadow detail. Treat these as diagnostic patterns, not proof of a specific failed component.
Capture one reference photograph before folding and one after unfolding. Keep the camera position, lens, exposure, focus, and display output unchanged. For reliable comparison, mount the camera on a tripod and avoid automatic exposure.
How to apply this: save a labeled set of black, white, RGB, gray, grid, and grayscale images, then record the display settings before starting the inspection.
2. Inspect Cabinet and Module Alignment
How to Check LED Screen Alignment and Image Uniformity After Repeated Folding requires checking physical alignment before judging the image. Place a straight edge or laser line across cabinet boundaries, then inspect whether module faces sit at the same depth and angle.
Look for lifted corners, proud modules, recessed modules, loose mask sections, bent frames, and gaps between cabinets. A foldable display can appear electrically healthy while its surface geometry has changed. Even a small height difference can create a visible shadow line when light strikes the LEDs from an angle.
Check seams with a line pattern
Display a one-pixel vertical line and a one-pixel horizontal line across the full canvas. A line that jumps at a cabinet seam may indicate mapping, cabinet position, module placement, or receiving-card timing. A line that remains continuous but appears physically bent points more strongly to mechanical deformation.
Check the same seam from several viewing positions. A defect that changes sharply with angle may be a surface or mask issue. A defect that remains fixed in the same pixel location across angles is more likely to involve the LED module, driver circuitry, or data path.
Check locking hardware
Inspect hinges, latches, magnets, frame fasteners, and power or data connectors. Do not force a cabinet flat if the manufacturer specifies a fold radius or operating curvature. The correct limit depends on the display construction and manufacturer documentation.
A practical record should include the cabinet row and column, seam location, module identifier, photograph, and whether the defect appeared before folding. This avoids confusing an old defect with folding-related damage.
How to apply this: photograph every visible seam with a straight-line pattern active, then mark any physical height difference before changing calibration settings.
3. Test Image Uniformity Across Colors and Gray Levels
How to Check LED Screen Alignment and Image Uniformity After Repeated Folding also means separating brightness uniformity from color uniformity. Use solid fields and gray patterns across the complete display, then inspect both the center of each module and the areas near seams.
Brightness variation appears as a lighter or darker region. Color variation appears as a tint, such as a green, magenta, or blue cast. A seam can show both problems when modules are tilted differently or when calibration data is inconsistent.
Use a structured test sequence
Run the following sequence at a fixed brightness:
- Black
- White
- Red
- Green
- Blue
- Mid-gray
- A grayscale ramp
- A fine grid pattern
The mid-gray field is often more revealing than white because low-level calibration errors can be hidden by high output. Compare the left, center, and right areas of the wall, then compare the top and bottom edges of each cabinet.
If measurement equipment is available, use a calibrated colorimeter or camera-based measurement system. DisplayCAL can help profile and evaluate connected displays, but it is not a substitute for a full LED-wall calibration system.
Processor manufacturers may provide their own calibration workflow; Brompton Tessera and NovaStar products support professional LED processing and control functions, but exact measurement and calibration features depend on the model and configuration.
Do not judge uniformity from a phone photograph alone. Phone cameras may apply automatic HDR, sharpening, noise reduction, and exposure correction. Those features can exaggerate or hide defects.
How to apply this: inspect a white field for broad luminance changes, a mid-gray field for calibration differences, and RGB fields for channel-specific faults before making adjustments.
4. Verify Mapping, Timing, and Calibration Data
When How to Check LED Screen Alignment and Image Uniformity After Repeated Folding reveals a break in a line or an isolated dark area, verify the signal path before replacing hardware. A visually misplaced image can result from cabinet mapping, receiving-card data, processor scaling, or an incorrect calibration file.
Start with the processor output and confirm that the canvas dimensions match the installed wall. Check cabinet order, scan configuration, module type, data-group settings, and receiving-card parameters against the approved configuration. Never load an unknown receiving-card file simply because it appears to make the image brighter.
Separate mapping from physical alignment
A mapping error usually repeats at a logical cabinet or data boundary. For example, a section may display the wrong content, repeat part of the image, or show a consistent offset. A physical alignment issue usually keeps the correct content but bends, separates, or shifts the visible geometry.
A color or brightness problem that moves when the calibration file changes is likely configuration-related. A defect that remains in one physical module after a known-good configuration is loaded is more likely hardware or mechanical.
The processor should be tested with a known-good input source. If the same defect appears with different sources and test files, the display system becomes more suspect. Check event logs and receiving-card status indicators where the manufacturer provides them.
The Brompton Tessera documentation and NovaStar product documentation are useful starting points for model-specific configuration and diagnostic procedures. Use only files matched to the exact hardware.
How to apply this: export or photograph the current configuration, test with a known-good source, and compare the defect’s physical location with the processor’s cabinet map.
5. Document Defects and Decide on Corrective Action
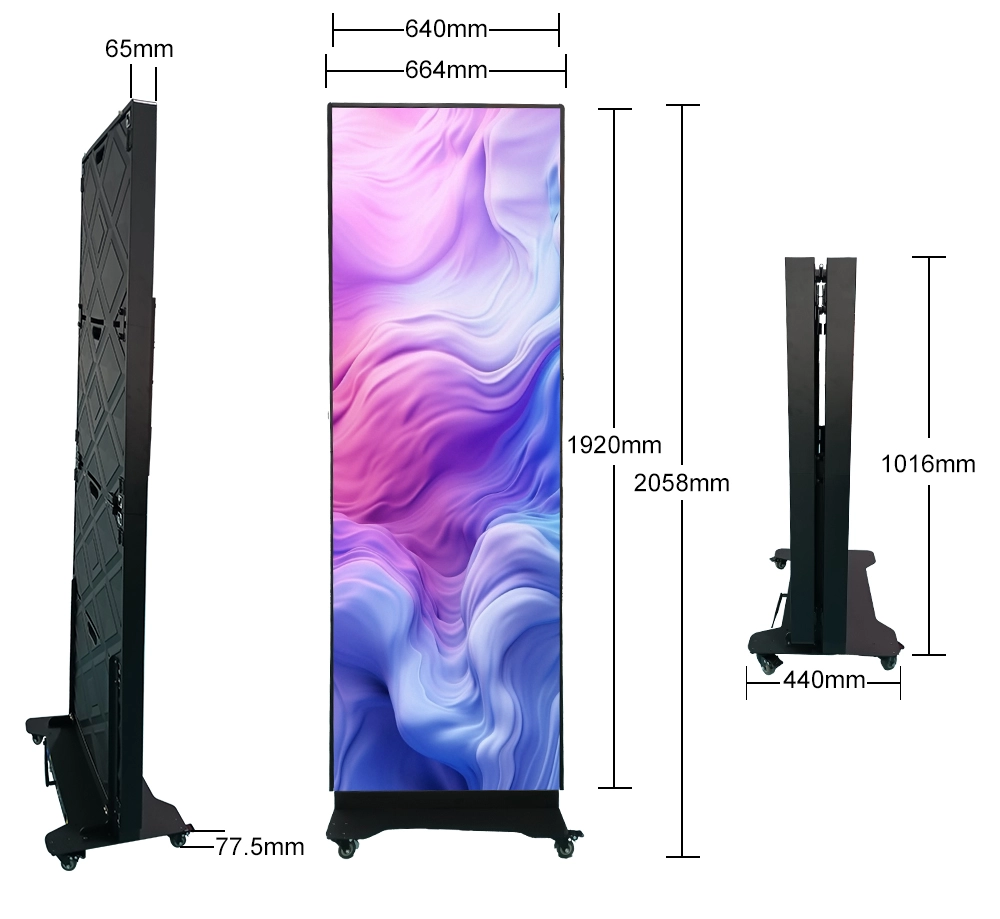
The final stage of How to Check LED Screen Alignment and Image Uniformity After Repeated Folding is deciding whether the issue needs cleaning, reseating, recalibration, structural repair, or replacement. Do not adjust calibration to hide a physical seam, damaged mask, or visibly tilted module.
Create a defect log with these fields:
– Cabinet and module location
– Test pattern used
– Brightness and processor preset
– Whether the defect is physical, visual, or both
– Whether it changes with viewing angle
– Whether it existed before folding
– Photograph or measurement reference
– Corrective action and retest result
Use the same test sequence after every repair. If a module is reseated, verify that the seam is physically level before running calibration. If a receiving card or processor file is changed, verify mapping and color behavior again.
Compare the main diagnostic options
| Method | Best for | Limitation | Action |
|---|---|---|---|
| Visual inspection | Gaps and tilted modules | Subjective | Use a straight edge |
| Test patterns | Seams and channel faults | Needs stable signal | Run fixed patterns |
| Camera capture | Before/after comparison | Exposure can mislead | Lock exposure |
| Colorimeter | Measured uniformity | Requires setup | Measure fixed points |
| Processor logs | Mapping and signal issues | Model-dependent | Review events |
A useful acceptance decision should consider viewing distance and content type. A defect visible only on a close inspection may have a different operational priority from a seam visible during normal audience viewing, but both should be recorded.
How to apply this: retest after each individual correction, keep the before-and-after images together, and close the work order only when the original defect is either resolved or formally accepted.
Comparison: Which Tool Should You Use?
For How to Check LED Screen Alignment and Image Uniformity After Repeated Folding, select tools based on the question you need to answer. A processor helps determine whether the signal reaches the correct cabinet, while a camera or colorimeter helps assess the visible result.
Use NovaStar equipment according to the specific controller and receiving-card model. Use Brompton Tessera when the installation uses Tessera processing and you need its supported routing, monitoring, and calibration workflow. Use DisplayCAL for display profiling and measurement support, while recognizing that LED-wall calibration may require manufacturer-specific hardware and software.
How to apply this: choose the tool that matches the suspected fault first, then confirm the result with a second method such as a test pattern plus a locked-camera photograph.
Frequently Asked Questions About How to Check LED Screen Alignment and Image Uniformity After Repeated Folding
Can a folded LED screen pass a white test but fail during video playback?
Yes. A white field can look even while motion reveals timing, refresh, scan, or data-path problems. How to Check LED Screen Alignment and Image Uniformity After Repeated Folding should include real content with pans, fades, and dark scenes when the display is used for video.
A cabinet may also behave differently at a higher refresh setting, so test the production refresh rate rather than relying only on a static pattern.
Should I recalibrate before repairing a physically shifted module?
Usually no. Calibration can reduce visible brightness differences, but it cannot correct a cabinet seam, tilted module, damaged mask, or changed viewing angle. How to Check LED Screen Alignment and Image Uniformity After Repeated Folding should distinguish geometry from luminance before calibration.
If a module is visibly proud or recessed, correct the mechanical condition first and then repeat the electrical and optical checks.

How can I test a curved or intentionally flexible LED display?
Use the manufacturer’s specified operating shape as the reference, not a flat wall. How to Check LED Screen Alignment and Image Uniformity After Repeated Folding should compare the display at the same approved curvature before and after handling.
A grid pattern may look bent by design, so inspect repeated cabinet spacing, module seating, and image continuity relative to the intended geometry.
What if the defect appears only in photographs?
First disable automatic exposure, HDR, sharpening, and night-mode processing. How to Check LED Screen Alignment and Image Uniformity After Repeated Folding is not reliable when the camera changes settings between frames.
If the screen looks normal to the eye but abnormal in a locked-camera image, repeat the test with manual exposure and a neutral color profile before opening a repair case.
When should a folding LED panel be removed from service?
Remove it from service when there is visible structural damage, exposed wiring, unsafe heat behavior, damaged connectors, unstable mounting, or a defect that worsens during normal operation. How to Check LED Screen Alignment and Image Uniformity After Repeated Folding helps document the condition, but it is not a substitute for the manufacturer’s safety instructions.
Escalate uncertain mechanical or electrical damage to a qualified technician.
Conclusion
Repeated folding can affect both the physical geometry and the visible output of an LED display. A reliable inspection combines a stable signal, controlled test patterns, physical seam checks, configuration verification, and repeatable documentation.
– Inspect mechanics first: check gaps, lifted corners, cabinet depth, locks, and connectors.
– Use multiple patterns: white, RGB, gray, black, grayscale, and fine-line images expose different faults.
– Separate causes: mapping errors, calibration changes, camera artifacts, and physical misalignment require different remedies.
– Retest after every correction: preserve before-and-after images and configuration records.
How to Check LED Screen Alignment and Image Uniformity After Repeated Folding should become part of the handling checklist, not an inspection performed only after a visible failure. Run the same documented test sequence before deployment, after folding, and after any repair.
Related Articles
- Virtual Production LED Wall Acceptance Testing: What Buyers Should Verify Before Delivery
- Custom LED Display Integration: Who Is Responsible When Components Come from Different Suppliers?
- How to Test LED Display Viewing Angle Before Buying: 5 Best