Flex TV Screens Installation, Care & Maintenance Guide

Flex TV screens—thin, lightweight, and often flexible—have become popular in modern commercial and residential installations. Their adaptability enables curved displays, slim-profile mounting, and creative placement in environments ranging from home theaters to retail displays. But their delicate form factor also demands specific installation techniques and ongoing maintenance practices to preserve image quality and longevity. This guide provides a professional, practical roadmap for installing, caring for, and maintaining Flex TV screens, covering planning, tools, mounting methods, cleaning, troubleshooting, calibration, and preventative maintenance.
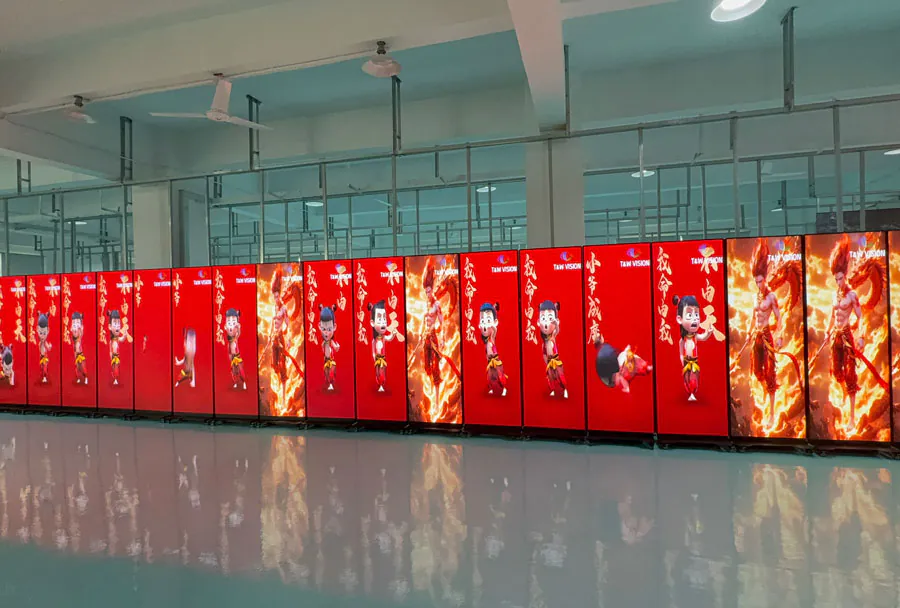
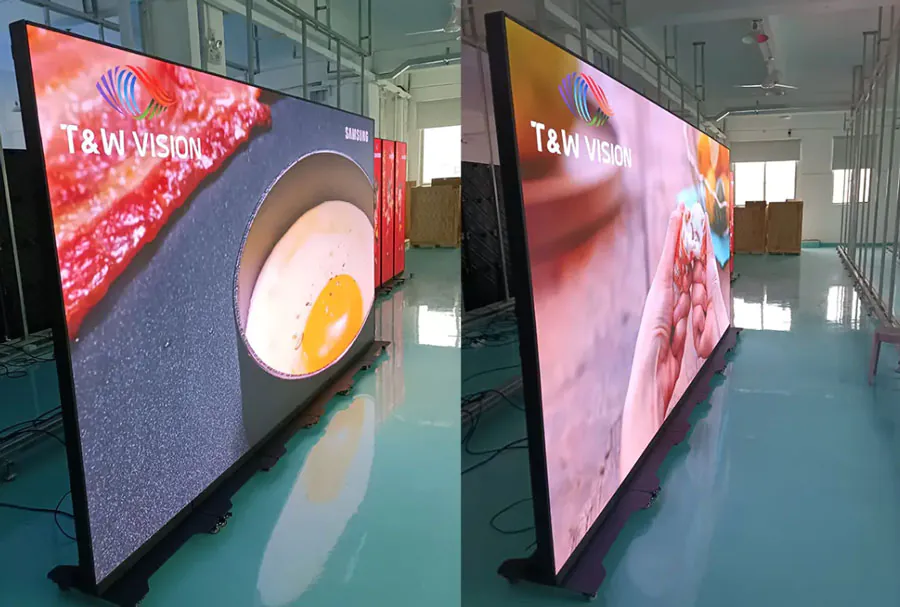
Followed is YOUTUBE video about TW VISION led poster.
Planning Your Flex TV Installation
Assess the Use Case and Location
Start by defining the primary use: home entertainment, digital signage, media wall, or outdoor display. Each use case dictates brightness, weatherproofing, audio, and connectivity needs. Consider ambient light levels, viewing distance, and the content type (static images vs. high frame-rate video) to choose the right panel size and brightness rating.
Structural and Power Considerations
flex screens may be lighter than traditional flat panels, but the mounting surface must still support the weight and provide stability. Confirm stud locations, wall material (drywall, concrete, glass), and any building-code or safety requirements. Plan power distribution—dedicated outlets, surge protection, and trunking for clean cable runs—and ensure proper ventilation around the TV to avoid heat buildup.
Connectivity, Signal Path, and Network
Map the signal path in advance: sources, extenders, splitters, matrix switches, and networked content players. flexible displays used for signage often use network control or digital media players that require Ethernet or Wi-Fi access. Label cables and document IP addresses, HDMI ports, and control interfaces for future troubleshooting.
Tools, Materials, and Pre-Installation for flex TV screens
Essential Tools
– Stud finder, level, and laser measure
– Screwdrivers, drill with masonry bits as needed
– Torque wrench or socket set for mount hardware
– Cable management tools (conduit, raceways, zip ties)
– Antistatic gloves and soft microfibre cloths
– Cleaning solutions recommended by the manufacturer
Materials and Accessories
– Compatible TV mount (fixed, tilt, articulating, ceiling, or recessed frame)
– Mounting bolts and anchors rated for the load and wall material
– Surge protector or UPS for critical installations
– Weatherproof enclosure for outdoor applications
– Ventilation louvers or fans for enclosed installations
Pre-Installation Checklist
– Confirm screen model, dimensions, and mounting interface (VESA pattern)
– Verify structural integrity and load capacity of mounting surface
– Ensure power source and protection are in place
– Test signal source and cables before final mounting
– Review manufacturer installation manual for torque specs and panel handling guidance
Step-by-Step Installation Procedures for flex TV screens
Unpacking and Handling
Handle Flex screens with extreme care—avoid bending beyond manufacturer-specified radii. Unpack on a clean, padded surface and use antistatic gloves if possible. Inspect the screen for shipping damage and photograph any issues immediately for warranty claims.
Mount Selection and Preparation
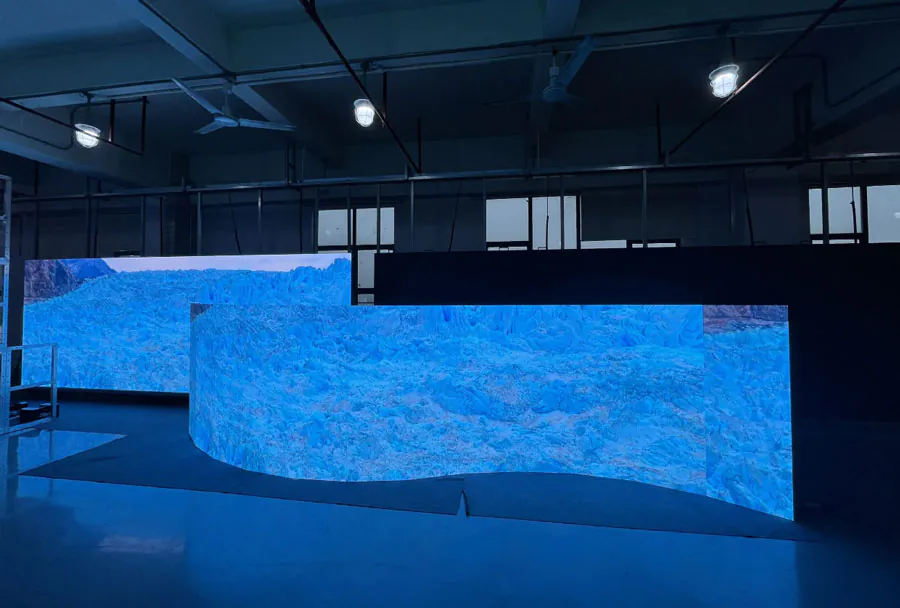
Choose a mount that matches the screen’s VESA pattern and weight. Fixed mounts are simplest; articulating or tilt mounts allow viewing-angle adjustments but require more robust anchoring. For recessed or curved installations, use a factory-specified mounting frame to prevent panel stress.
Marking and Drilling
Locate studs with a stud finder and mark mounting points with a level and laser. For concrete or masonry, use properly sized anchors and masonry bits. Always drill pilot holes for self-tapping screws and follow torque specs—over-tightening can deform mounts or strip threads.
Mount Attachment and Screen Mounting
Attach the mount to the wall and verify level. If the mount uses an intermediate bracket, secure that bracket and hang the screen with assistance—Flex screens typically require two people to avoid drop or edge loading. Use manufacturer’s recommended spacers and washers to distribute loads evenly.

Electrical and Cable Routing
Install power inlets and route HDMI/Signal cables using in-wall rated cables for concealed installations. Keep power and data cables separated where possible to prevent interference. Use strain reliefs at both ends of each cable and label connections. For networked displays, assign static IPs for easier remote management.
Final Verification
Power on the screen and check for even backlight/edge illumination, correct color, and absence of dead pixels. Run a uniformity test pattern if available to detect near-border dimming or hotspots. Confirm mount stability by applying gentle pressure to the screen edges to ensure no undue flex or movement.
Cleaning and Daily Care
Recommended Cleaning Supplies
Use microfiber cloths and screen-safe cleaning solutions. Avoid ammonia-based cleaners, window cleaners, or harsh chemicals that can strip coatings. For most Flex displays, a mix of distilled water and isopropyl alcohol (50/50) or manufacturer-approved cleaners are safe. Always consult the screen manual.
Safe Cleaning Procedure
– Power down and unplug the screen before cleaning.
– Remove dust with a dry microfiber cloth using gentle strokes.
– For smudges, lightly dampen the cloth with the recommended solution and wipe in a single direction—do not scrub.
– Avoid pressing on the panel surface; apply only light pressure.
– Dry the display with a second clean, dry microfiber cloth to prevent streaks.
Do Not
– spray liquid directly onto the screen.
– use abrasive pads or paper towels.
– apply cleaners containing ammonia or ethyl alcohol unless specified by the manufacturer.
– attempt to clean internal components or open the enclosure; refer to certified service centers for internal maintenance.
Routine Maintenance and Care Schedule
Daily and Weekly Tasks
– Inspect for visible dust buildup and wipe with a dry microfiber cloth.
– Verify that the screen and surrounding area are free of food, liquids, and heavy foot traffic that might cause accidental contact.
Monthly Tasks
– Check and tidy cable management and strain reliefs.
– Inspect mount hardware for visible loosening or corrosion.
– Run image uniformity and pixel-check patterns to detect early degradation.
Quarterly Tasks
– Verify firmware/firmware-of-connected media player for updates—apply only manufacturer-recommended updates.
– Inspect ventilation paths and clean dust filters for enclosed installations.
– Test the surge protection and power management components.
Annual Tasks
– Perform a detailed inspection for seal integrity (outdoor or humid environments).
– Engage professional calibration if color accuracy is critical (e.g., professional studios, galleries).
– Conduct a hardware inspection by certified technicians, especially if the screen is in continuous use.
Calibration and Image Optimization
Why Calibration Matters
Flex screens can vary in color and brightness across the panel, particularly at larger sizes or curved formats. For brand-critical environments, calibration ensures accurate color reproduction and consistent brightness across the display surface.
Calibration Process
Use a colorimeter or spectrophotometer and calibration software compatible with your screen. Calibrate in the installation environment after at least 30 minutes of warm-up to ensure stable backlight temperature. Target the correct white point (usually D65), gamma (2.2 for most uses), and desired luminance level based on ambient lighting.
Maintaining Calibrated Settings
Record settings and export or save profiles where possible. Re-calibrate annually or whenever the environment changes (e.g., new lighting). For mission-critical installations, schedule periodic remote checks and automated self-diagnostics.
Common Problems and Troubleshooting
No Power or Intermittent Power
– Check surge protector and power outlet with a known-good device.
– Inspect power cables for damage and confirm secure connections.
– Verify internal power board status using manufacturer diagnostics—refer service if board failure suspected.
Image Uniformity Issues
– Run uniform gray/white tests. If edges are dimmer (vignetting) consider recalibrating the backlight, adjusting local dimming settings, or replacing failing LED strips in service.
– For permanent non-uniformity, consult the warranty—manufacturers often specify acceptable uniformity limits.
Dead or Stuck Pixels

– Use pixel-refresh software provided by the manufacturer or third-party tools that cycle colors to attempt recovery.
– If pixels remain faulty, document them and check warranty terms—many manufacturers have thresholds for acceptable pixel defects.
Connectivity Problems
– Replace or swap cables to isolate a bad HDMI or network cable.
– Confirm the source device outputs the correct resolution and refresh rate supported by the Flex TV.
– For network-managed displays, ensure the display’s IP and firewall settings allow the required traffic.
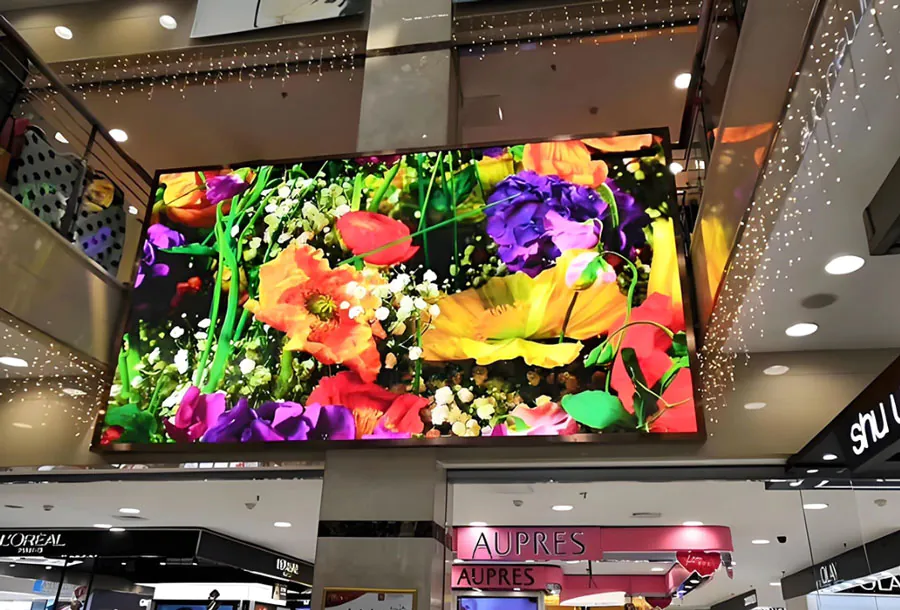
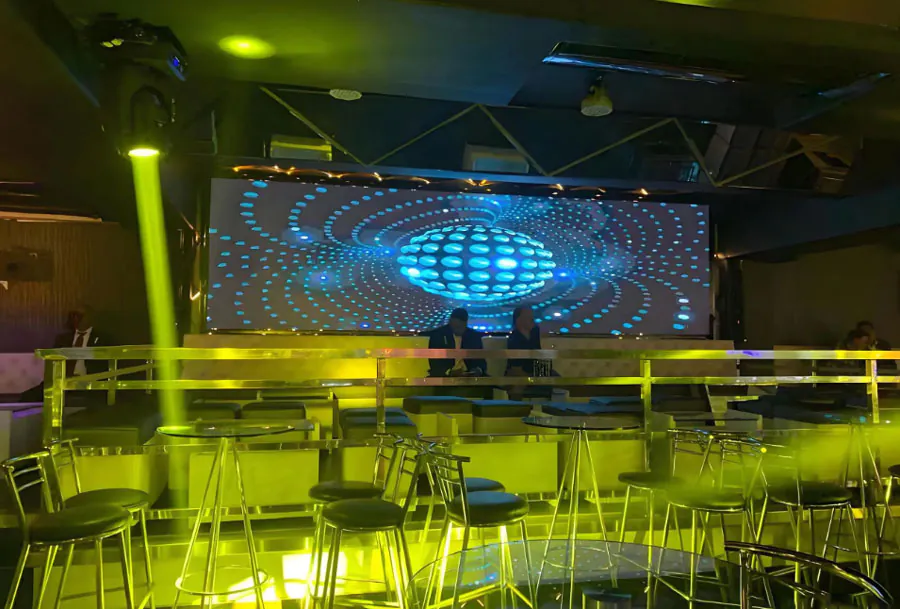
Mounting Options and Comparative Analysis
Choosing the Right Mount for Your Application
Selecting a mount depends on the environment, required range of motion, and aesthetic goals. Fixed mounts provide a low-profile look; articulating mounts offer flexible viewing angles for dynamic spaces. Specialized mounts and enclosures are mandatory for outdoor installations to protect against weather and vandalism.
Comparative Analysis Table
| Installation Type | Best Use Case | Tools Required | Estimated Time | Maintenance Needs |
|---|---|---|---|---|
| Fixed Wall Mount | Home theaters, retail displays with fixed viewing angle | Stud finder, drill, level, socket set | 1–2 hours | Low — monthly dusting, annual hardware check |
| Articulating Wall Mount | Multi-view areas, conference rooms, interactive displays | All above plus torque wrench for moving joints | 2–3 hours | Moderate — lubrication/pivot checks quarterly, cable strain reliefs |
| Ceiling Mount | High ceilings, open-concept spaces, bars | Ceiling anchors, scaffold or ladder, safety cables | 3–5 hours (depends on access) | Moderate — safety cable checks, mount inspections |
| Floor Stand / Kiosk | Retail kiosks, trade shows, mobile signage | Assembly tools, cable covers, leveling tools | 1–3 hours | Medium — base stability checks, caster maintenance if mobile |
| Outdoor Enclosure | Outdoor digital signage, sports venues | Weatherproof enclosure, HVAC, power/weatherproof connectors | 4–8 hours (complex) | High — weather seals, HVAC filters, corrosion checks monthly |
Environmental and Safety Considerations
Temperature and Humidity
Operate Flex TVs within the manufacturer-specified temperature and humidity range. Excessive heat accelerates panel degradation and can cause LCD or OLED issues, while high humidity can promote internal condensation or corrosion. For outdoor or enclosed installations, integrate cooling or dehumidifying systems.
Electrical Safety
Always use ground-fault protection where required and install surge protection to mitigate lightning strikes or building-level electrical transients. For installations in public spaces, use tamper-resistant outlets and enclosures to prevent access to live wiring.
Fire and Building Codes
Adhere to local building and fire codes—especially for in-wall power runs and outdoor installations. Use in-wall rated cables, conduit where required, and confirm that materials used in mounting do not compromise fire-resistance ratings of walls.
Warranty, Service, and End-of-Life
Understanding Warranty Terms
Read the manufacturer warranty carefully: it often covers dead pixels, backlight failures, and manufacturing defects, but may exclude damage from improper installation, misuse, or environmental exposure. Keep purchase receipts, serial numbers, and photos documenting installation for warranty claims.
When to Seek Professional Service
If you observe persistent artifacts, electrical smells, buzzing, or overheating, power down and contact an authorized service provider. Attempting to open the display often voids the warranty and can damage sensitive components.
Recycling and Disposal
Flex screens contain electronics and potentially hazardous materials; dispose of them through certified e-waste recycling programs. For large fleet upgrades, coordinate with recyclers who provide certificates of destruction and data sanitization for embedded storage.
Best Practices and Final Tips

Documentation and Labeling
Maintain a digital log of installations, including photos, mount types, cable runs, IP addresses, and calibration profiles. Label both ends of every cable to simplify future maintenance and troubleshooting.
Training and Access Control
Train staff on basic care and what not to do—avoid touching the screen surface with fingers, do not apply stickers, and never attempt internal repairs. Restrict access to controls and power switches to reduce accidental changes.
Redundancy and Remote Management
For mission-critical signage, employ redundant media players and remote monitoring tools that alert administrators to issues like offline status, temperature excursions, or input signal loss. Remote power cycling via managed PDUs can often resolve transient issues without a site visit.
Flex TV screens deliver modern aesthetics and adaptability, but they require deliberate planning, careful handling, and ongoing maintenance to realize their full potential. Proper mount selection, safe installation practices, routine cleaning, and preventive care extend lifespan and maintain image quality. Keep manufacturer guidance front-and-center, document every installation, and apply a consistent maintenance schedule tailored to the environment. With these practices, Flex TV installations will remain reliable, visually compelling, and cost-effective over the long term.